
Do you know why we’re writing a tutorial on “How to add Google reCaptcha keys to Contact Form 7 in Flatsome WooCommerce theme”?
For a couple of days, we get tons of spam emails in our inboxes. Regularly, we used to spend about a couple of minutes clearing them. Frankly speaking, the very first time, we didn’t have that there is an automated system that filled a site contact form and sent emails. Consequently, you get many unwanted emails every day.
As we’re using Contact Form 7 for WPCred, we started searching to protect my contact form from such emails. Thankfully, we found a free reCaptcha service brought by Google. Let me show you add Google reCaptcha keys to Contact Form 7 in the Flatsome WooCommerce theme.
How To Add Google reCaptcha Keys To Contact Form 7 In Flatsome Theme
Before heading forward. Let me explain about the reCaptcha server in short. reCaptcha is a free service by Google. it protects websites from spamming and other abuses.
It has an advanced risk analysis engine that detects abusive software. And try to restrict them from throwing captchas.
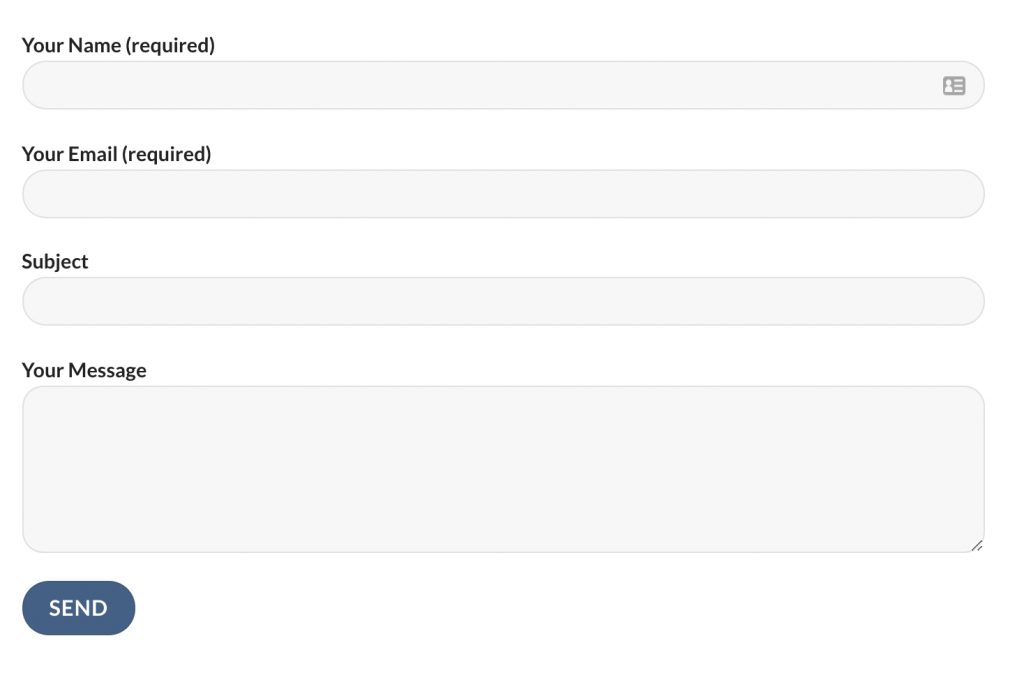
Let enable reCaptcha on your Contact Form 7 powered forms. For demonstration purposes, we’ll enable reCaptcha on our Contact Me page. Currently, my contact form looks like the following screenshot.
Step 01: Activate Contact Form 7 Captcha
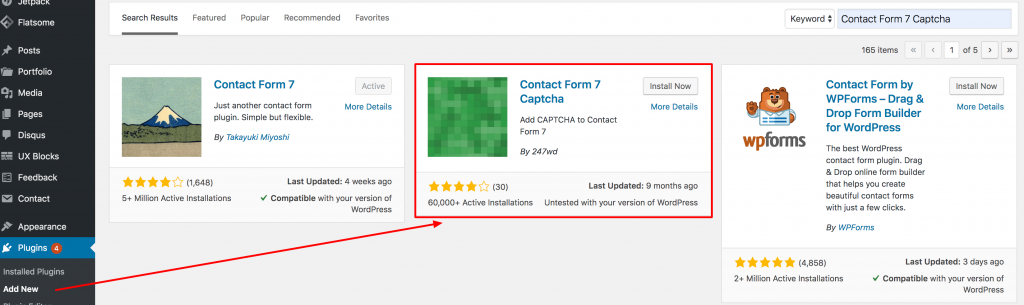
Besides Contact Form 7, you have to have Contact Form 7 Captcha plugin enabled. To enable the plugin, head to Plugins >> Add New and search for “Contact Form 7 Captcha“. Install and activate the indicated plugin in the following screenshot.
After the installation and activation of Contact Form 7 Captcha, navigate to the plugin settings page.

Step 02: Configure Contact Form 7 Captcha
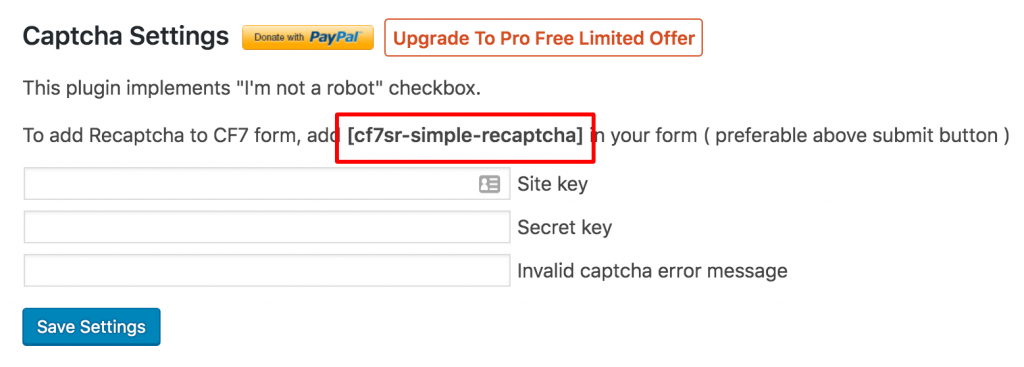
If you are inside the plugin settings page, you must find the instruction to add this shortcode: [ cf7sr-simple-Recaptcha ] to your desired contact form to implement the “I’m not a robot” checkbox.
Step 03: Add Captcha Shortcodes inside Form Codes
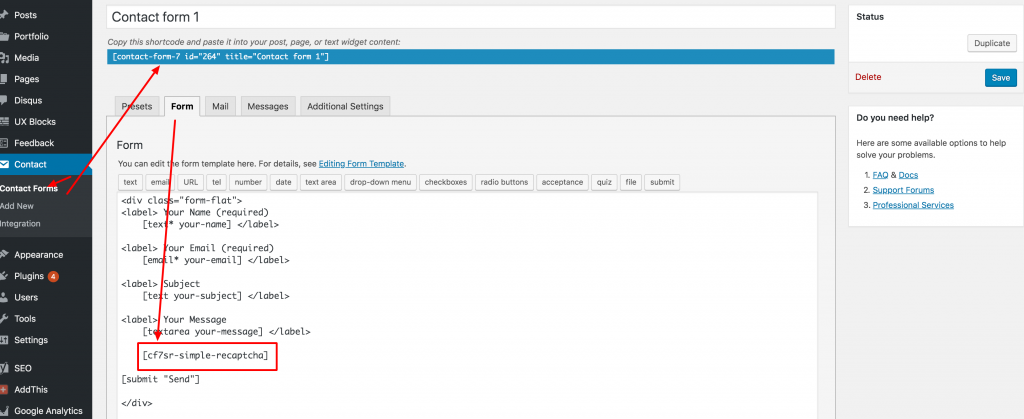
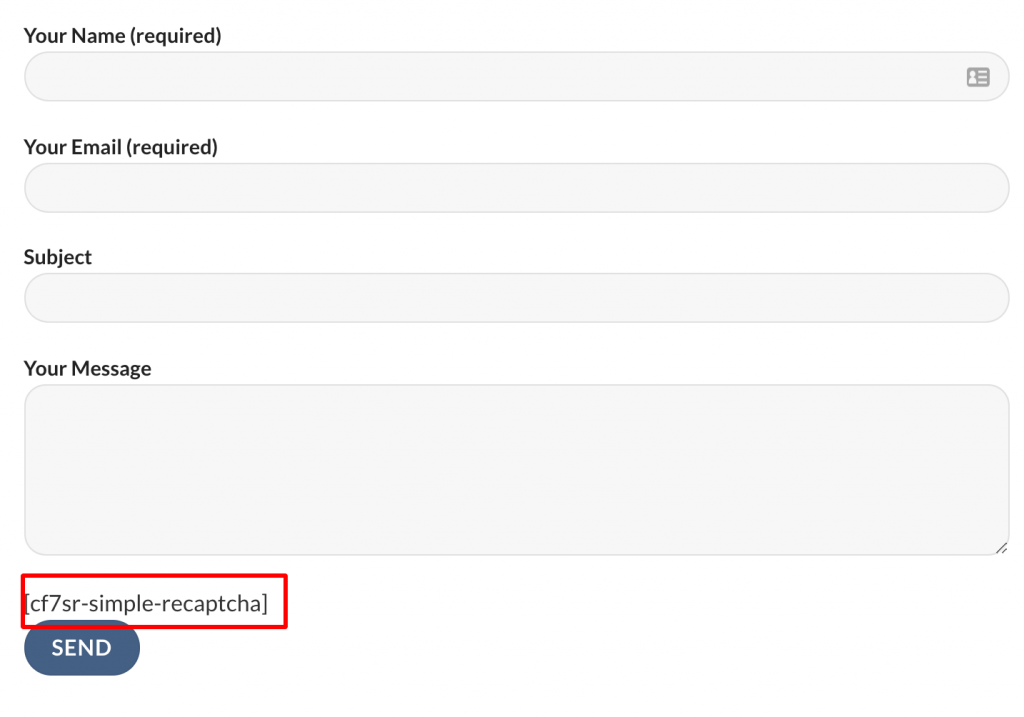
Navigate to Contact >> Contact Forms and get inside your desired form codes. From the Form tab, add shortcode: [ cf7sr-simple-Recaptcha ] before the submit button.
After adding the code, the frontend would look like the following screenshot. Don’t panic if you don’t see any “I’m not a robot” checkbox.
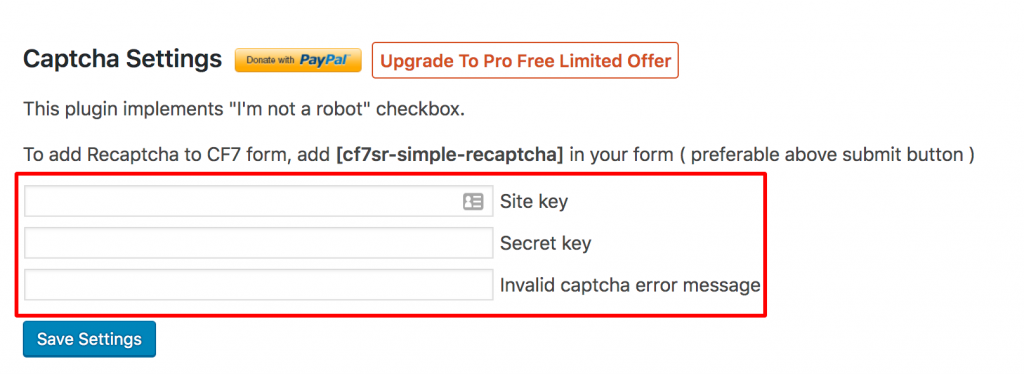
You might be worried to see the bare shortcodes. It’s happening because we haven’t linked Contact Form 7 Captcha with Google reCaptcha API. The reCaptcha API comes with a Site key and Secret key added in the following fields. You can access the setting from Settings >> CF7 Simple Recaptcha.
Step 04: Generate Site Key and Secret Key
Generate the Site key and Secret key using Google ReCaptcha keys.
To generate keys, fill the Label field with your desired app title. we put my site name: WPCred. Make sure you have reCAPTCHA v2 and “I’m not a robot” Checkbox Select. Add domain name and accept the ReCaptcha terms. Press Submit button to continue.
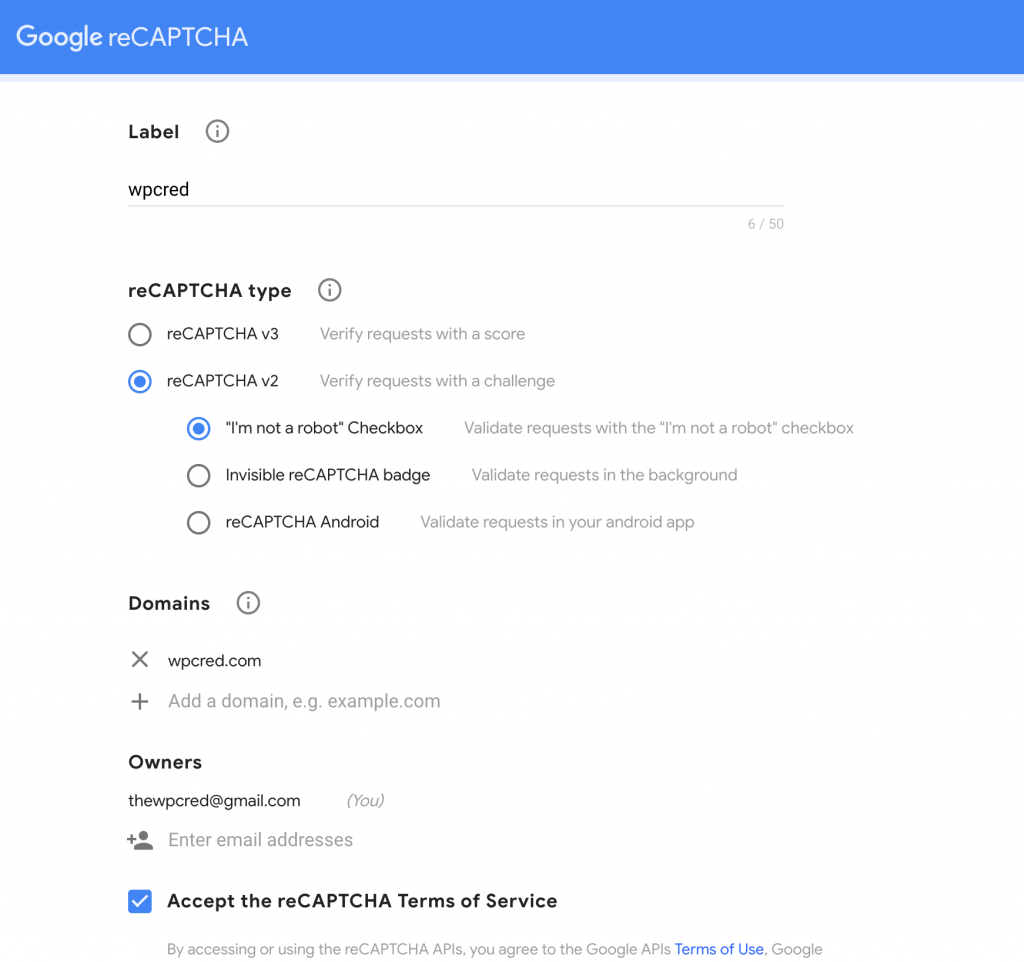
After clicking the submit button, you would have the Site Key and Secret.

Step 04: Fill in Site Key and Secret Key
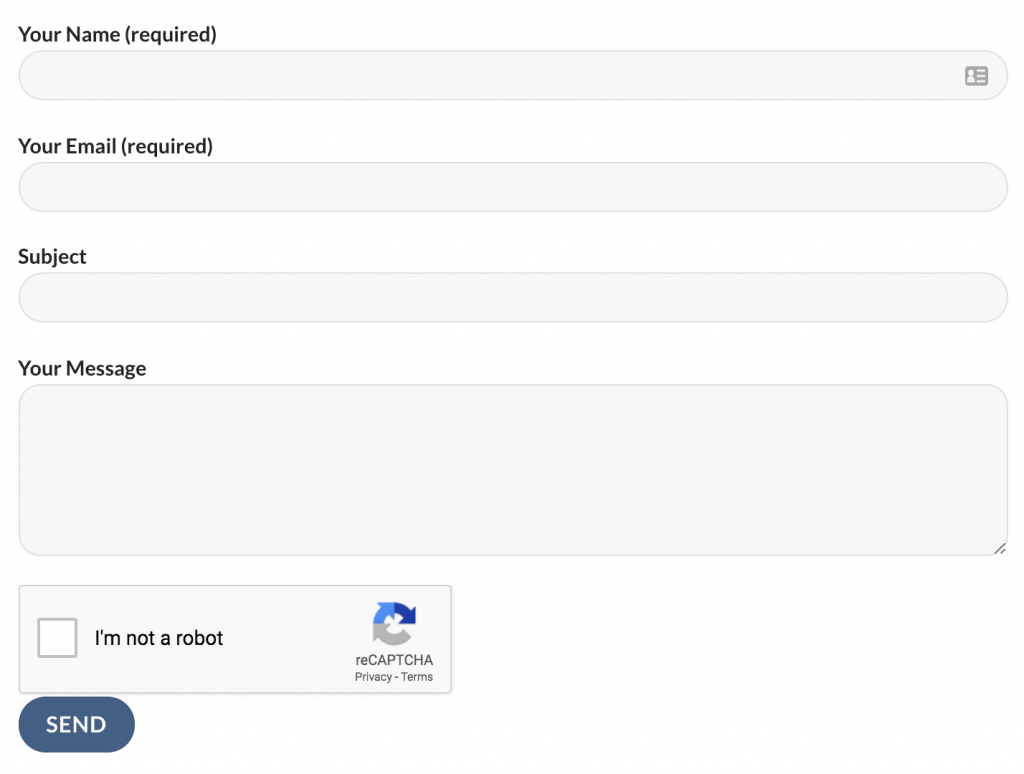
After having Site Key and Secret. Fill the Site Key and Secret Key field from the Settings >> Settings >> CF7 Simple Recaptcha. When keys are added, the contact form would look like the following screen.
Conclusion
Hopefully, you have understood my guideline on “How To add reCaptcha to Contact Form 7 in Flatsome WooCommerce theme“. If you find any difficulty following this tutorial let us know in the comment below.
Don’t forget to inform me on which topic, you want to have the next tutorial. we’ll write the next tutorial for you.
