Edit WooCommerce shop page to get a unique design for your WooCommerce website. Because the shop page is the most visited page of any WooCommerce website and it is very similar to most WooCommerce websites.
So, if you want to stand out from the other websites, you need to customize the shop page to have a unique shop page.
Customizing with Block editor is a good idea for beginners, but if you want more freedom in customization, using Elementor is a must. To do more powerful customization for free, you need to use add-ons with Elementor. WooLentor, also known as ShopLentor in the WordPress plugin repository, is an excellent add-on for creating a more customized website.
In this tutorial, we’ll edit or customize the shop page of a WooCommerce store using Elementor and WooLentor for free. Though we’ve created a custom design here, you can follow the process and create your personalized version.
How to Edit WooCommerce Shop Page with Elementor
Step 1: Install Plugin
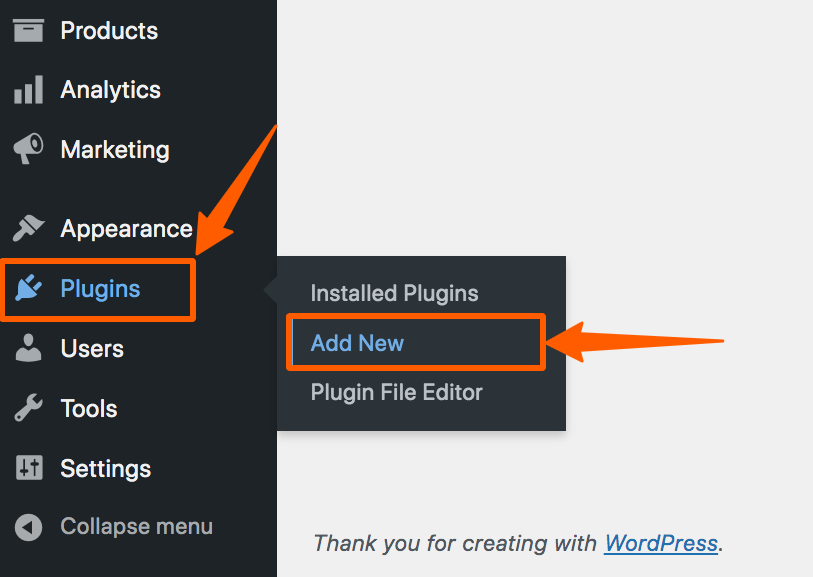
Go to the WordPress Dashboard, then hover on the Plugins and click Add New to add a new plugin.
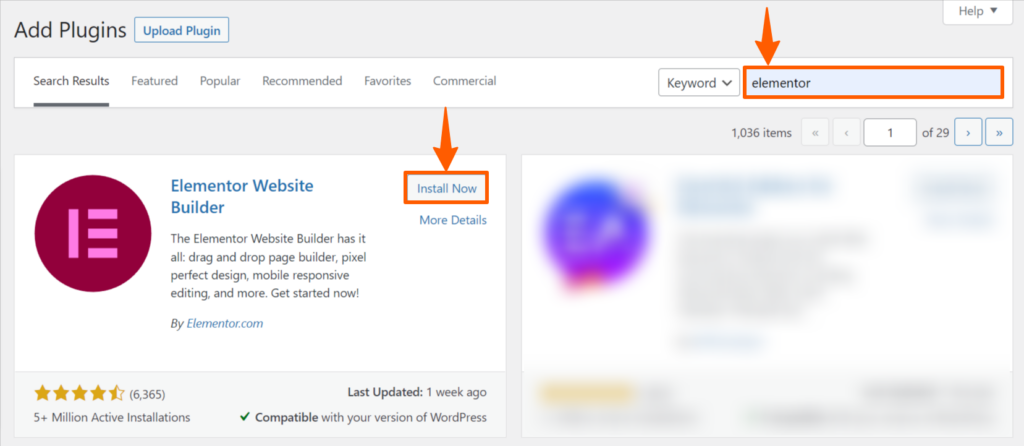
You’ll find the WordPress plugin repository, search for Elementor, then install, and activate it. Have a look at the plugin installation guide if you’re facing any issue.
You need to install one more plugin, ShopLentor. You can install it in the same way we’ve installed Elementor. In that case, you need to search for ShopLentor.
We’re demonstrating a different way of doing it.
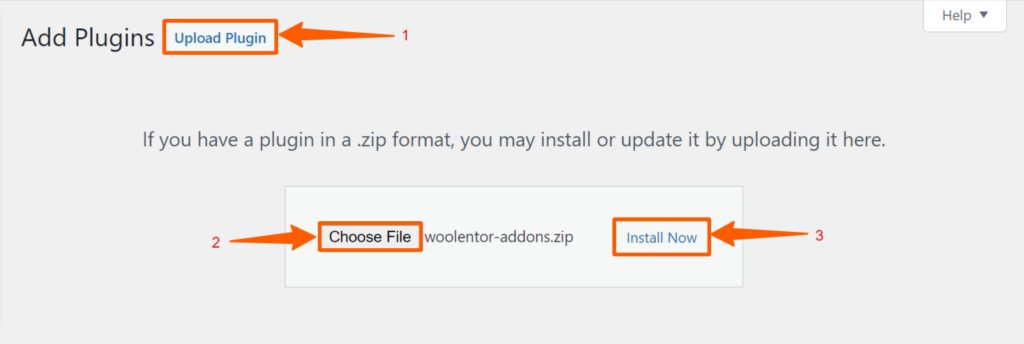
Hover on the Plugins, and click Add New. Then on the new page, click on Upload Plugin.
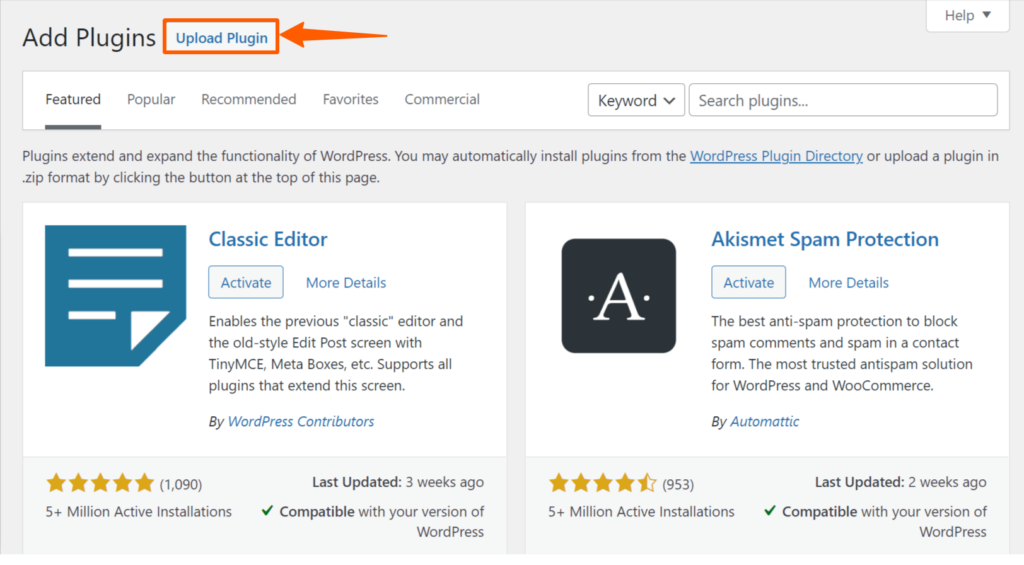
Now, upload the zipped plugin file of WooLentor Addons, install and activate it.
Step 2: Setting Template
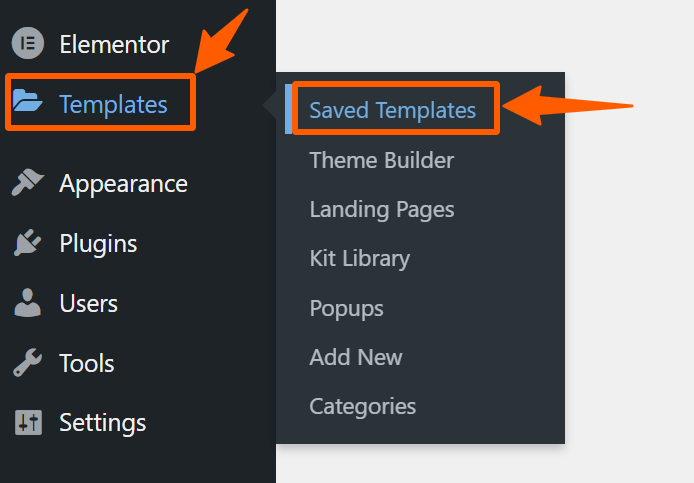
After activating both plugins, go to the WordPress Dashboard, then hover on the Templates option, and click on Saved Templates.
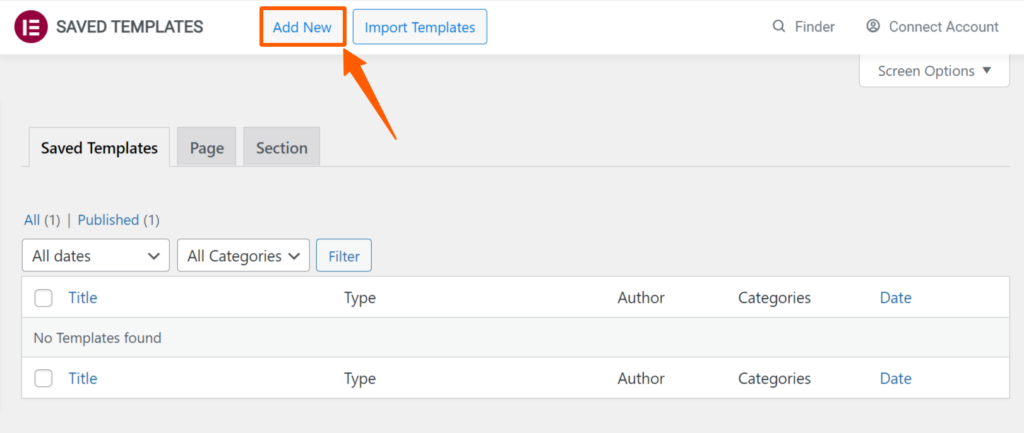
Click on Add New to add a new template.
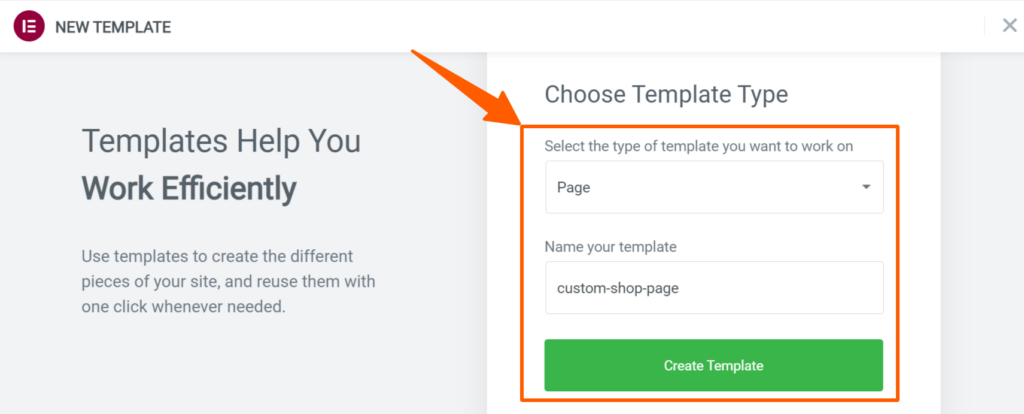
Now, select the type of the template as Page, and give a custom name. We’re giving the name “custom-shop-page”, you can choose any name you want. After that, click Create Template to create a new template.
Step 3: Setting up WOOLENTOR ADDONS & Customization
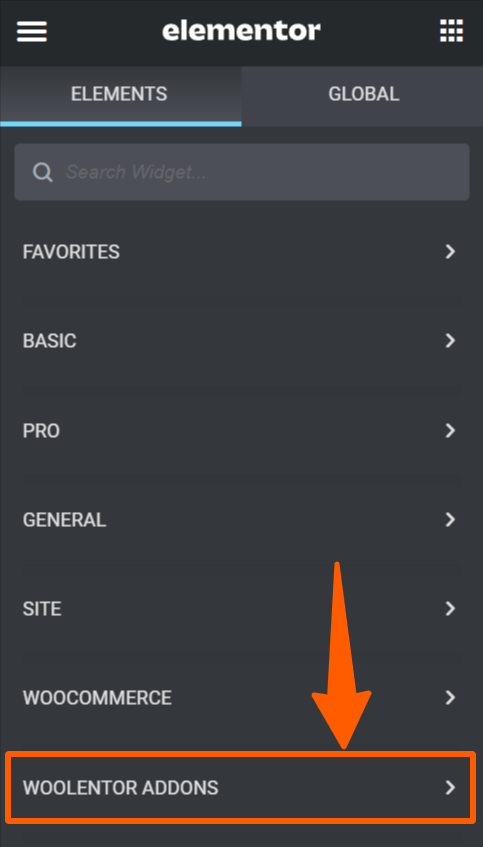
After creating the template, you’ll find a new page, where there are various of Elementor. Scroll down, find the option WOOLENTOR ADDONS, and click it.
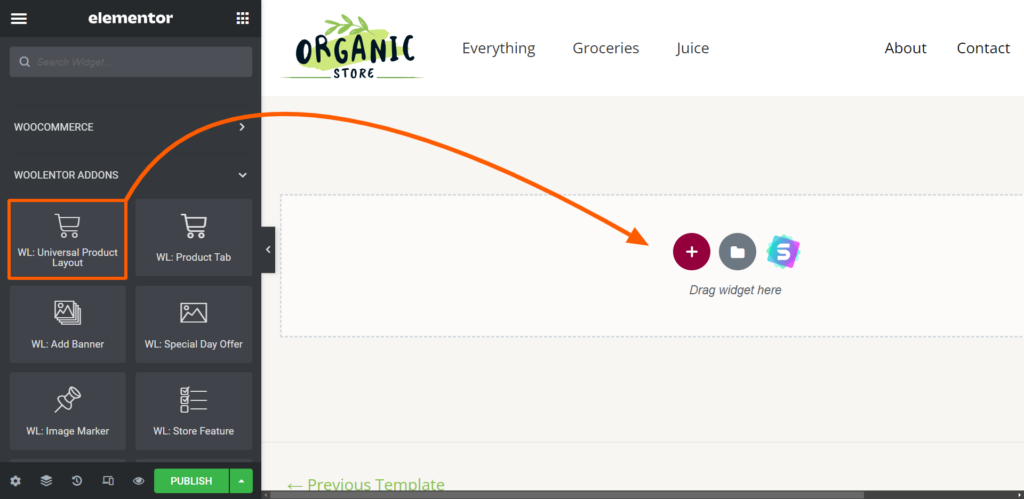
You’ll find various options under WOOLENTOR ADDONS. Select WL- Universal Product Layout, then drag it and drop it on the page.
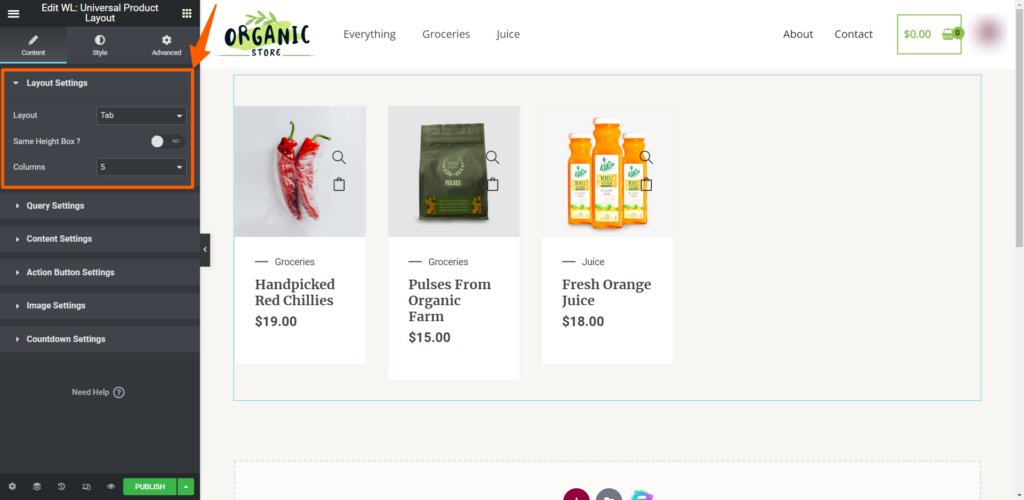
You’ll see the products on that page now. At first, you’ll find only 3 products, don’t worry you’ll get other products soon. On the left, you’ll find Layout Settings first. In that setting, you can set the Layout, Height, and columns. For demonstration purposes, we’re selecting Tab Layout and 5 columns.
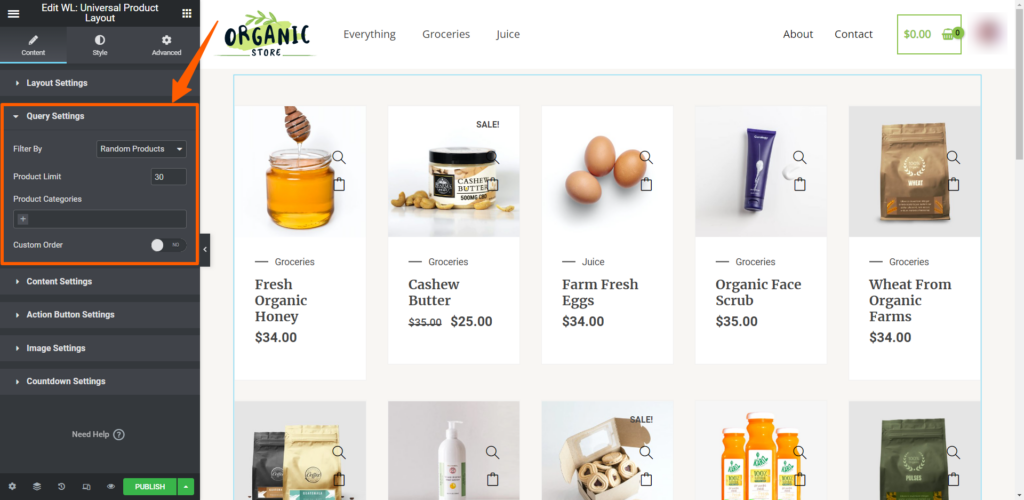
After setting Layout Settings, click Query Settings, then select how you want your products to be filtered, product limit, and enable/disable custom order. For demonstration purposes, we’re selecting Filter by random products, product limit 30, and disabling custom orders. You can also try using Content Settings under Query Settings.
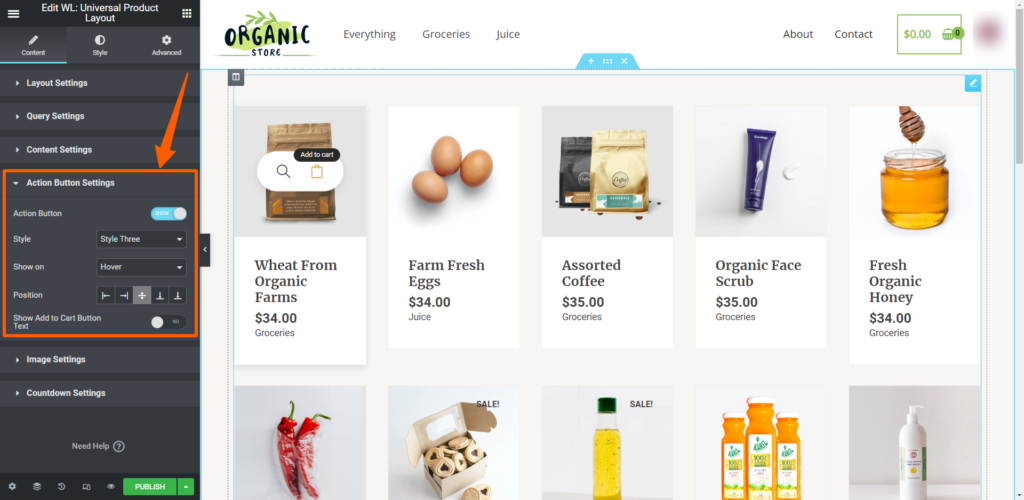
After that, you’ll find Action Button Settings. You can set Action Button, Style, Show on, and Position. For demonstration, we’re activating Action Button, selecting Style Three, and Show on Hover.
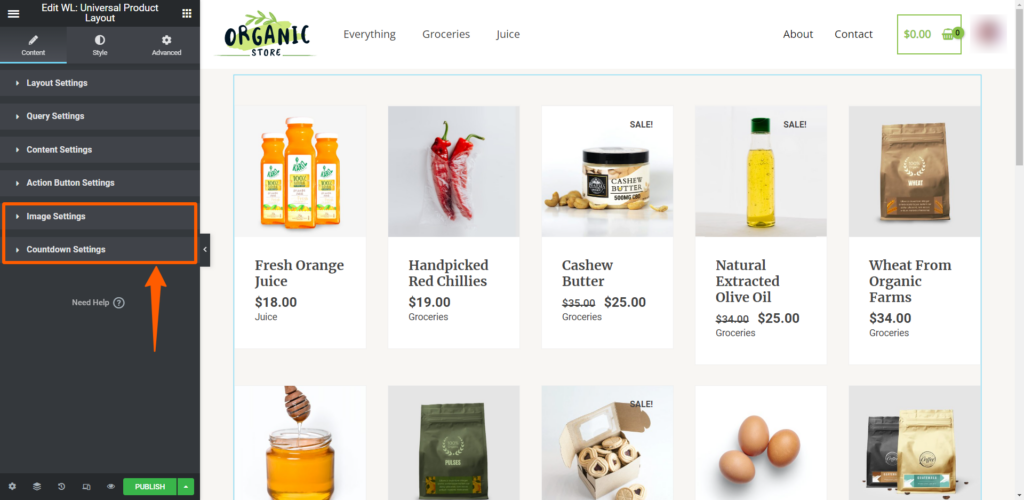
After the Action Button Settings, you’ll find Image Settings, and Countdown Settings from where do some more customization.
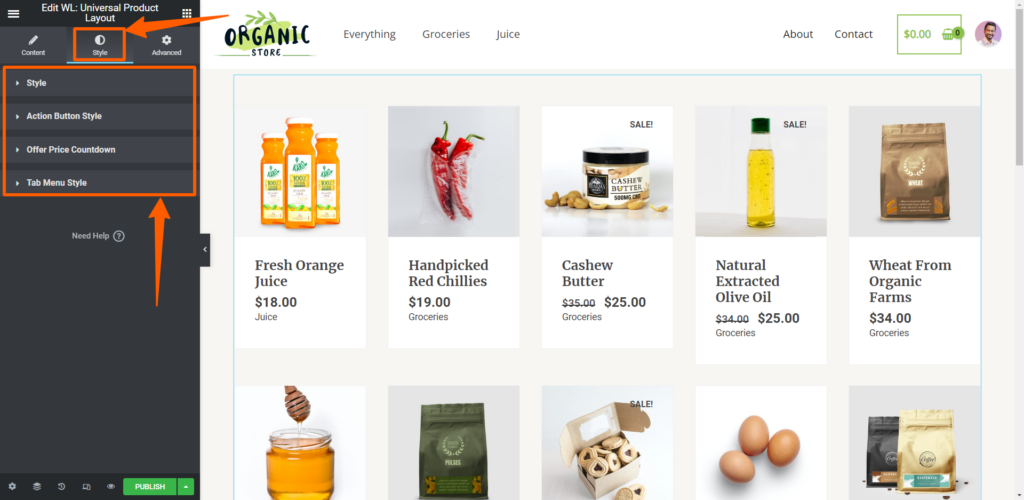
You can do more customization if you want using Style. To do that, click on Style, and do the customization using various options. We won’t do any customization in this area, you can do as your wish.
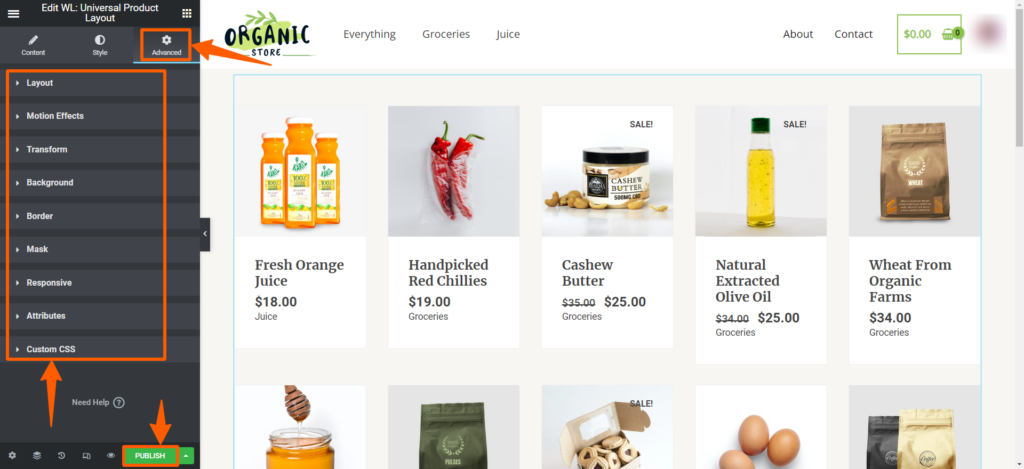
You can even try more customization options using the Advanced option. You’ll find many options by clicking Advanced. After doing all those customizations, click on Publish to save it.
Step 4: Using ShopLentor/WooLentor
Don’t get confused by two different names. WooLentor and ShopLentor are the same plugin under dfferent names. In WordPress repository, it’s called ShopLentor, and in it’s official website, it’s called WooLentor.
After saving that, go to the WordPress Dashboard again. Then hover on ShopLentor, then click on Settings.
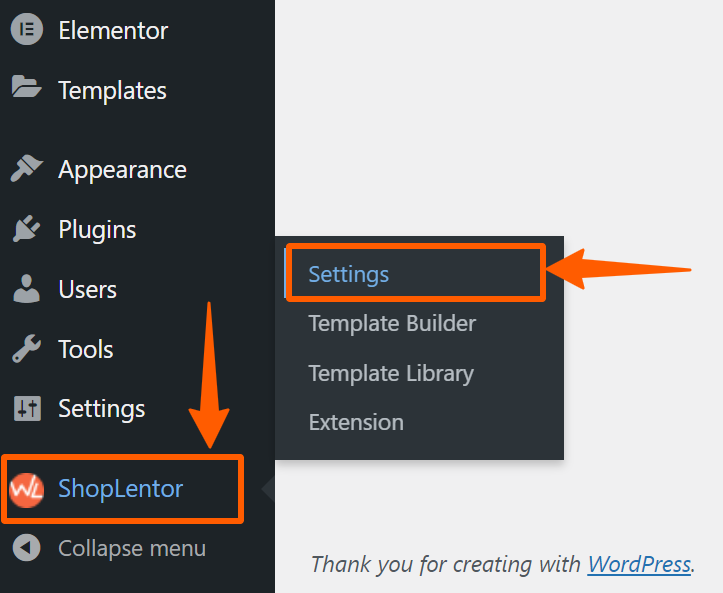
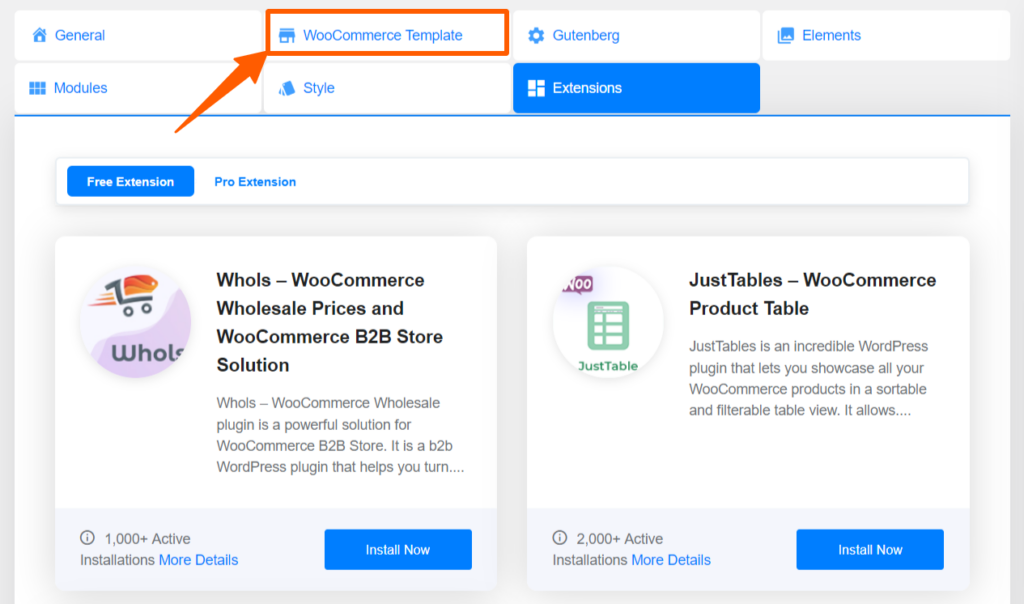
Then, a new page will appear. Click on the WooCommerce Template.
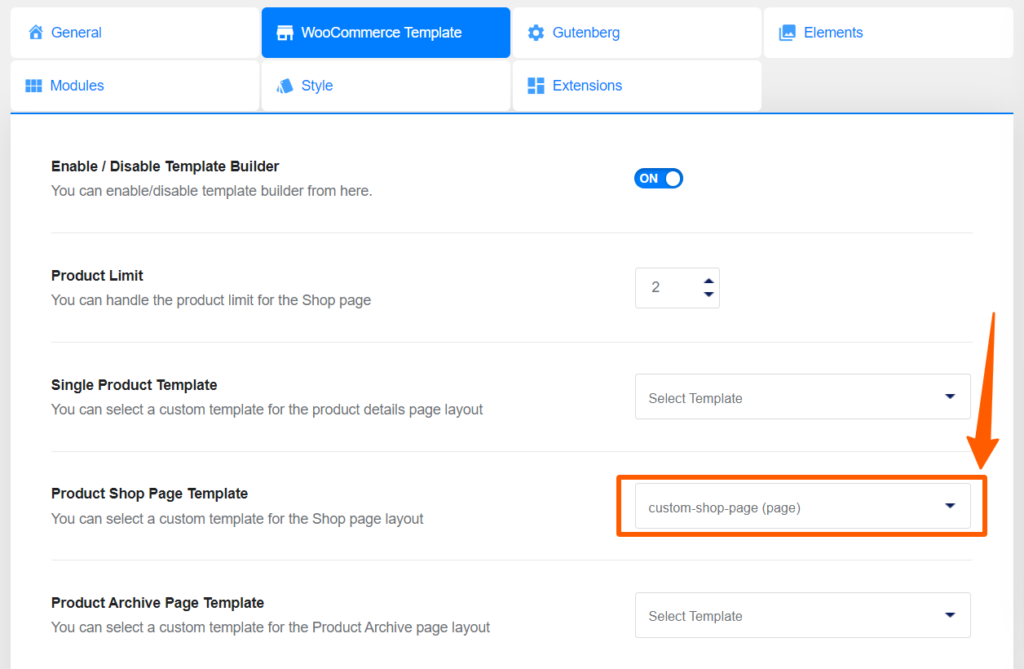
Under WooCommerce Template, you’ll find an option called Product Shop page Template. Select the pre-made template that you’ve created. We’re selecting custom-shop-page as we’ve prepared this for our shop page. Then save it by clicking Save changes.
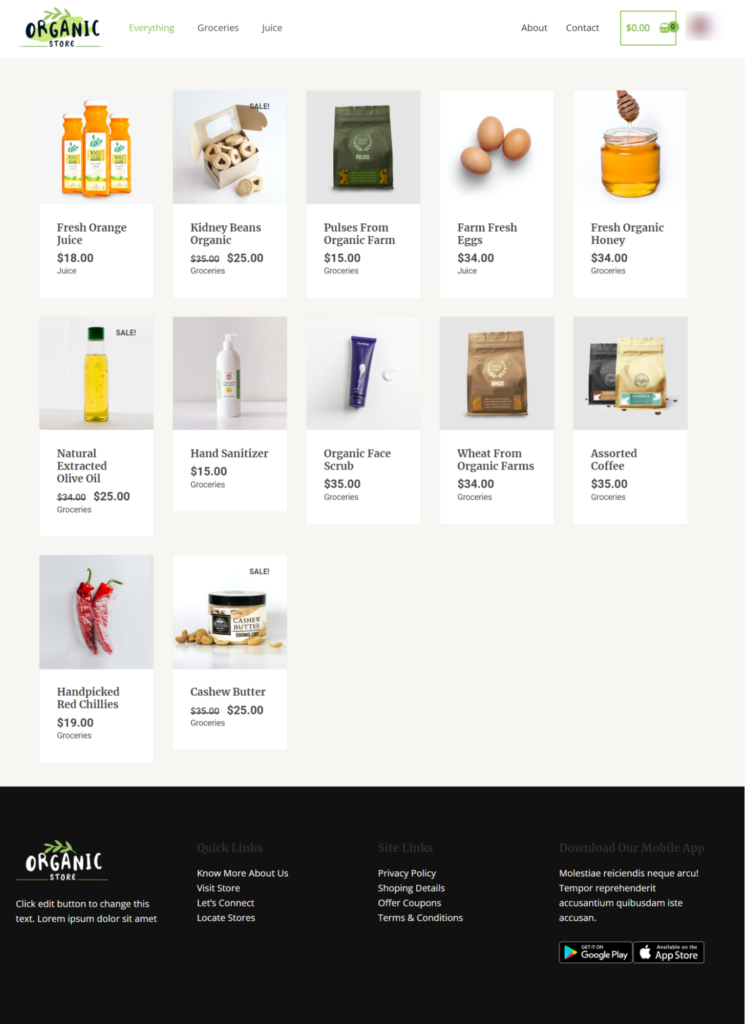
Preview
Conclusion
We hope you’ve successfully customized your WooCommerce shop page using Elementor. In case, you’re facing any difficulty, feel free to contact us. We’ll try our best to help you.
If you’re feeling uncomfortable using Elementor, you can try customizing the shop page using the block editor. Though it has fewer customizing options, it’s comparatively easier.