Testimonial is an effective way to earn the confidence and trust of clients and customers. Using the super-customizable Divi testimonial module, you can quickly create eye-catching testimonials to add to your landing and sales pages. You can also add a testimonial plugin on the WordPress website easily.This tutorial will show how we can quickly create a Divi testimonial module section for our web pages. By the end of this tutorial, you will be able to add testimonials in WordPress according to the Divi Testimonial module in this awesome theme.
Create and Customize The Divi Testimonial Module
Step 1:
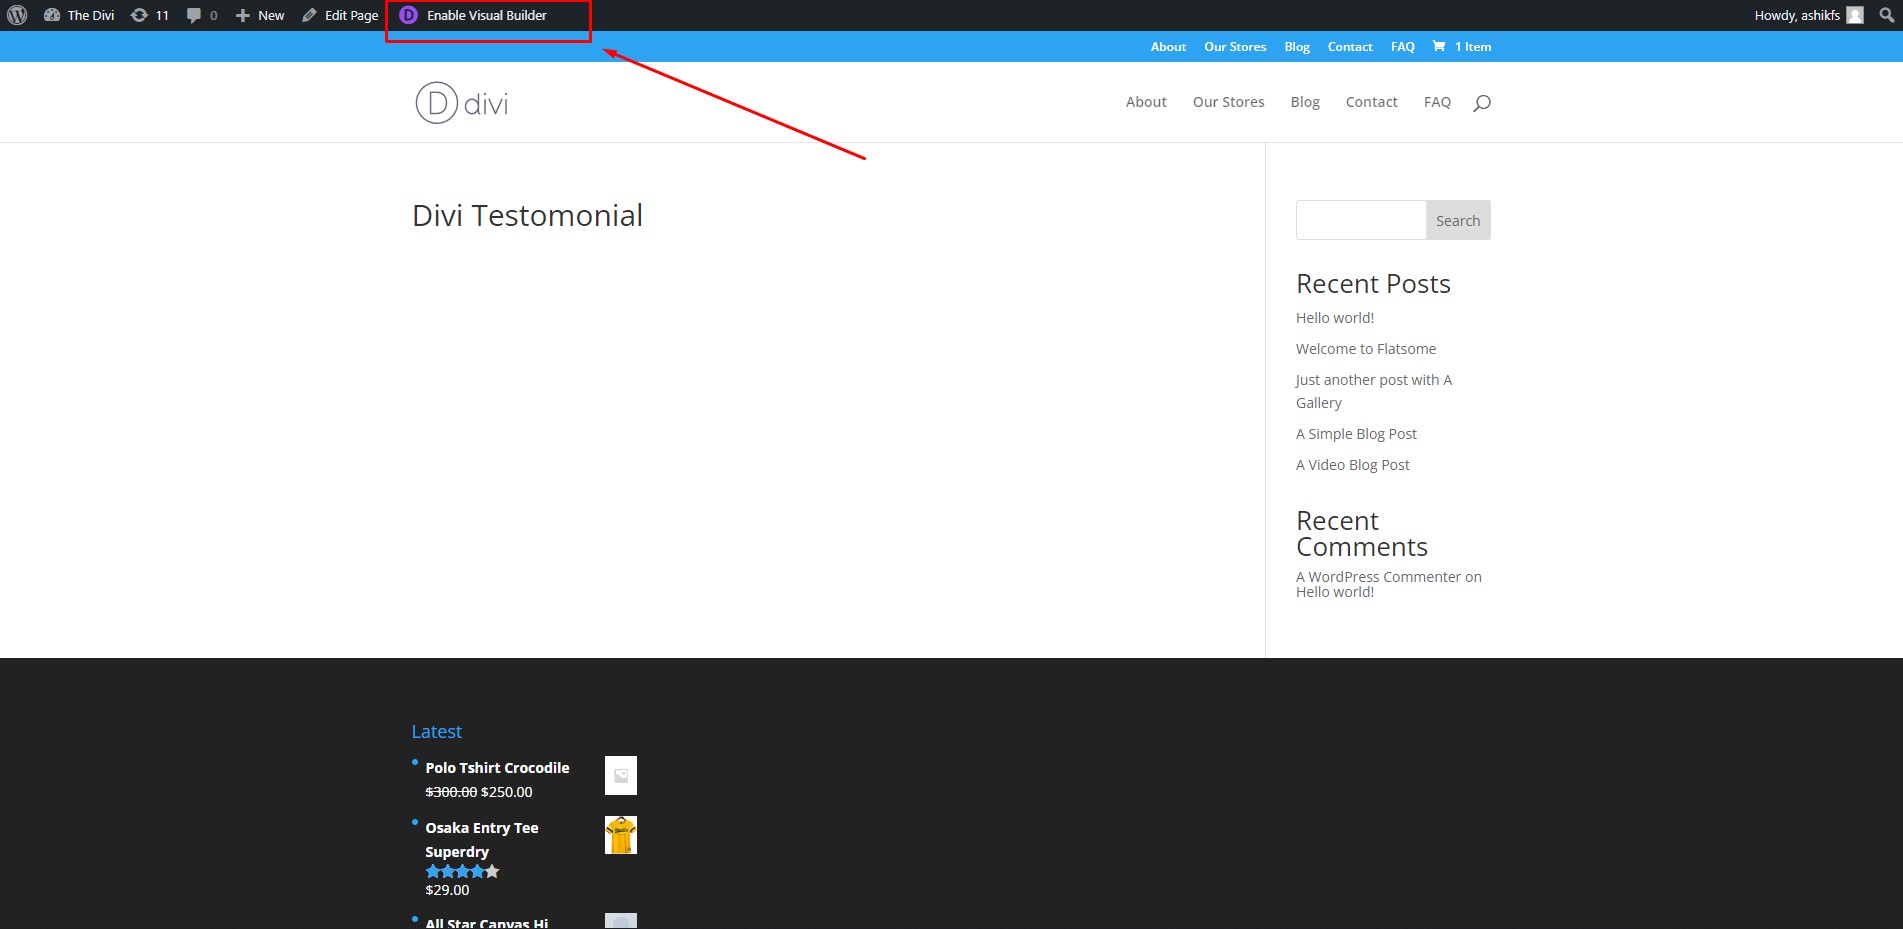
Visit the page you want to add the Divi testimonial module while logged in. You will see the ‘Enable Visual Builder’ in the top admin bar. Click to open the page in Visual Builder.
Step 2:
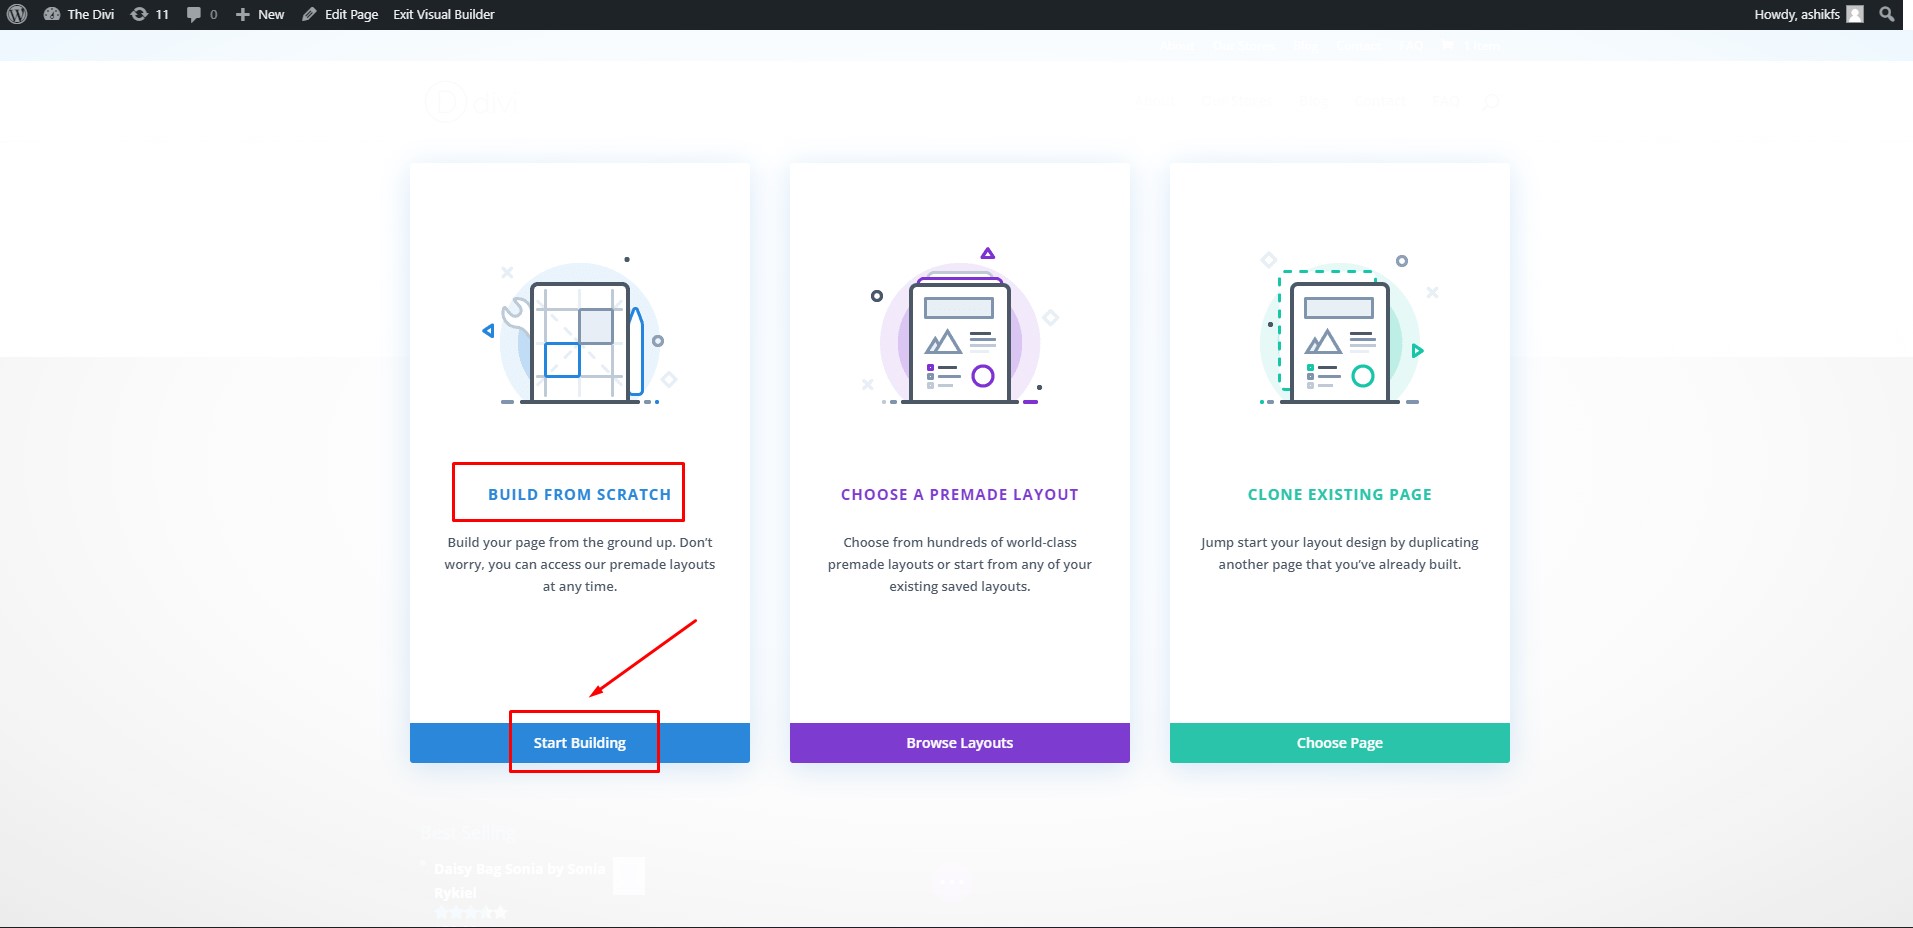
If the page is blank, you will be given a few choices about how you want to start developing. Click on. ‘Start Buiding.’
Step 3:
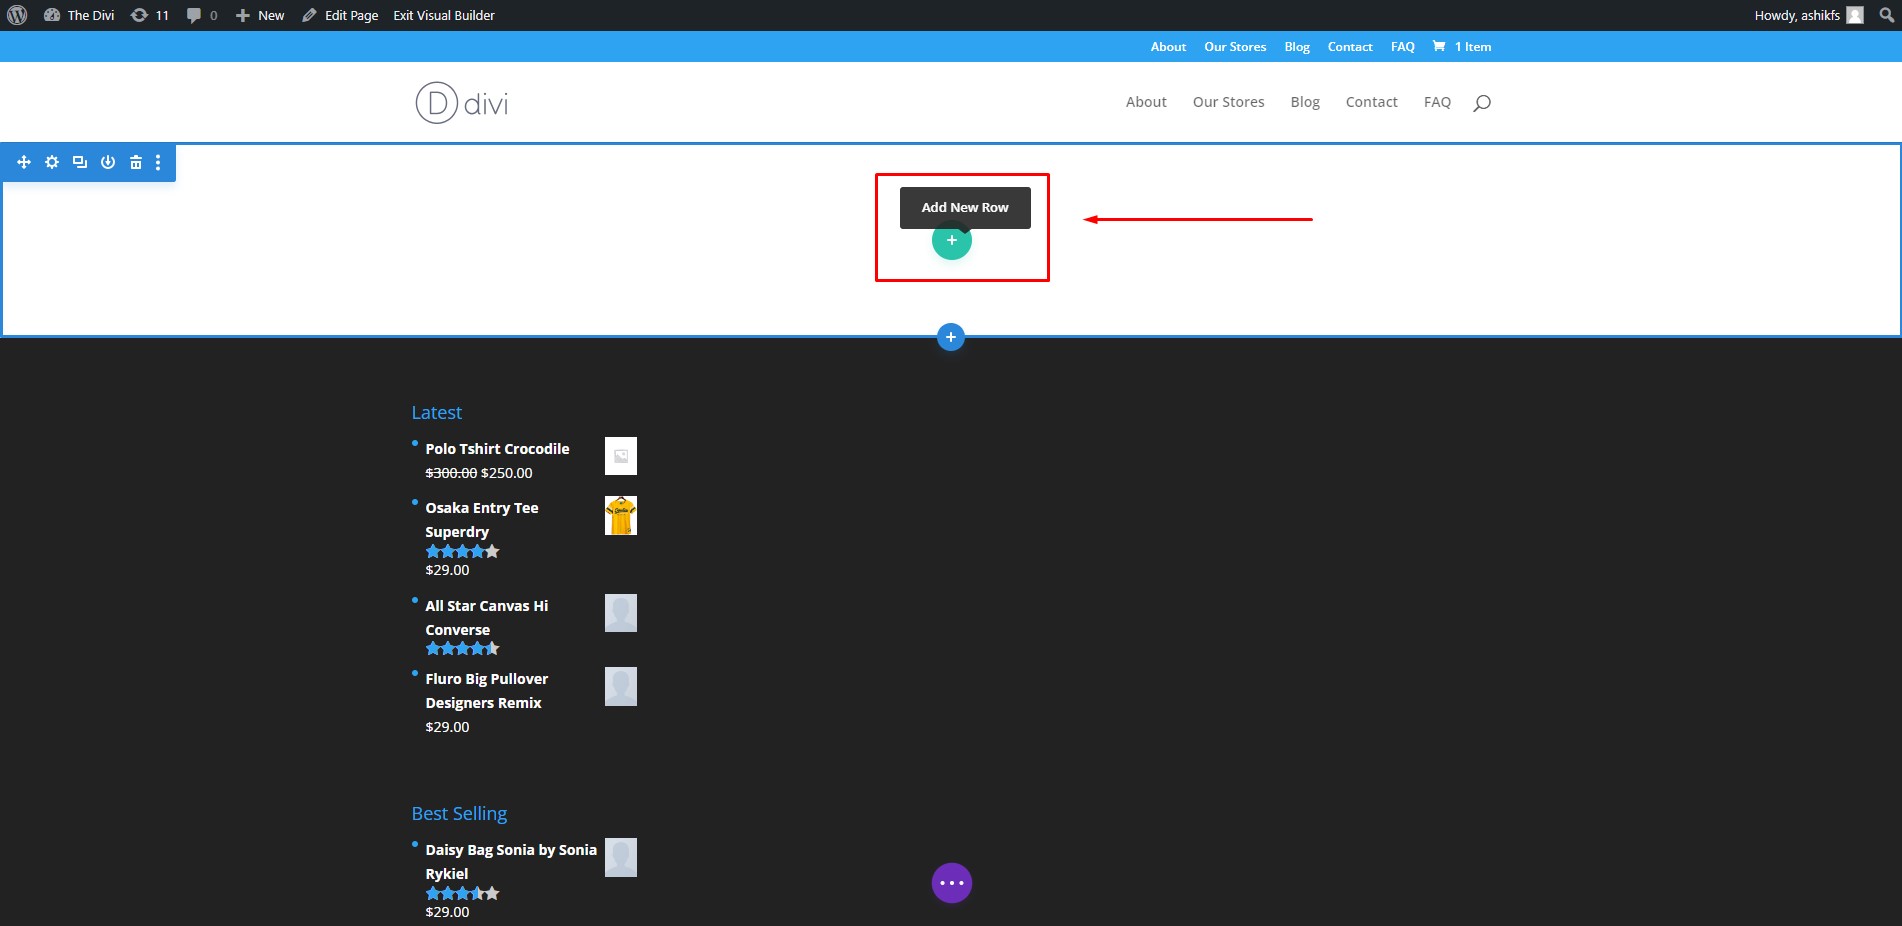
Click on the green ‘+’ icon to add a row for our Divi testimonial module section.
Step 4:
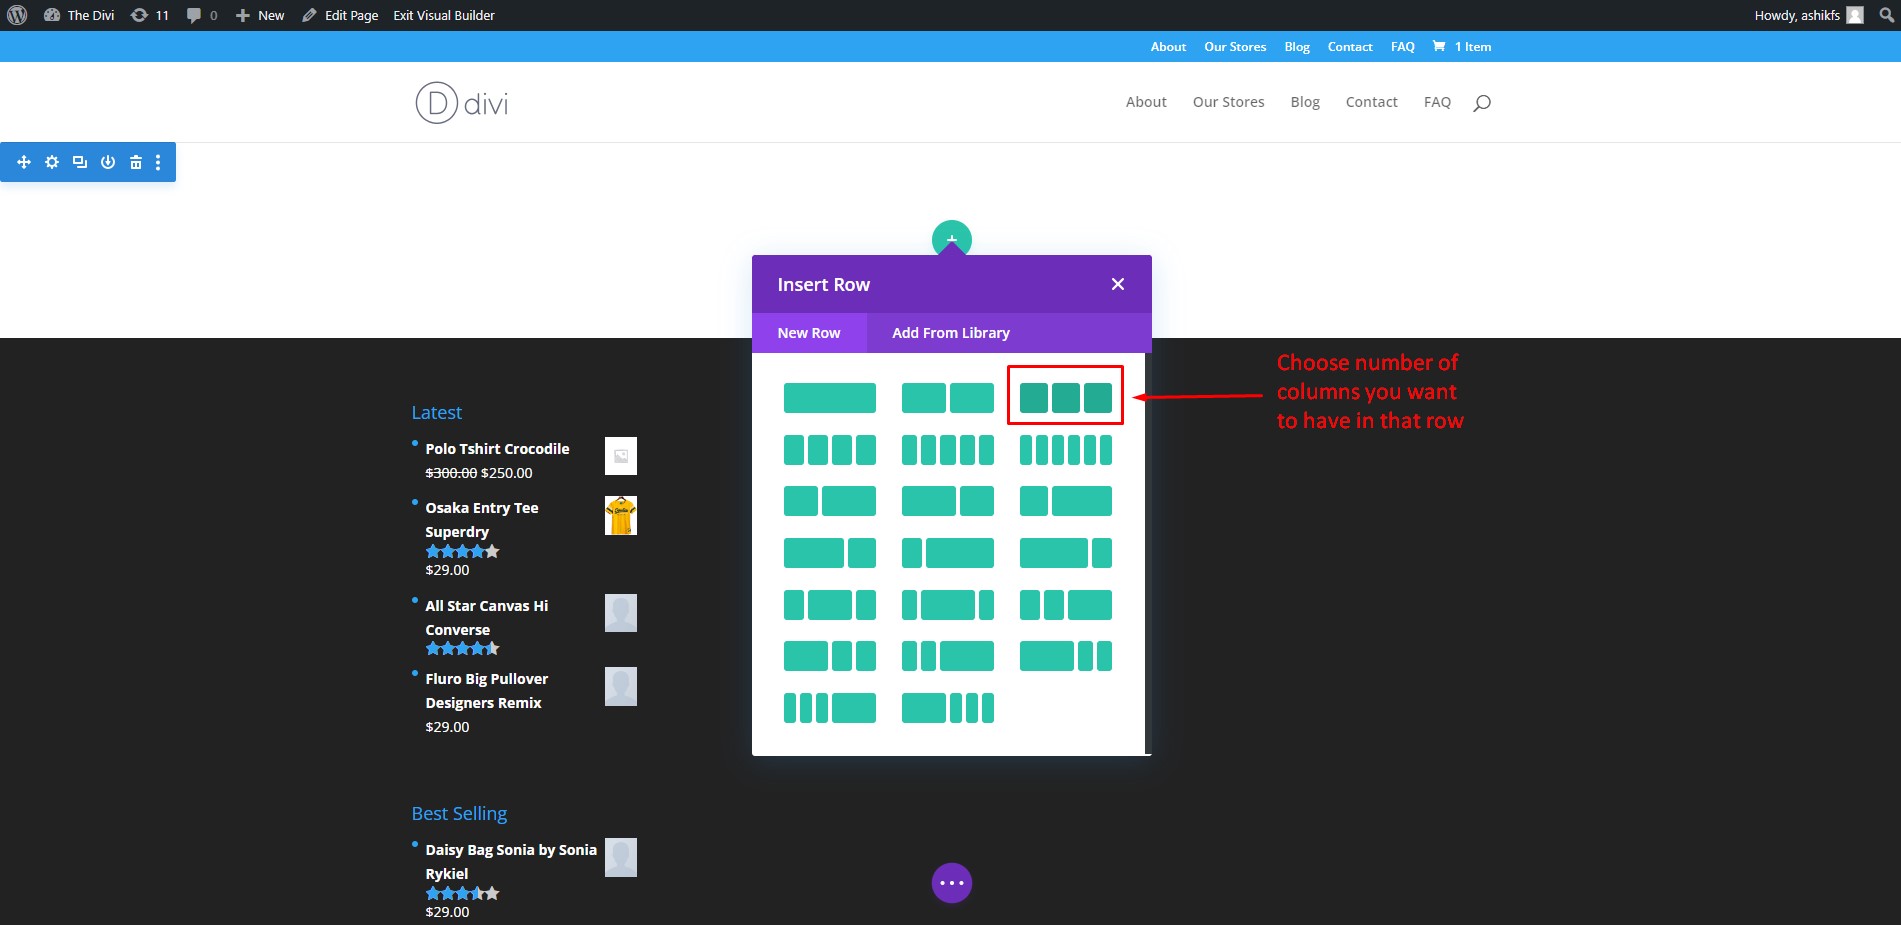
Choose the number of columns you need in that row. Click on ‘3 columns’. Creating rows and columns is pretty much similar in all top free SEO-friendly WordPress WooCommerce themes.
Step 5:
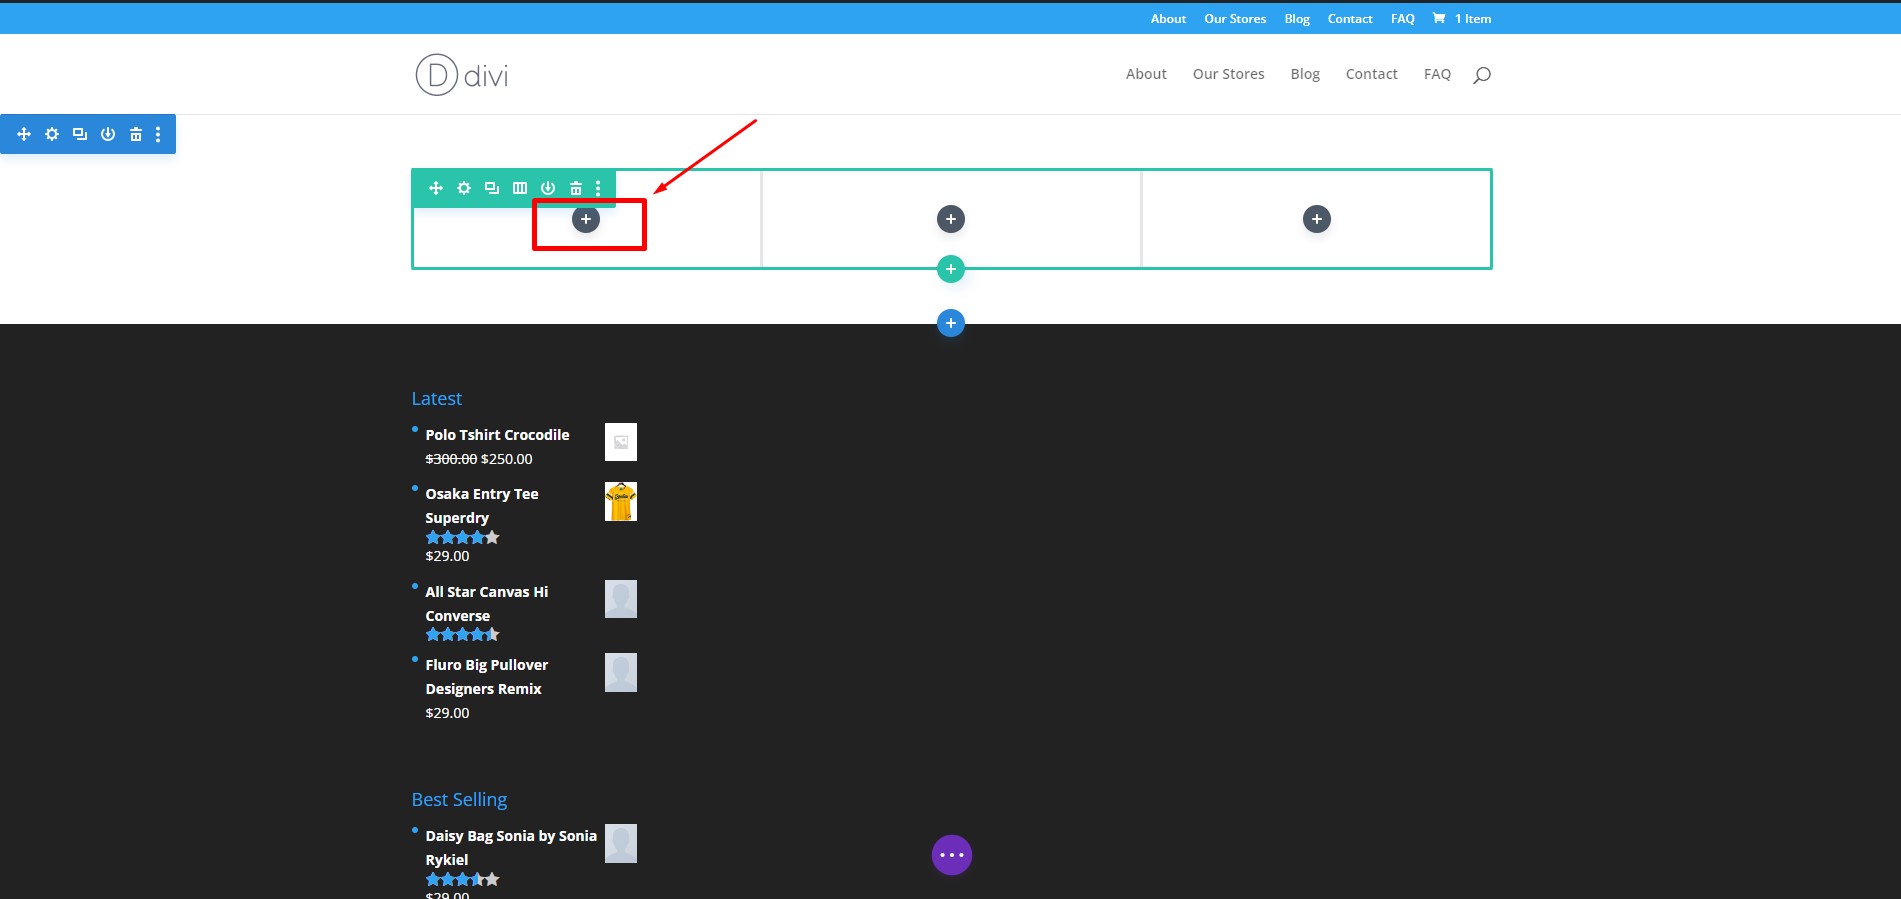
We can see we have added three columns in the row we created. Now click on the ‘Gray +’ icon in the first column to add elements.
Step 6:
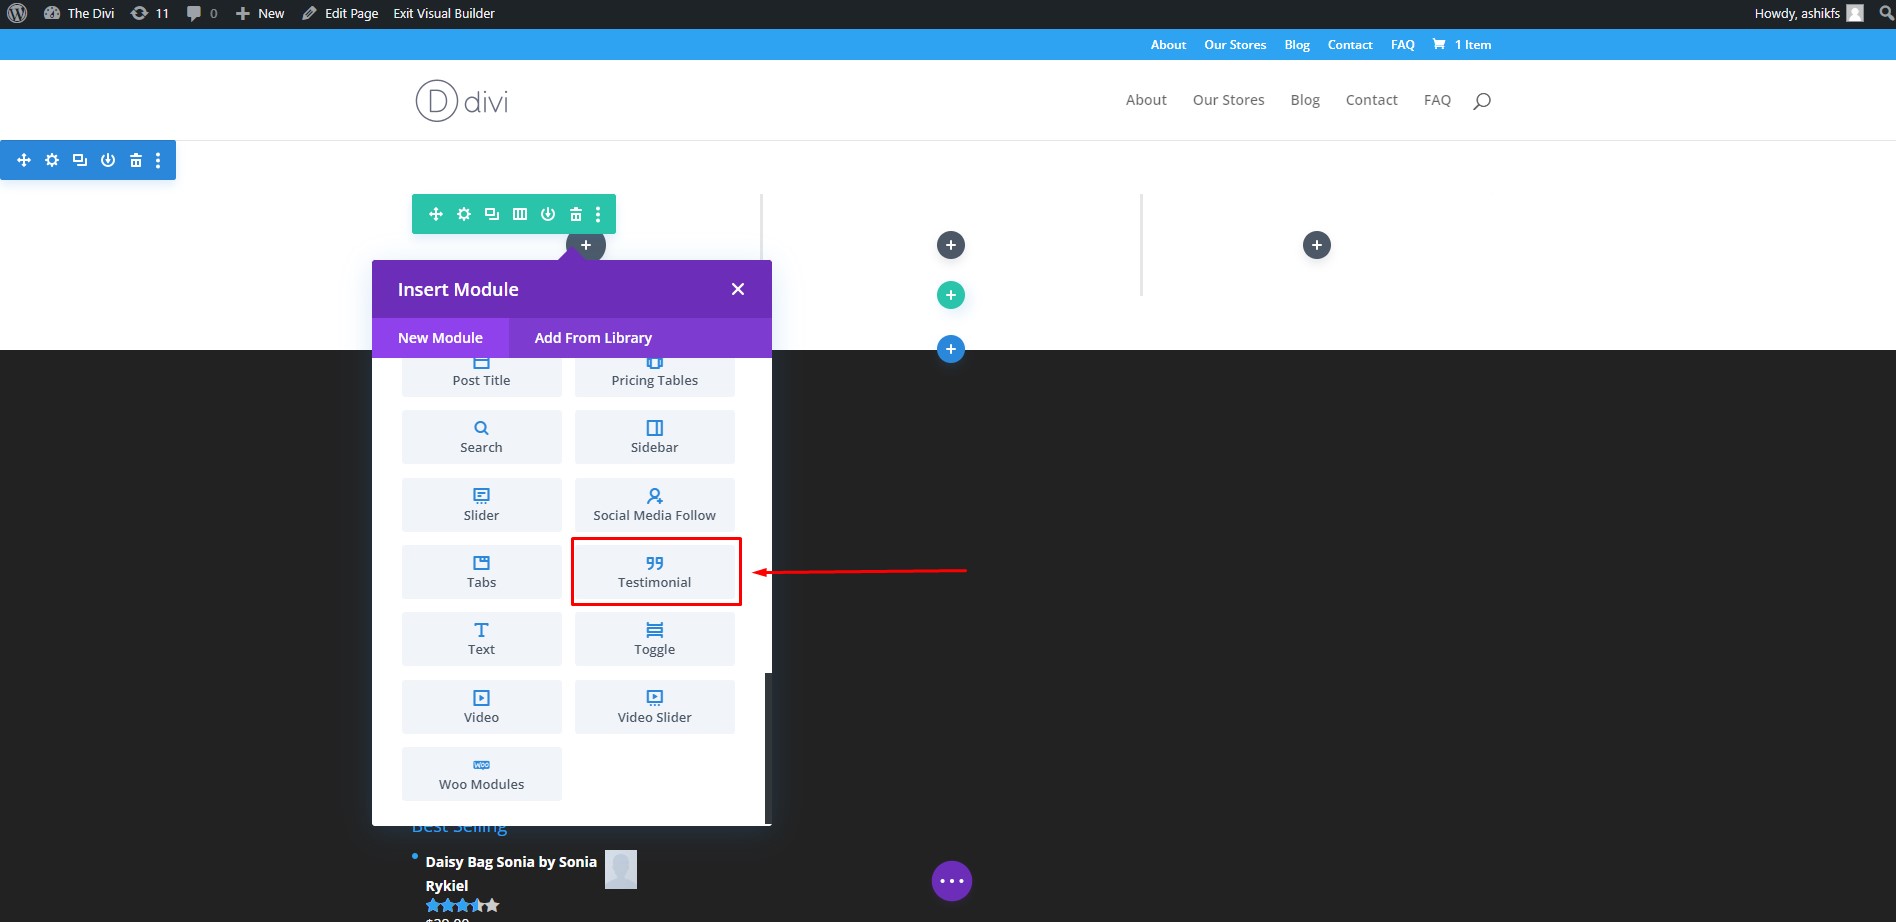
Scroll down in the module library and find the ‘Testimonial’ module. Click on the ‘Testimonial’ module to add it to the respective column.
Step 7:
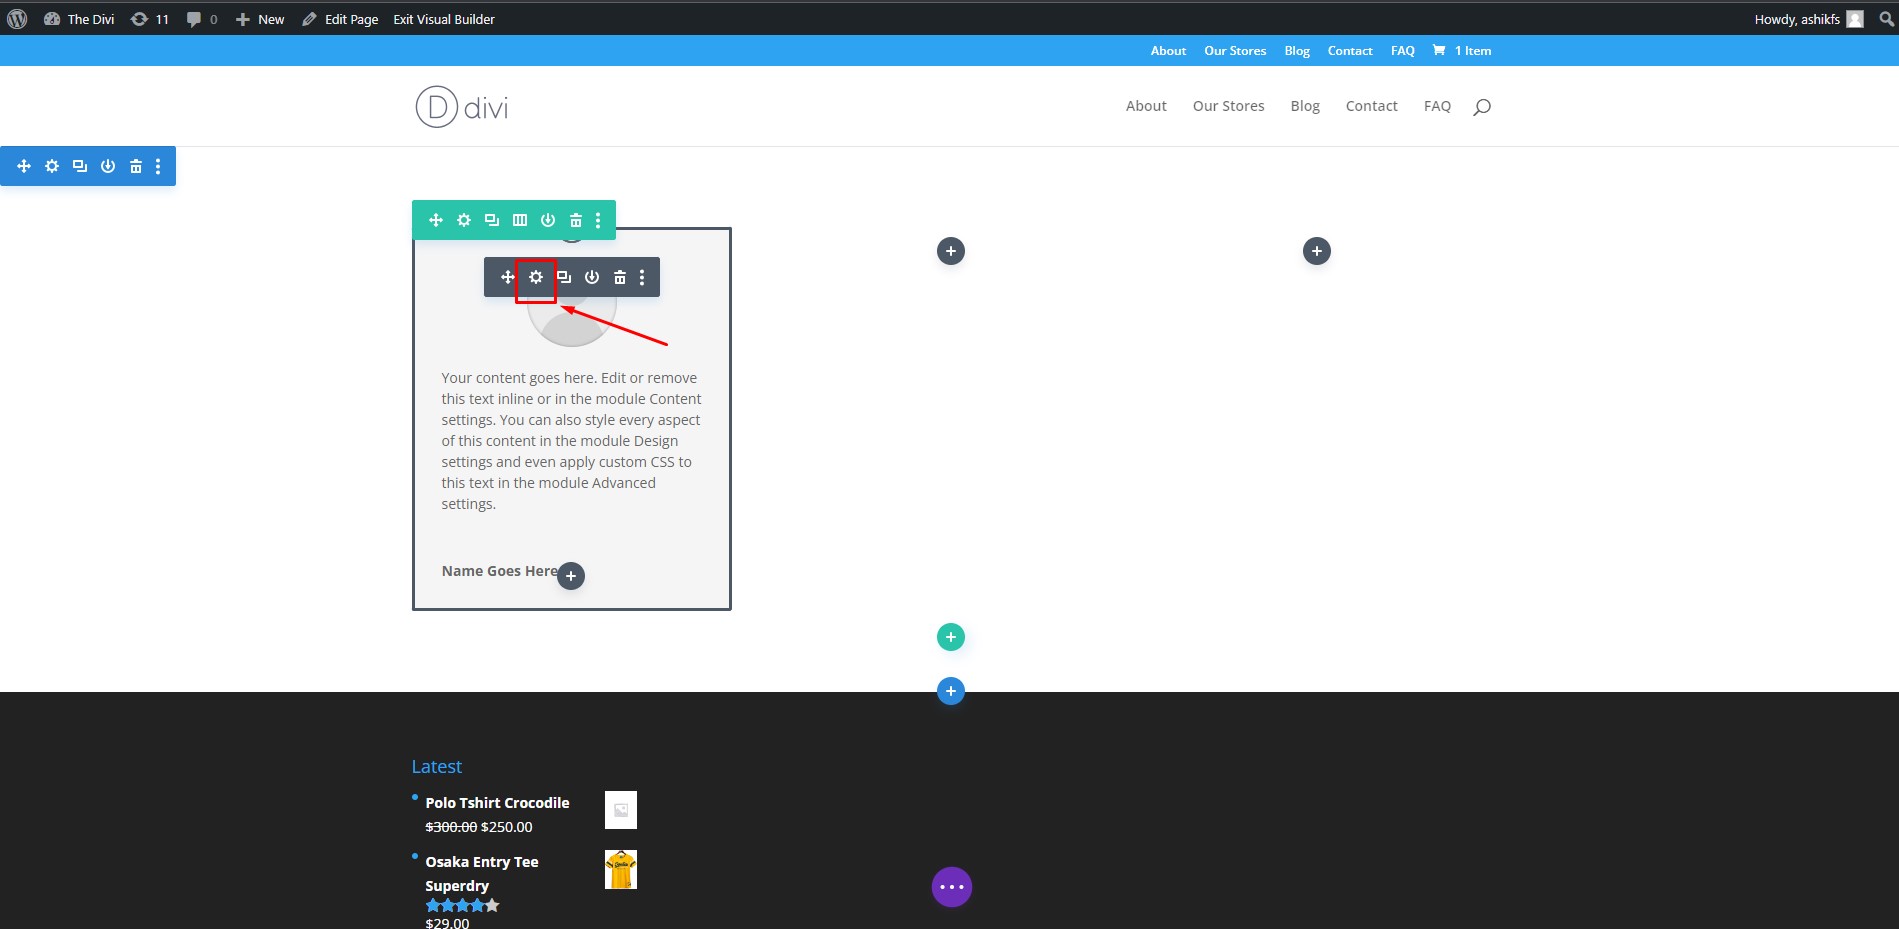
We have added a Testimonialmodule in the first column. Click on the ‘Settings’ icon in the Divi Testimonial module to start customizing.
Step 8:
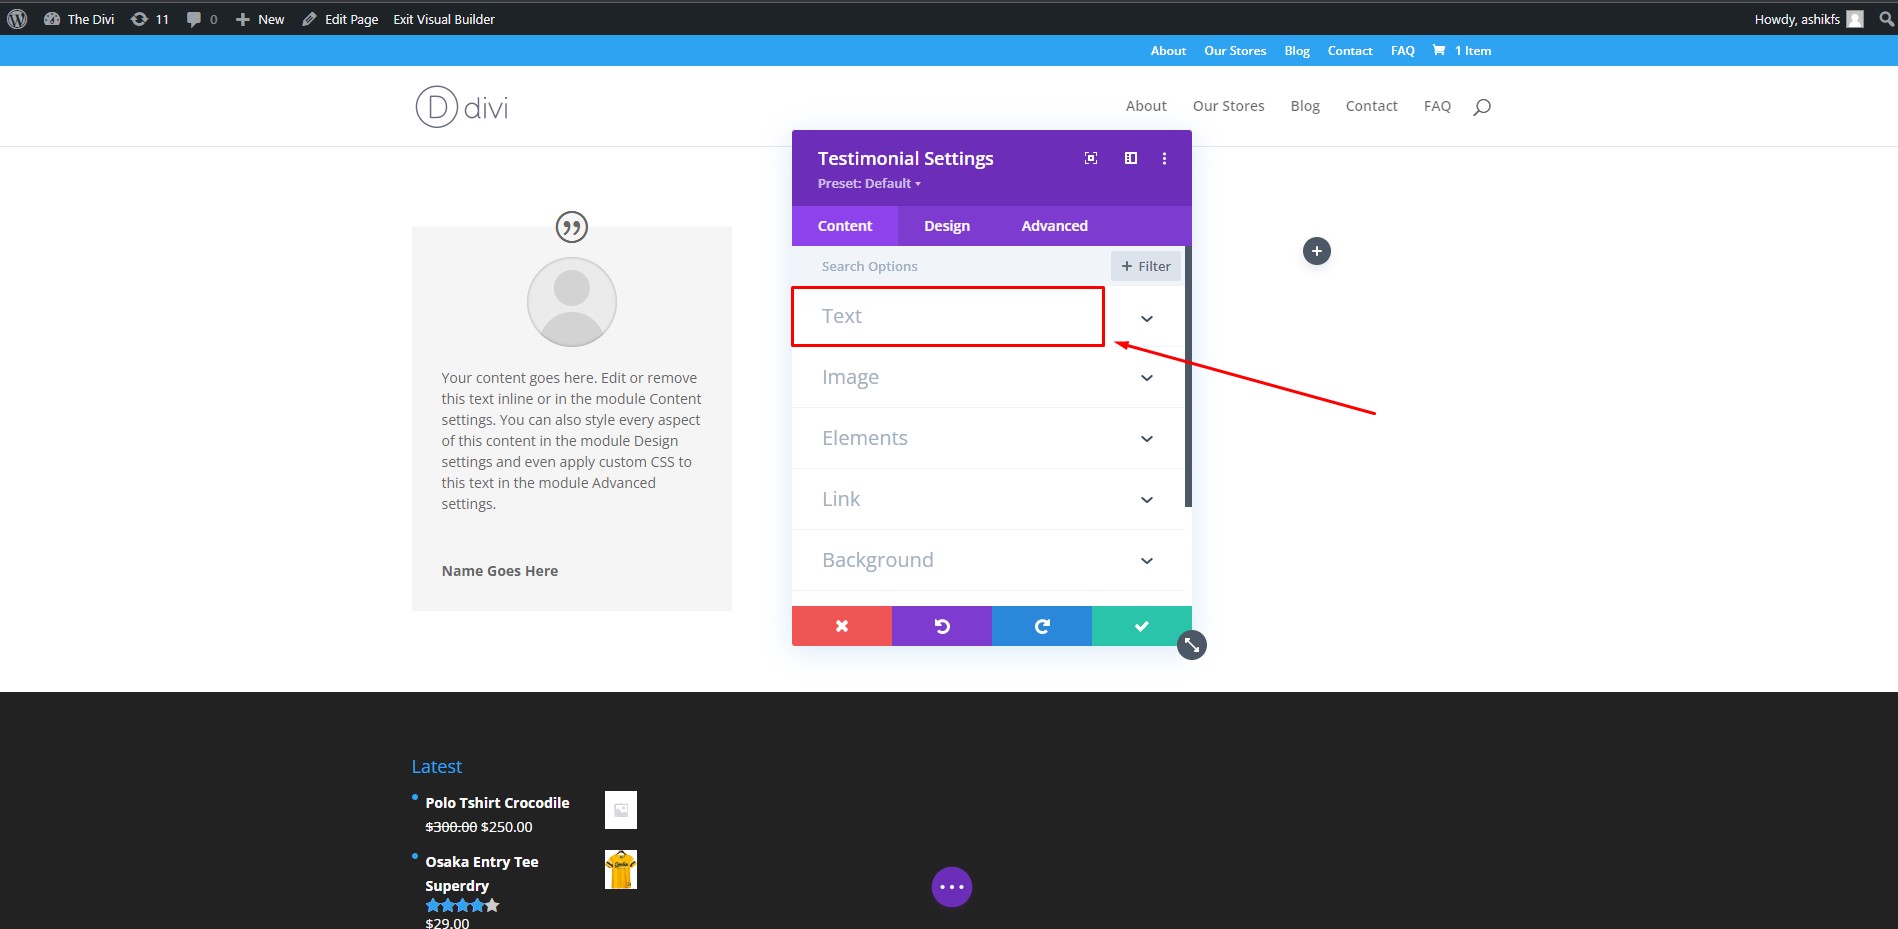
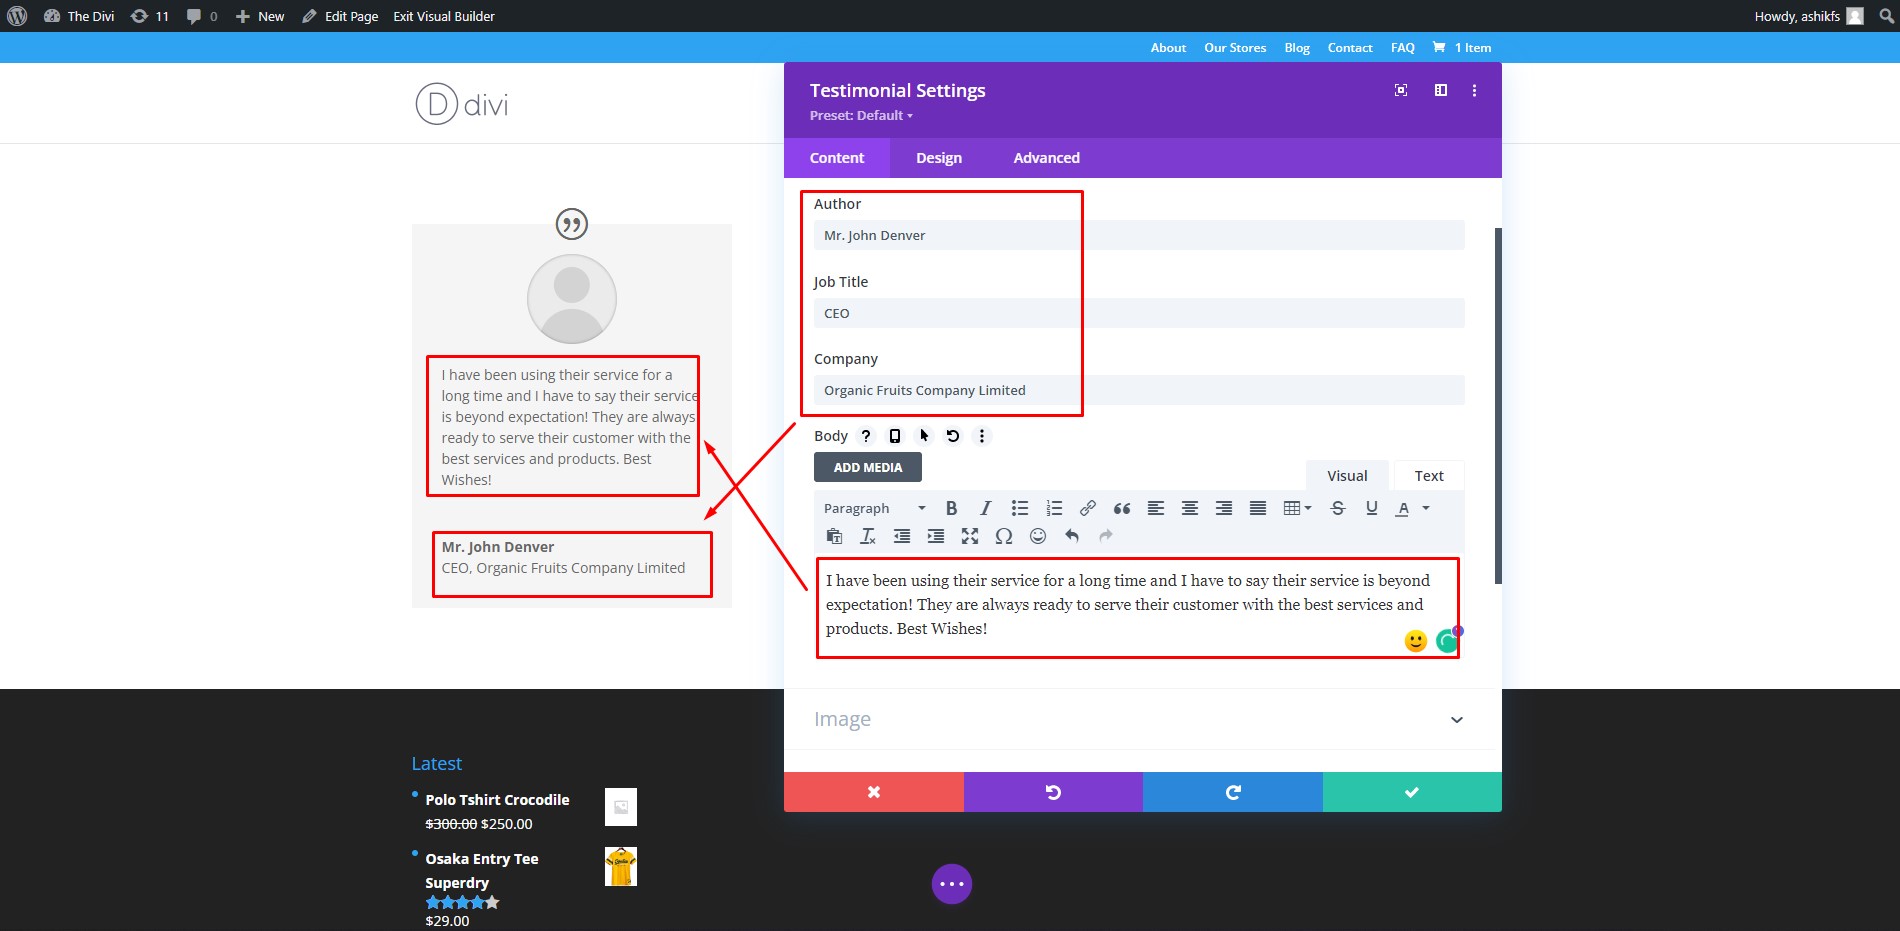
The first tab in the Testimonial setting is the ‘Content’ tab. You can find different sections of the Divi Testimonial module here to place your content. Click on the ‘Text’ option in the ‘Content’ tab to add texts for the Testimonial module.
Step 9:
Write the Author, Job Title, and Company name of your client in the respective fields. Write the testimony in the Body section. You will be able to see the content in the Divi Testimonial module as you write them in the text fields.
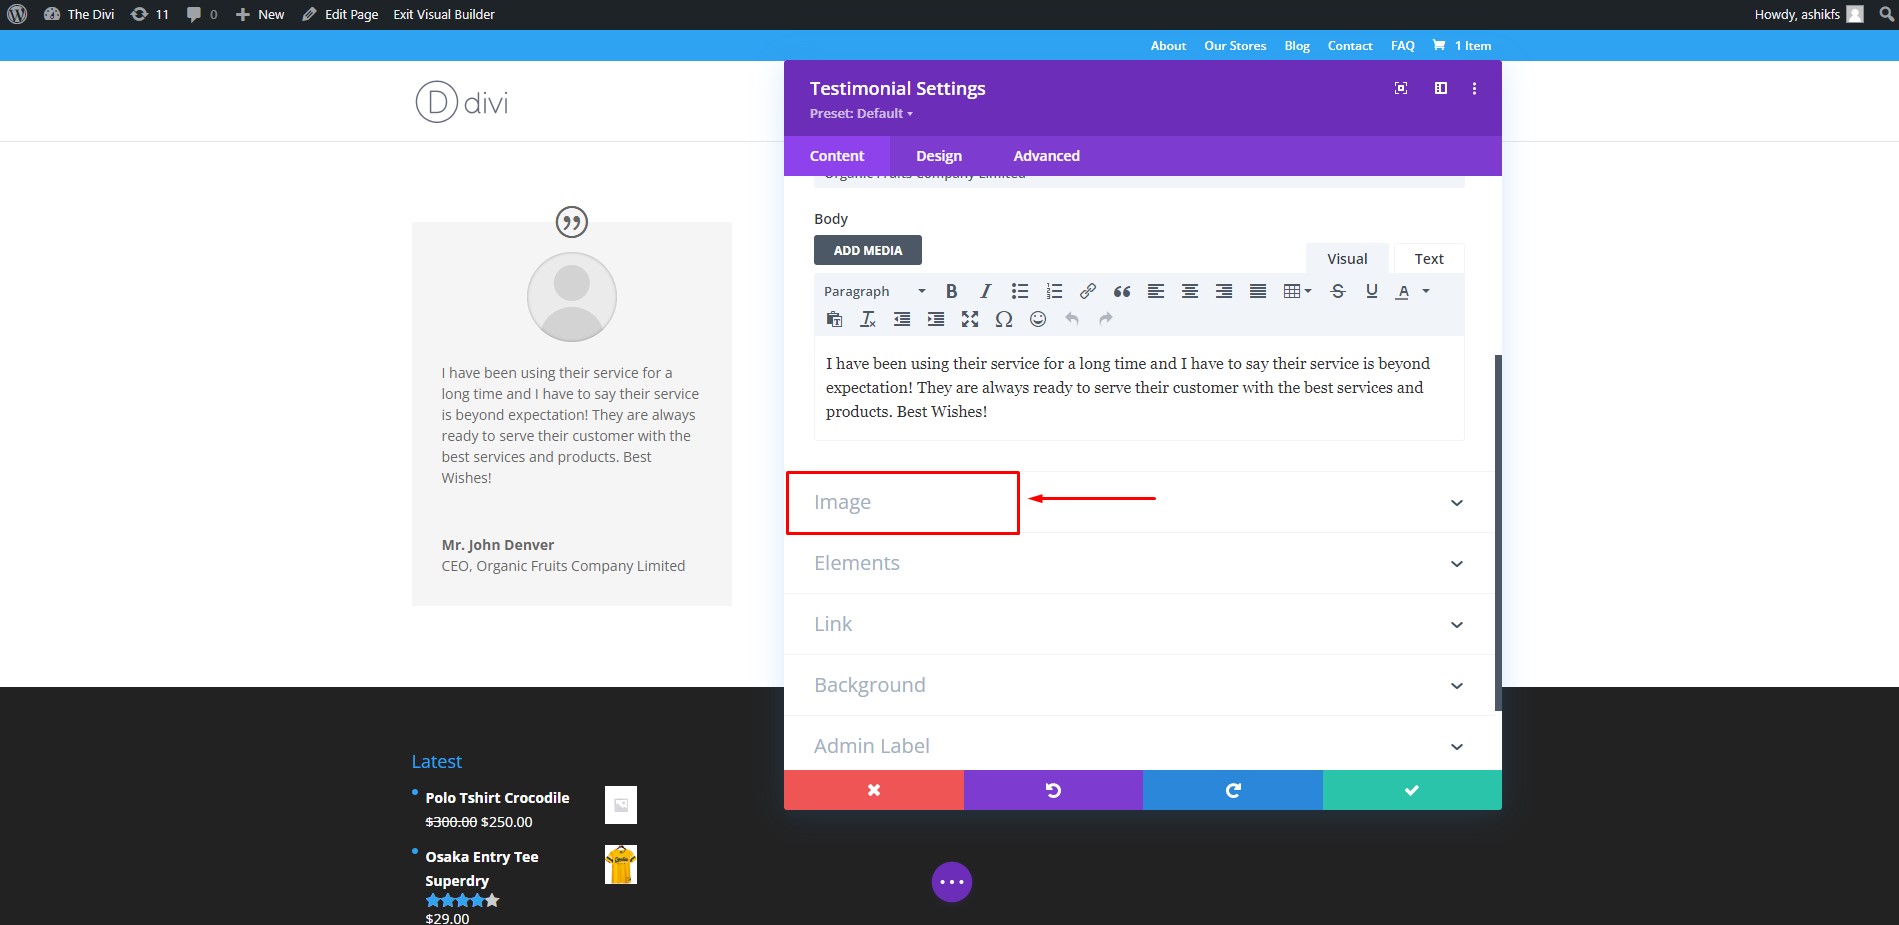
Step 10:
Now scroll down a bit and click on the ‘Image’ section in the ‘Content’ tab. Adding images using the WordPress gallery is the same for all top free WordPress WooCommerce themes.
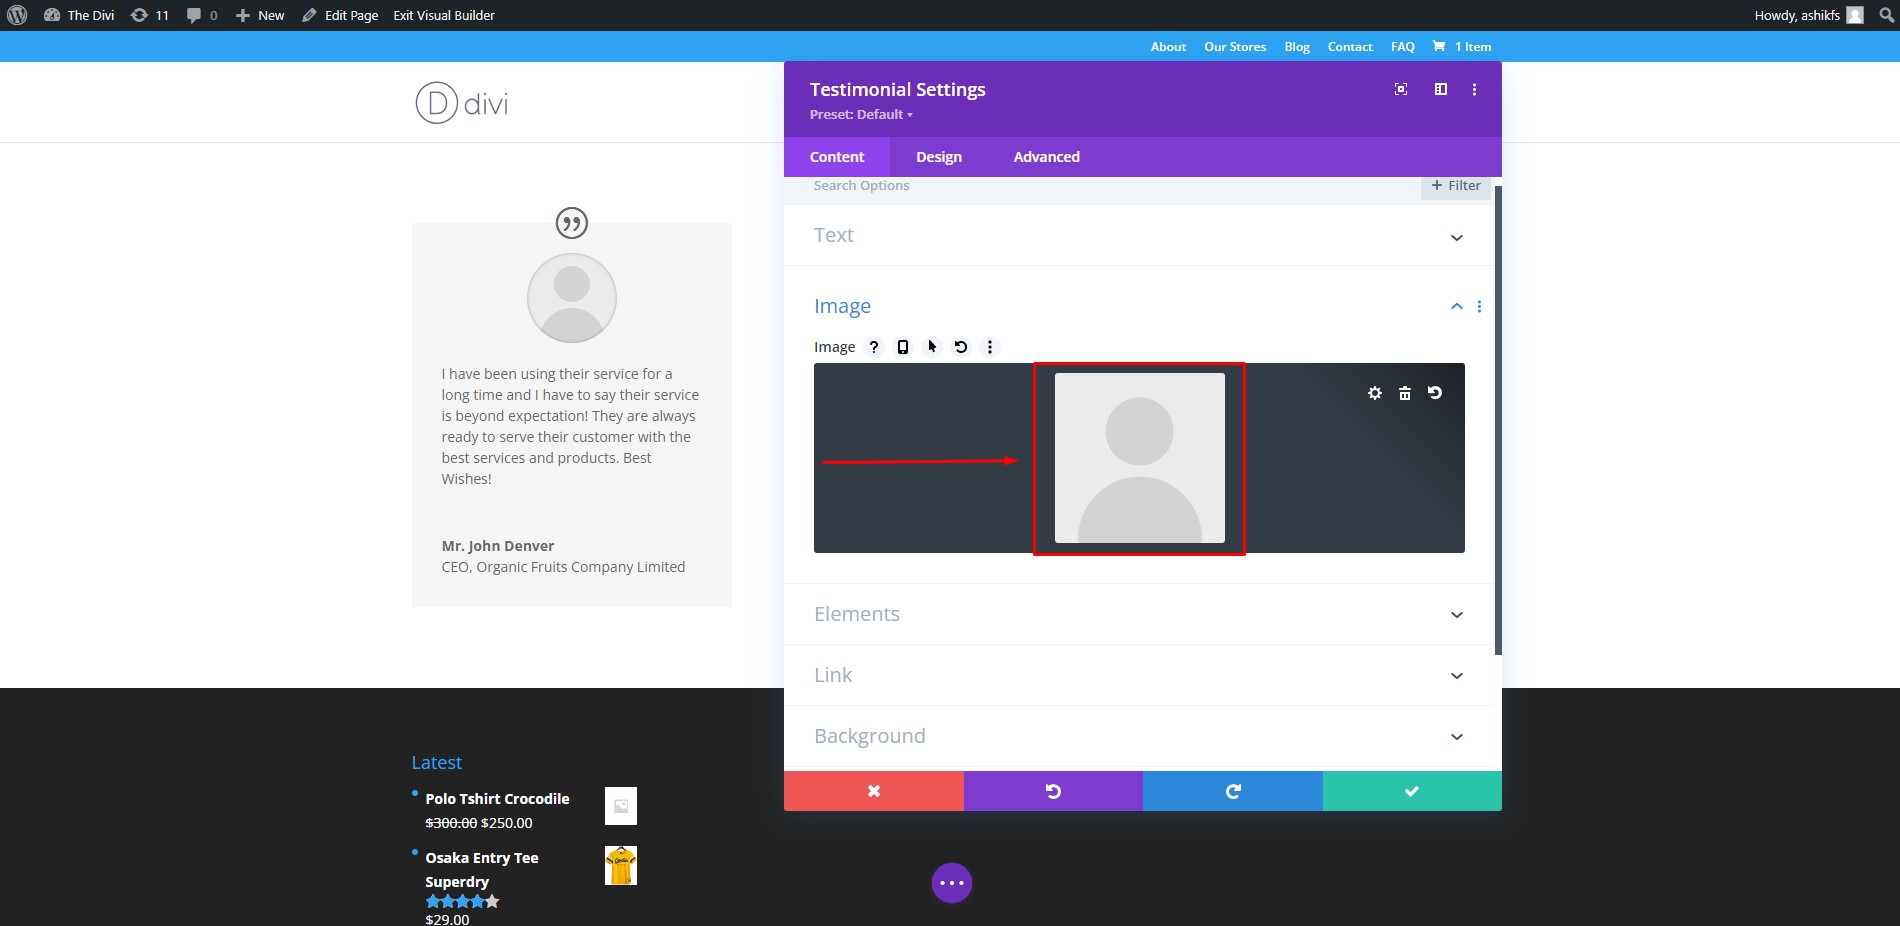
Step 11:
Click on the ‘Image’ section to upload the client’s picture.
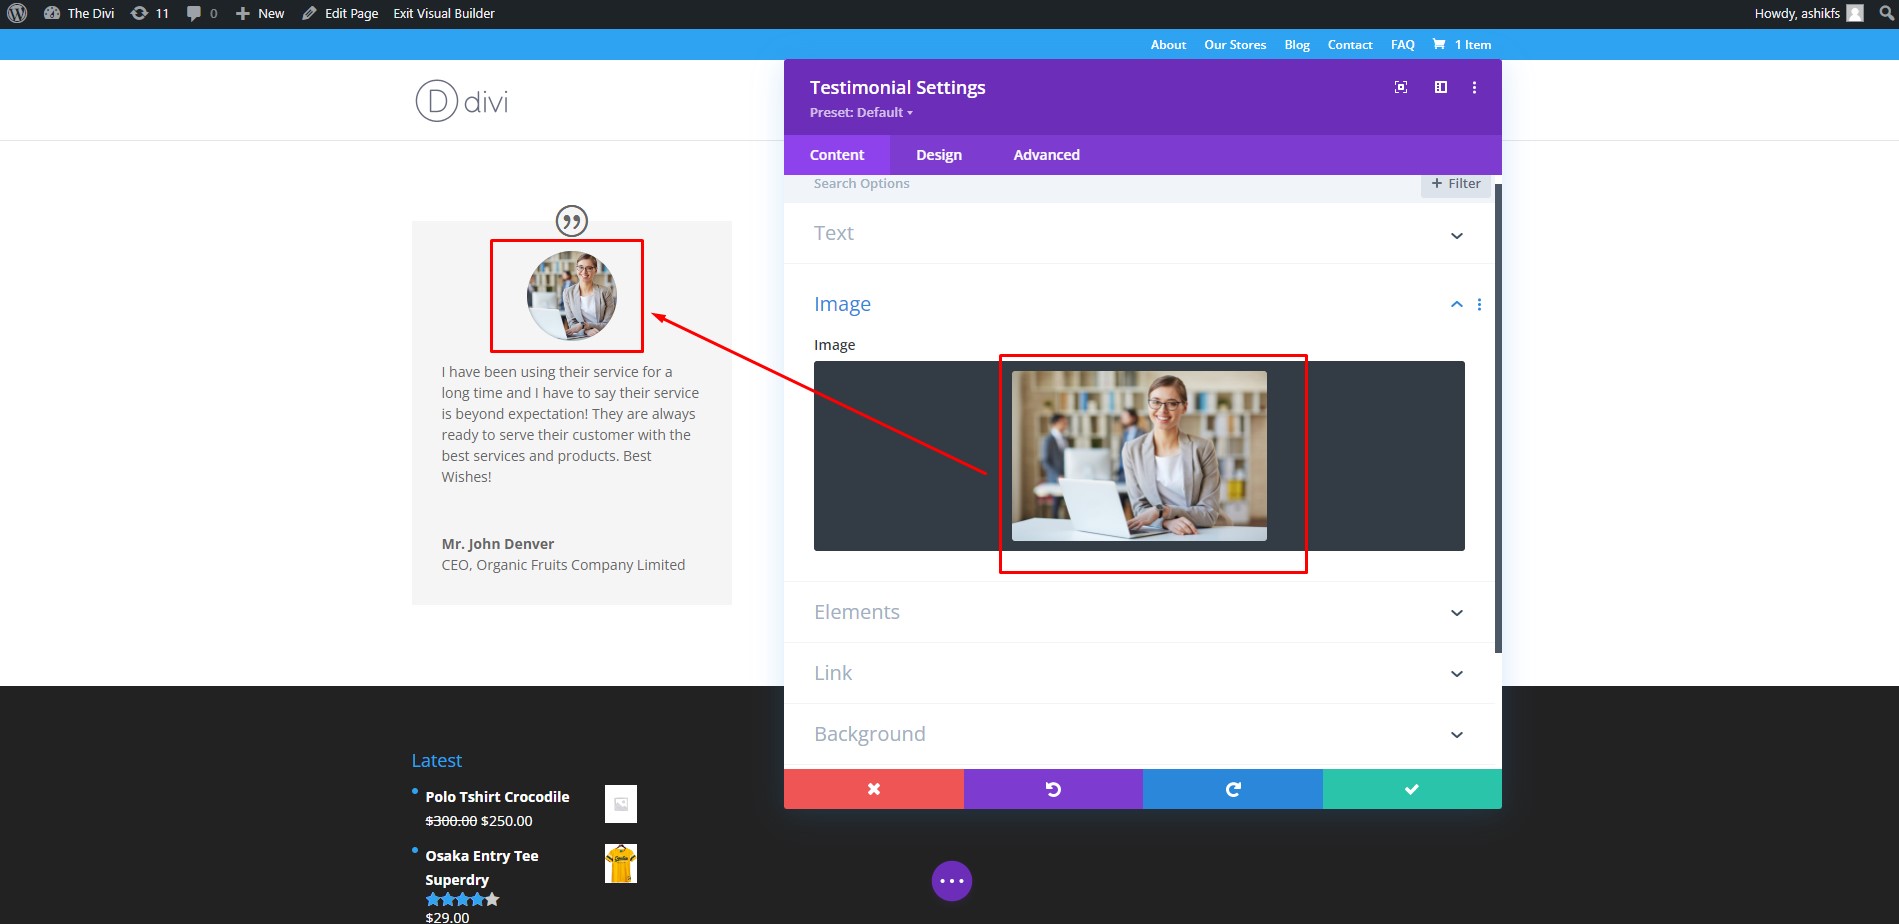
Step 12:
Once you upload the picture from your local device, you can see it instantly in the image section of the Divi Testimonial module.
Step 13:
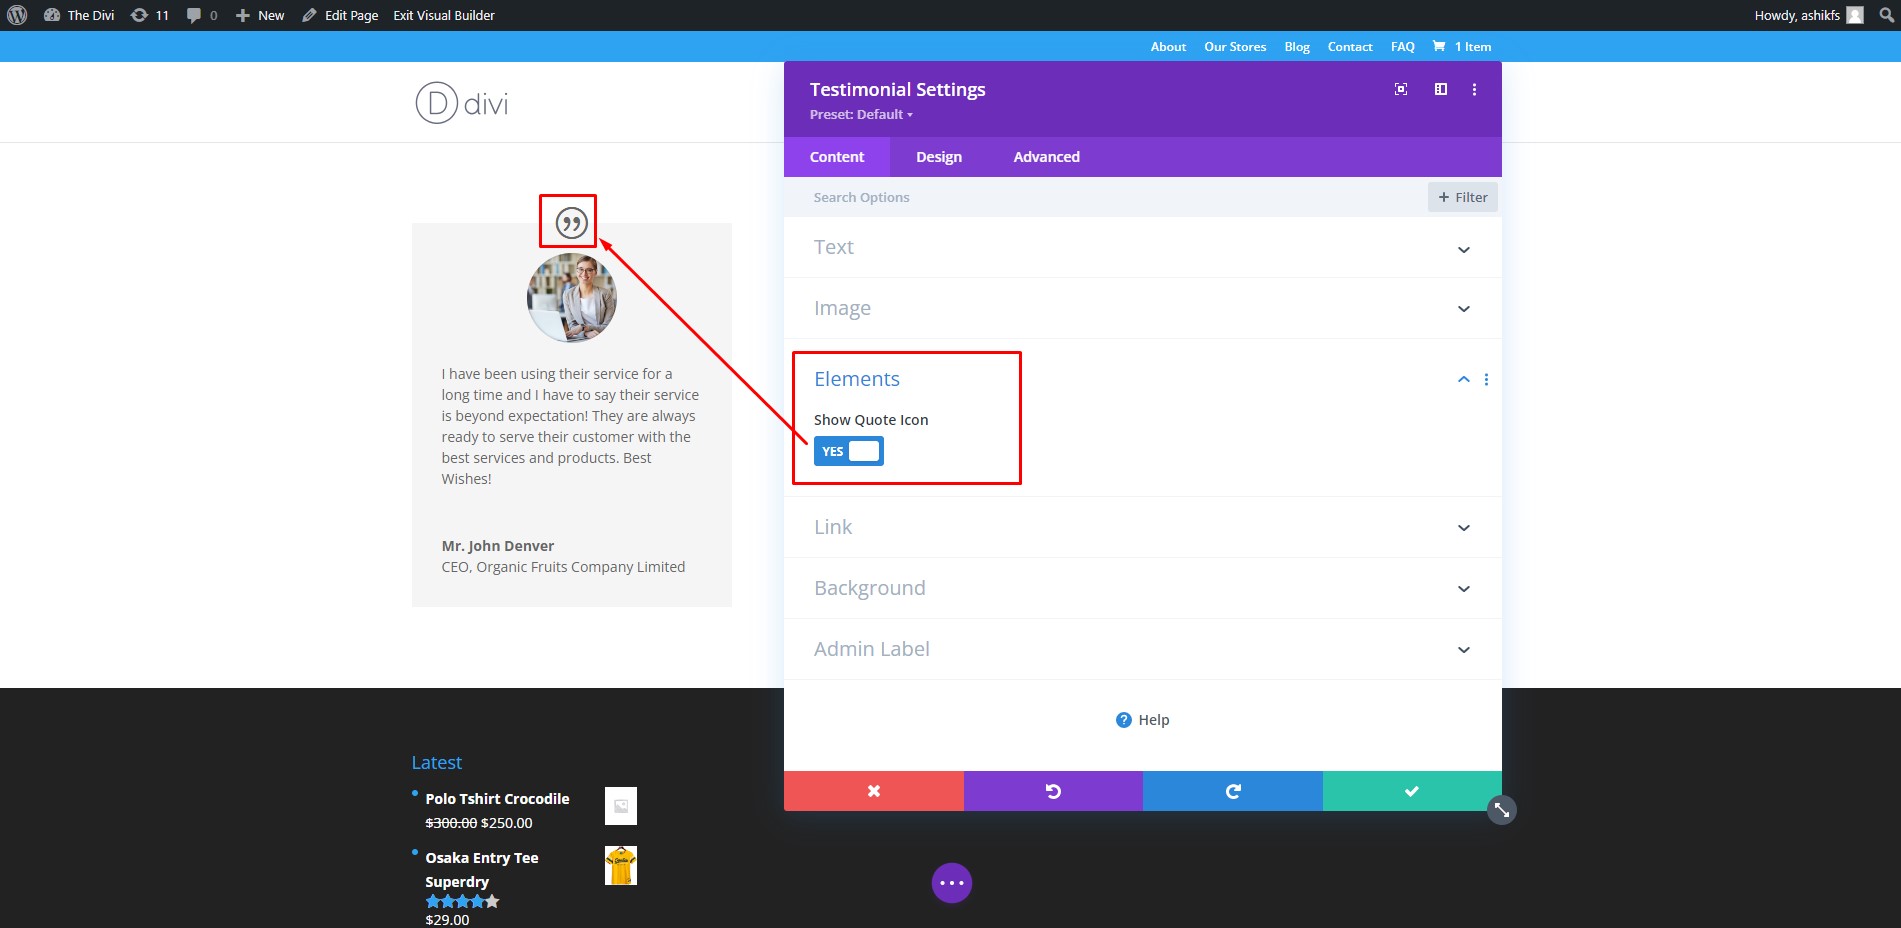
On the ‘Element’ section in the ‘Content’ tab, you can show or hide the quote icon. It is set to ‘YES’ by default. If you set it to ‘No’, the quote icon won’t be visible in your Divi Testimonial module.
Step 14:
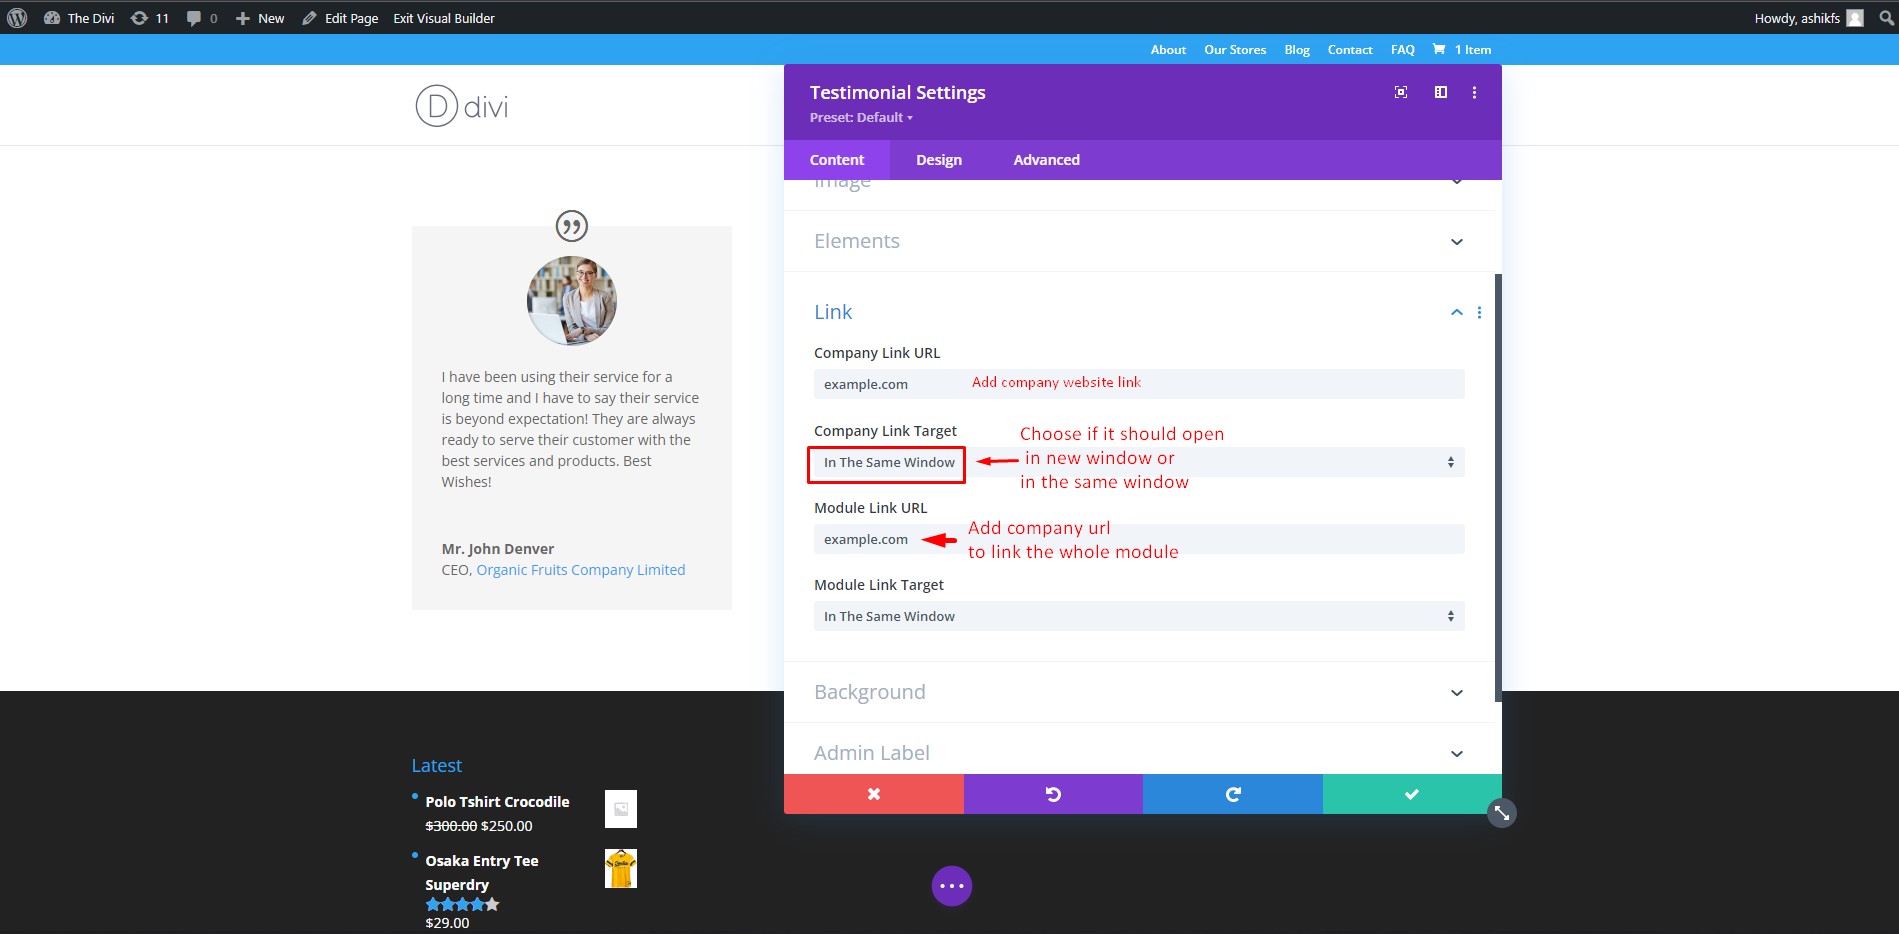
In the Link section, you can link the company name or the whole module to your client’s company website. You can also choose how the link should open.
Step 15:
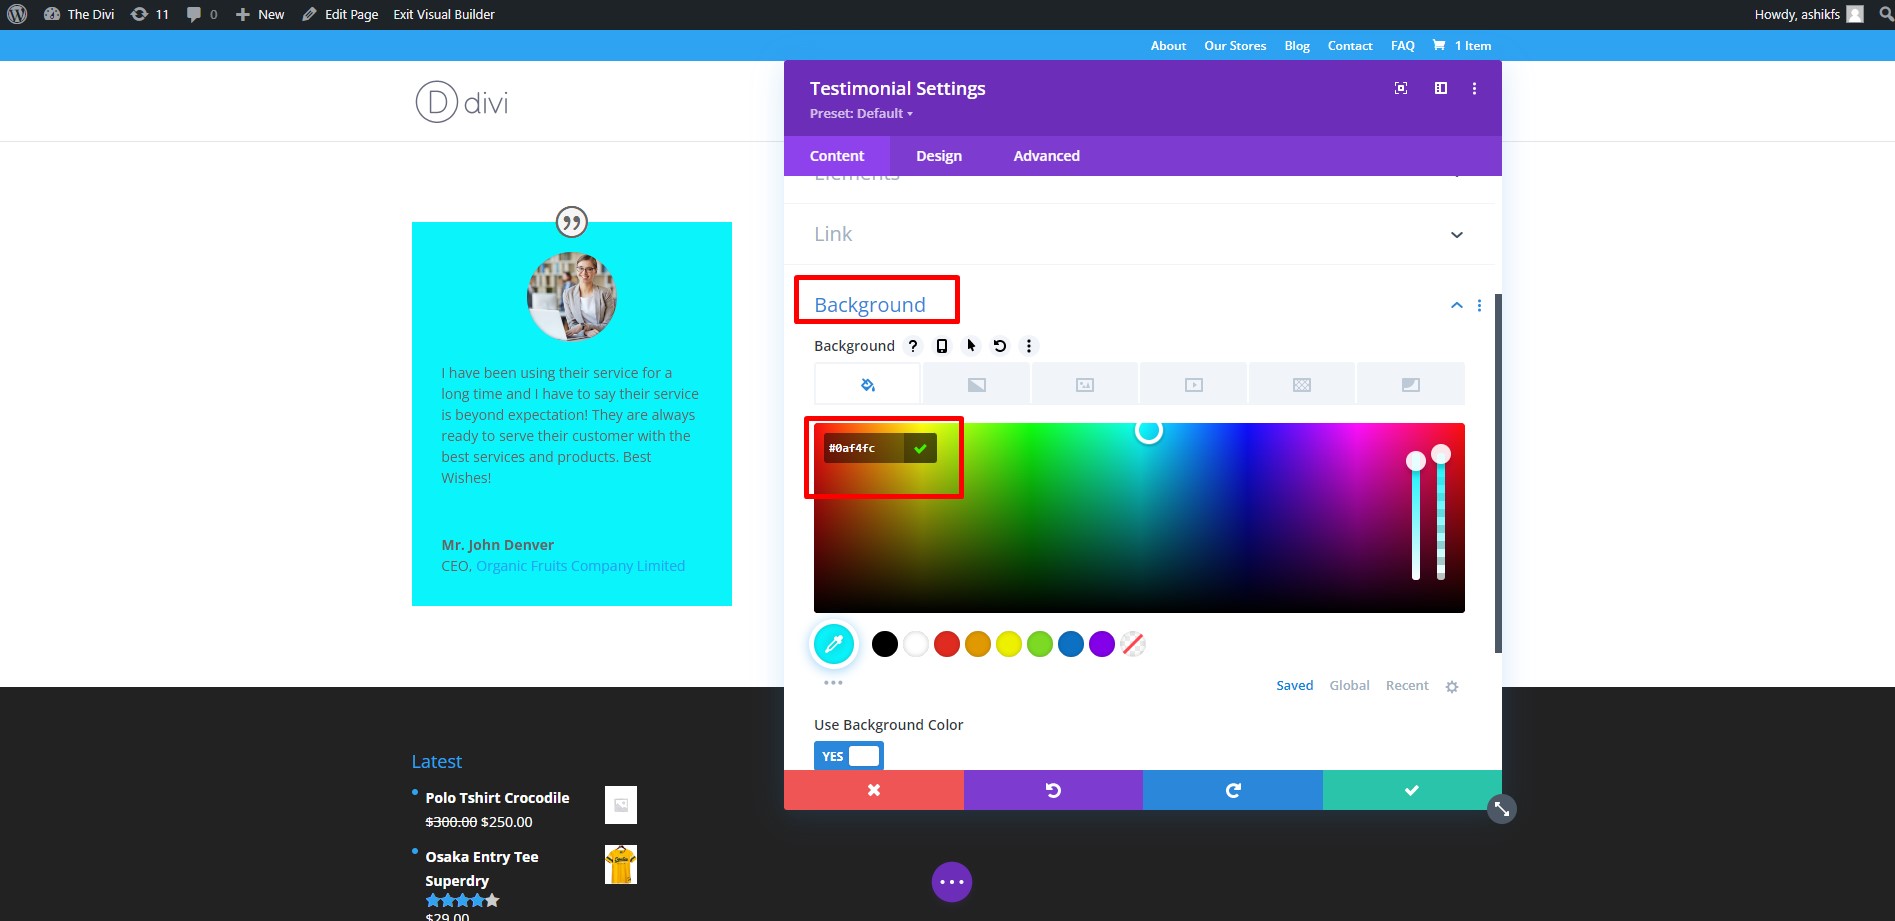
In the ‘Background’ section on the ‘Content’ tab, We can change the background color of our Divi Testimonial module. Move the Circle on the color palette to choose your desired background color.
Step 16:
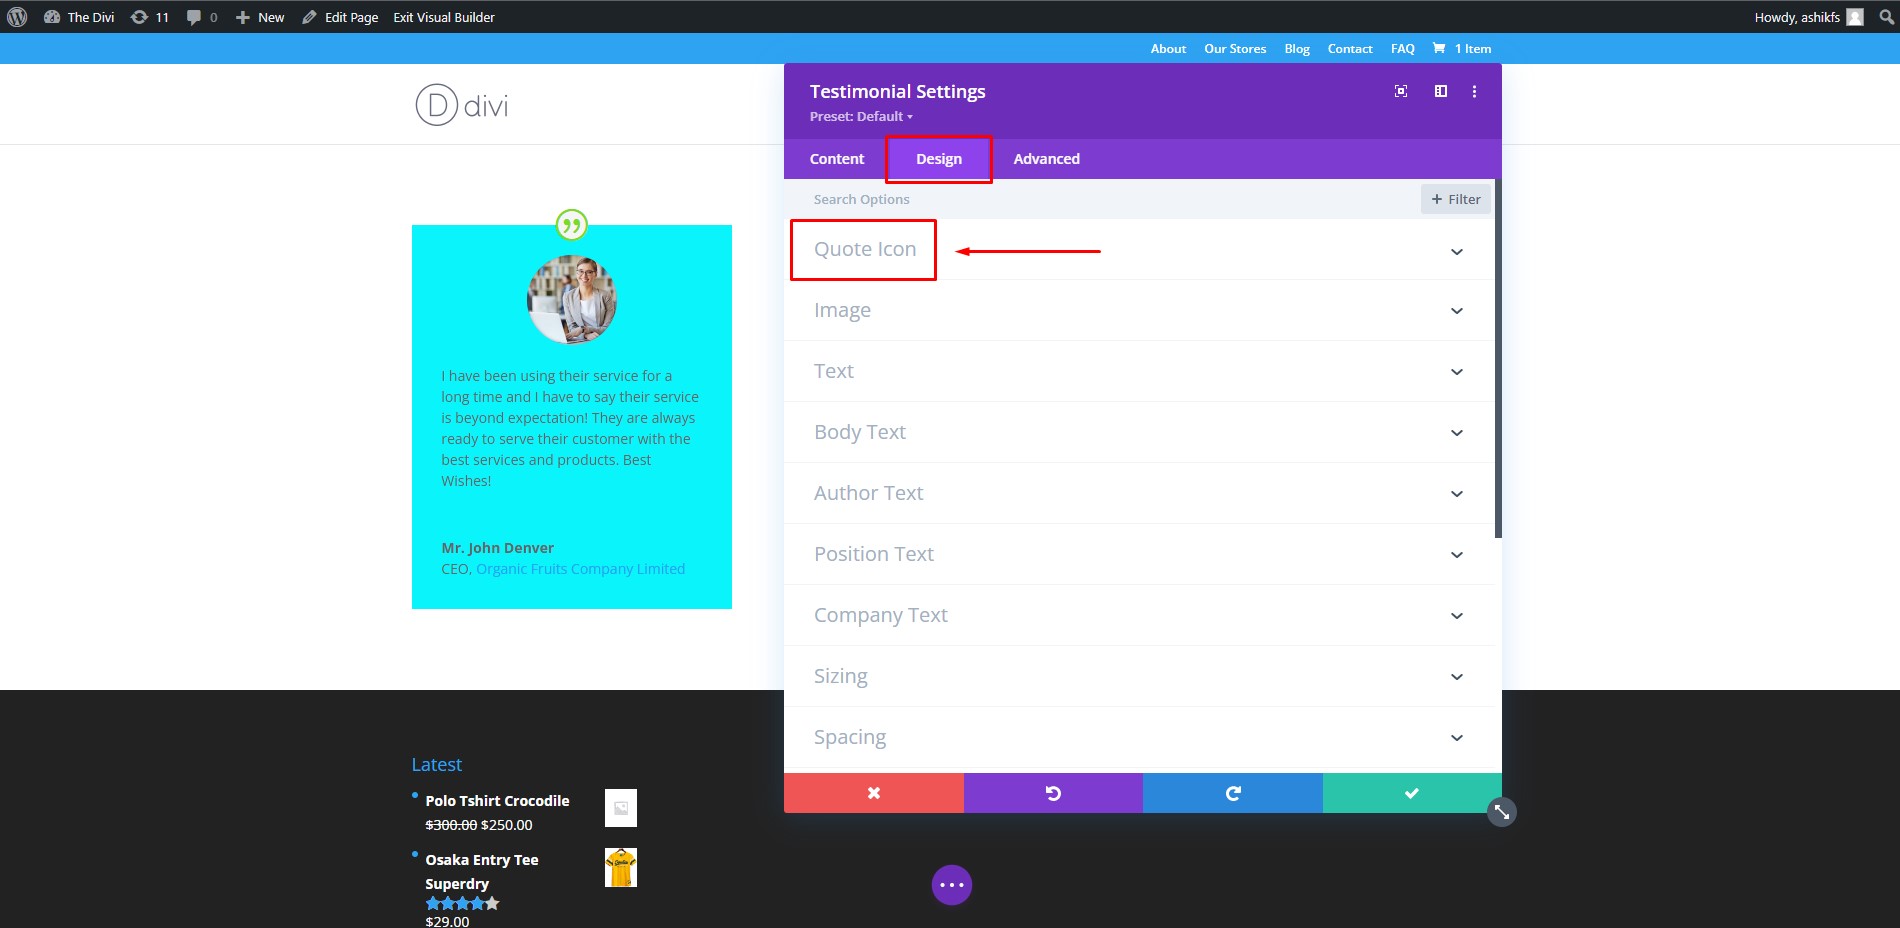
On the ‘Design’ tab in the Testimonial module settings, you can find customization options for various sections of the Divi Testimonial module. Click on the ‘Quote icon’ section to customize the quote icon.
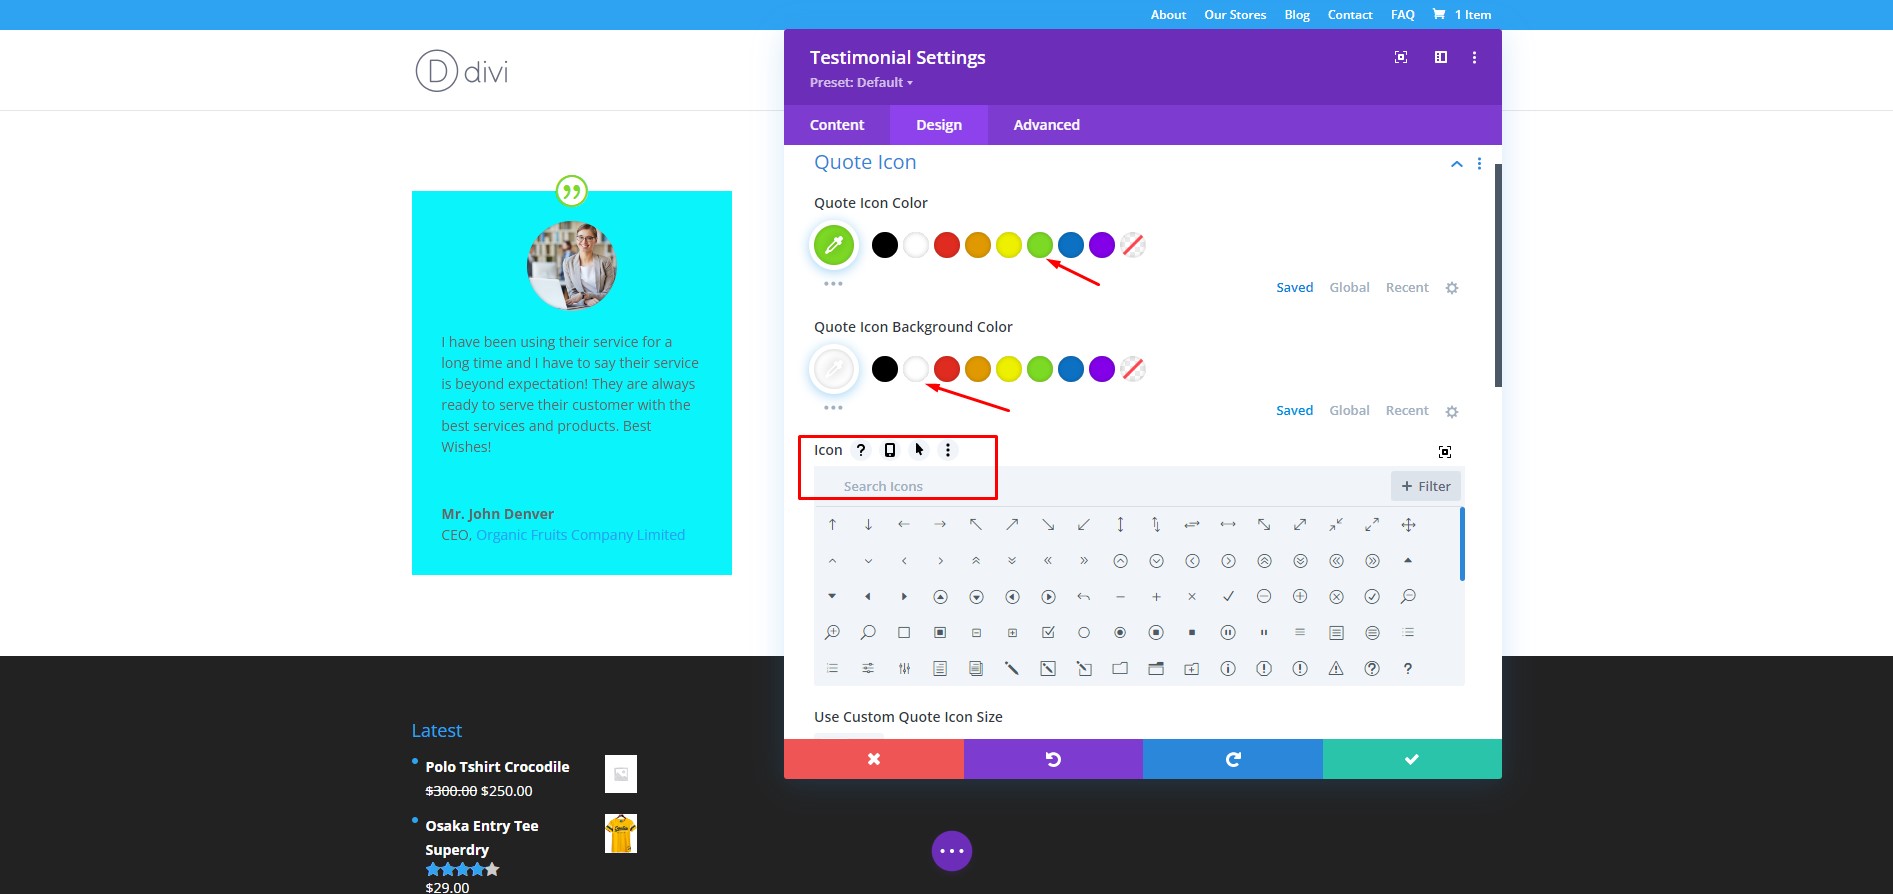
Step 17:
You can change the color of the quote icon and its background. You can also change the quote icon from the icon library.
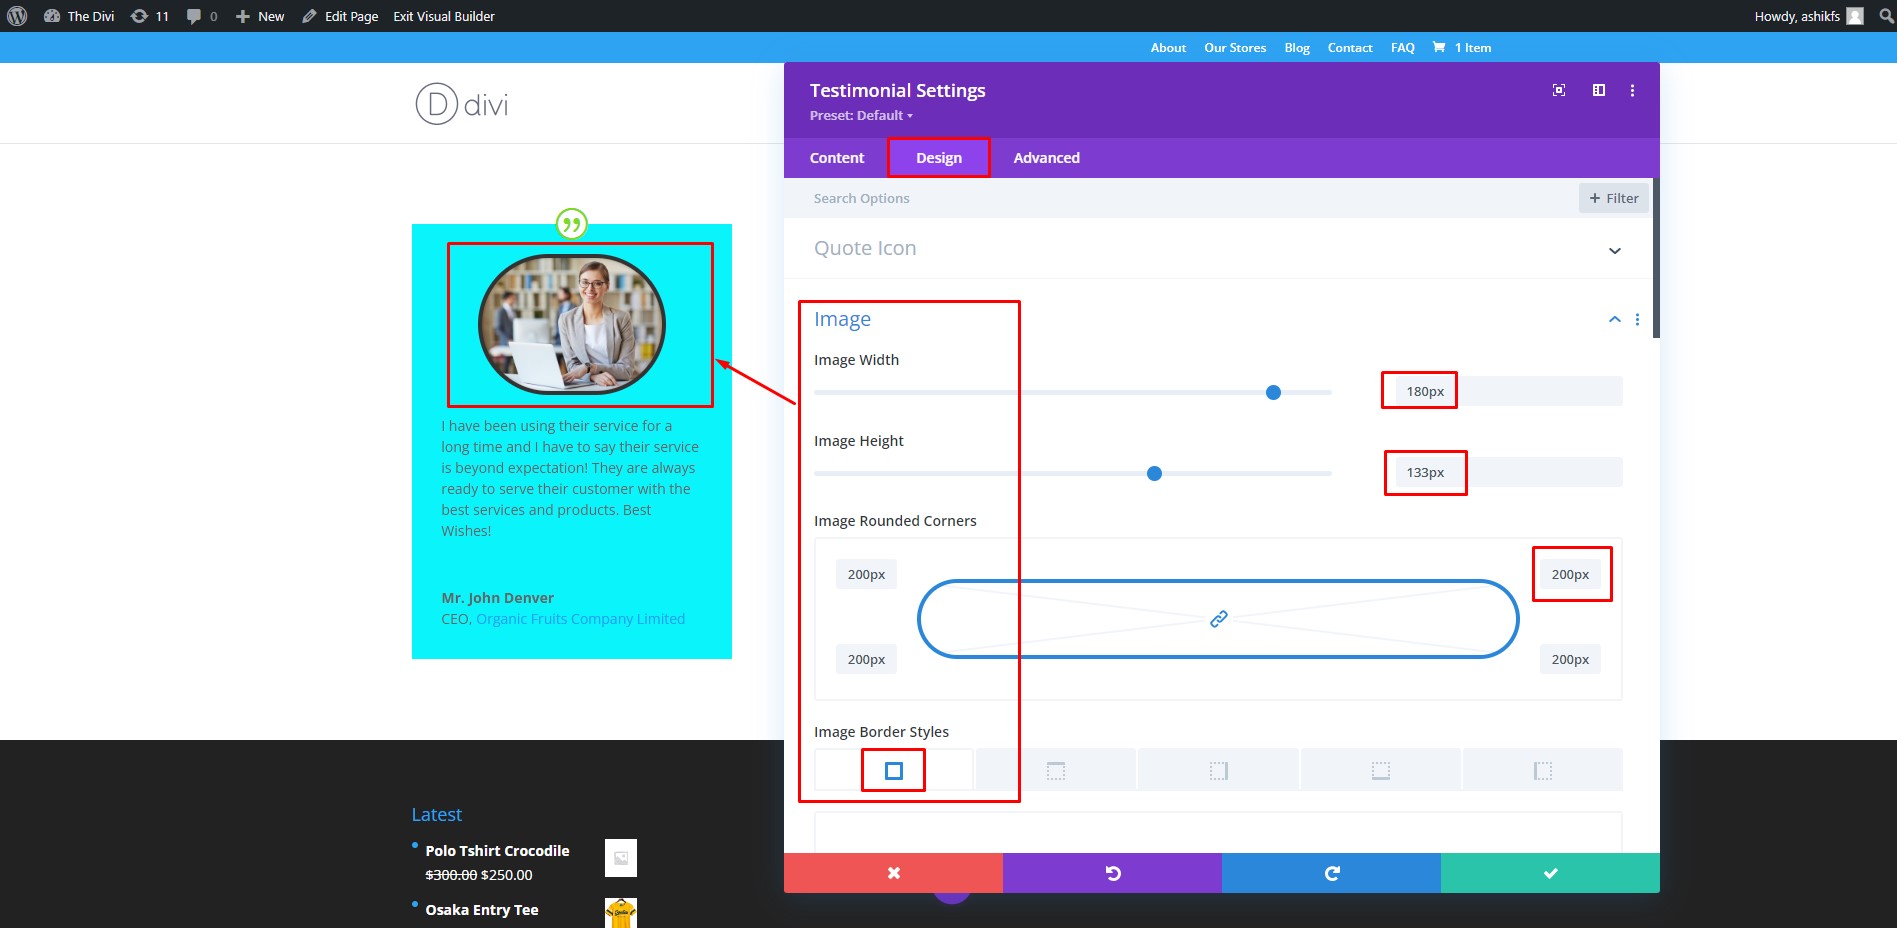
Step 18:
In the ‘Image’ section, you can adjust the height, width, corner radius, border style, and border width of the image.
Step 19:
In the ‘Text’ section, you can adjust text alignment, text color, and text shadow.
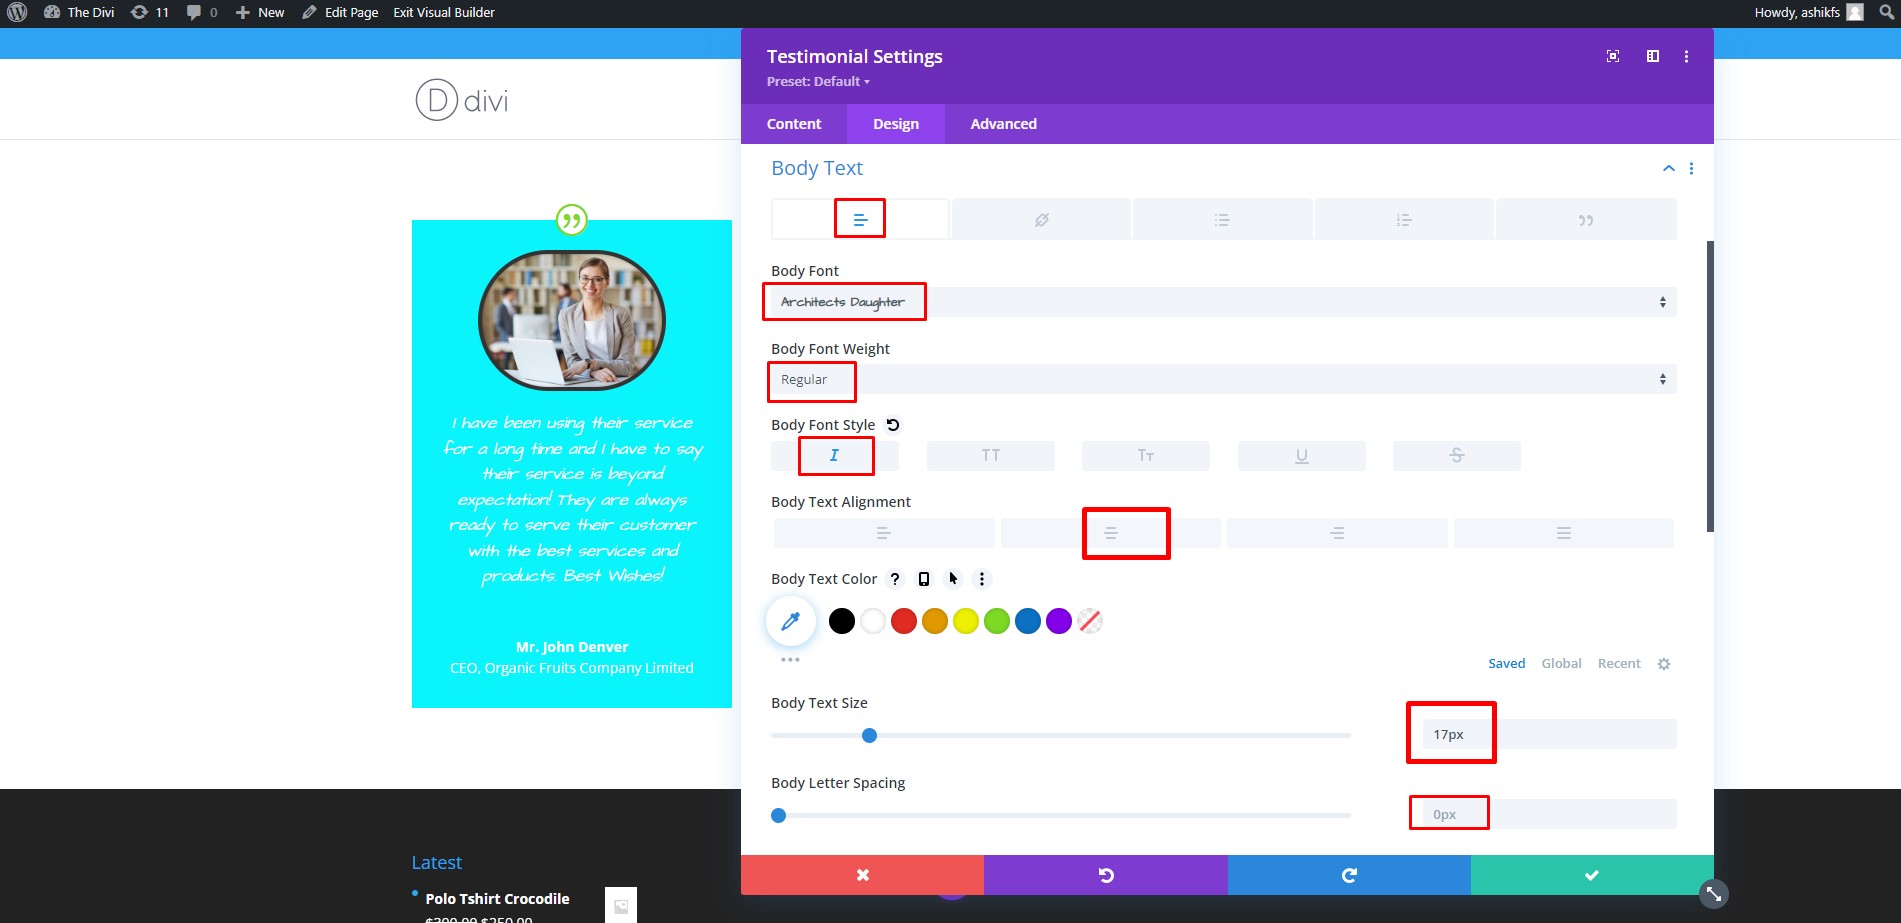
Step 20:
In the ‘Body’ text section, you can adjust the font type, font size, color, alignment, spacing, and line height.
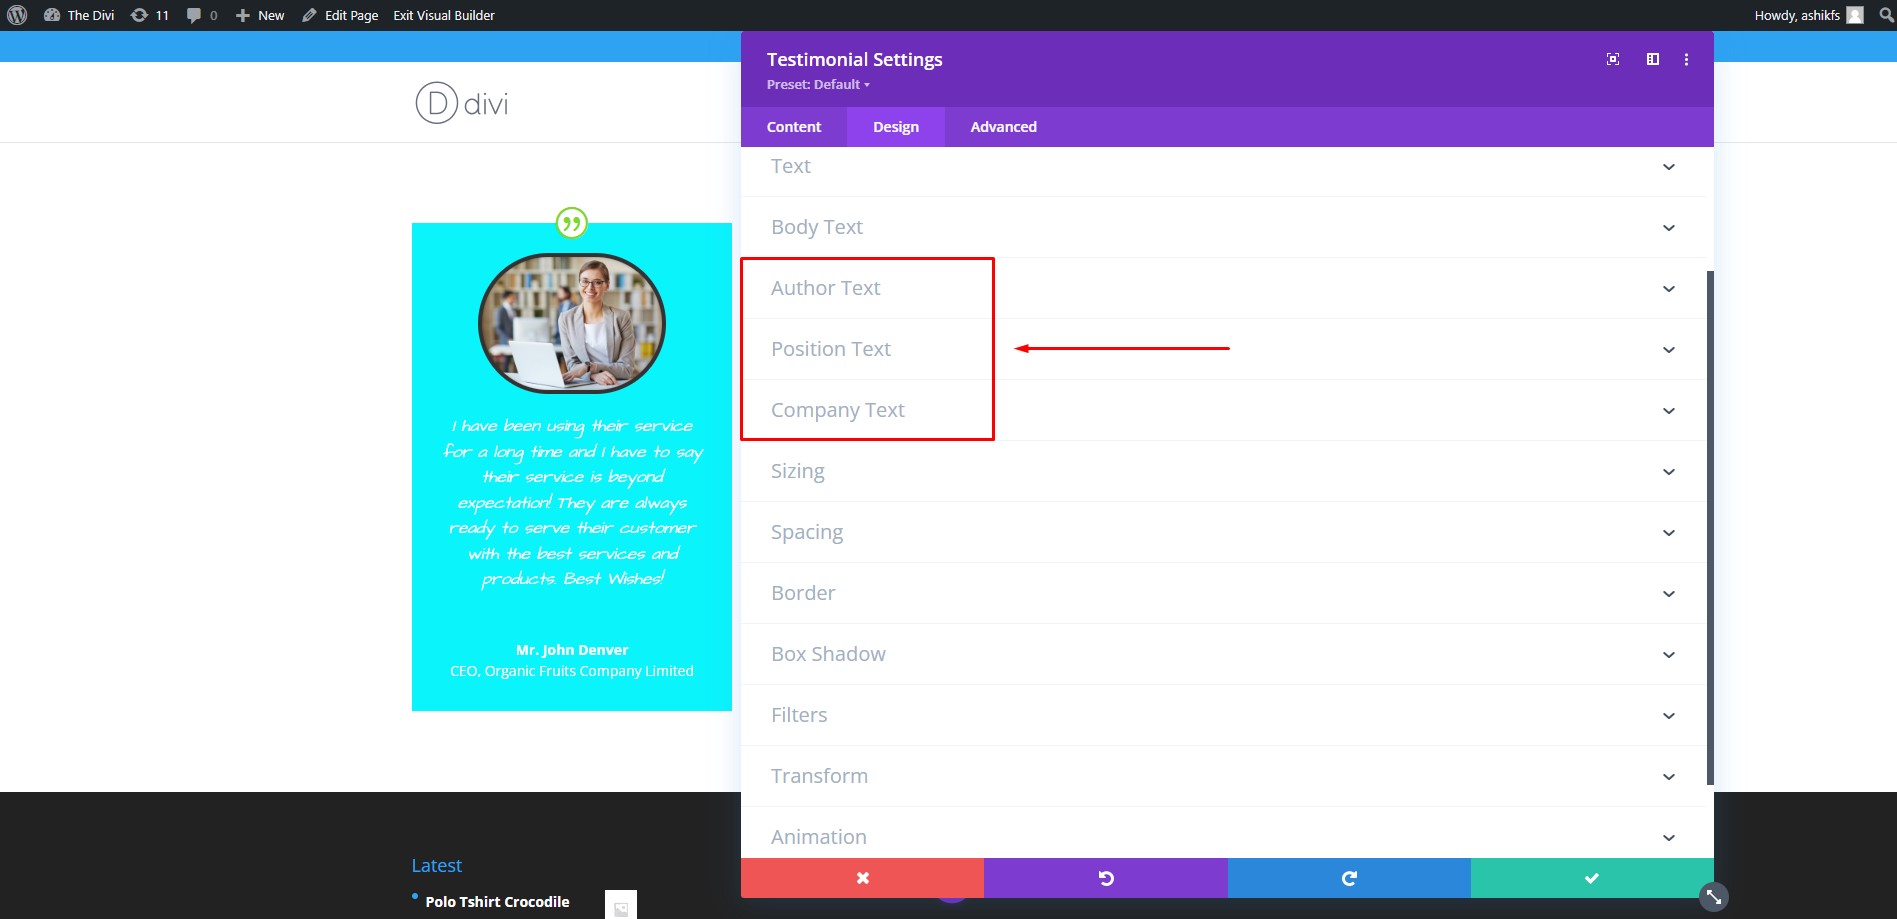
Step 21:
Following step 20, you can also customize the ‘Author Text’, ‘Position Text’, and ‘Company Text’ sections.
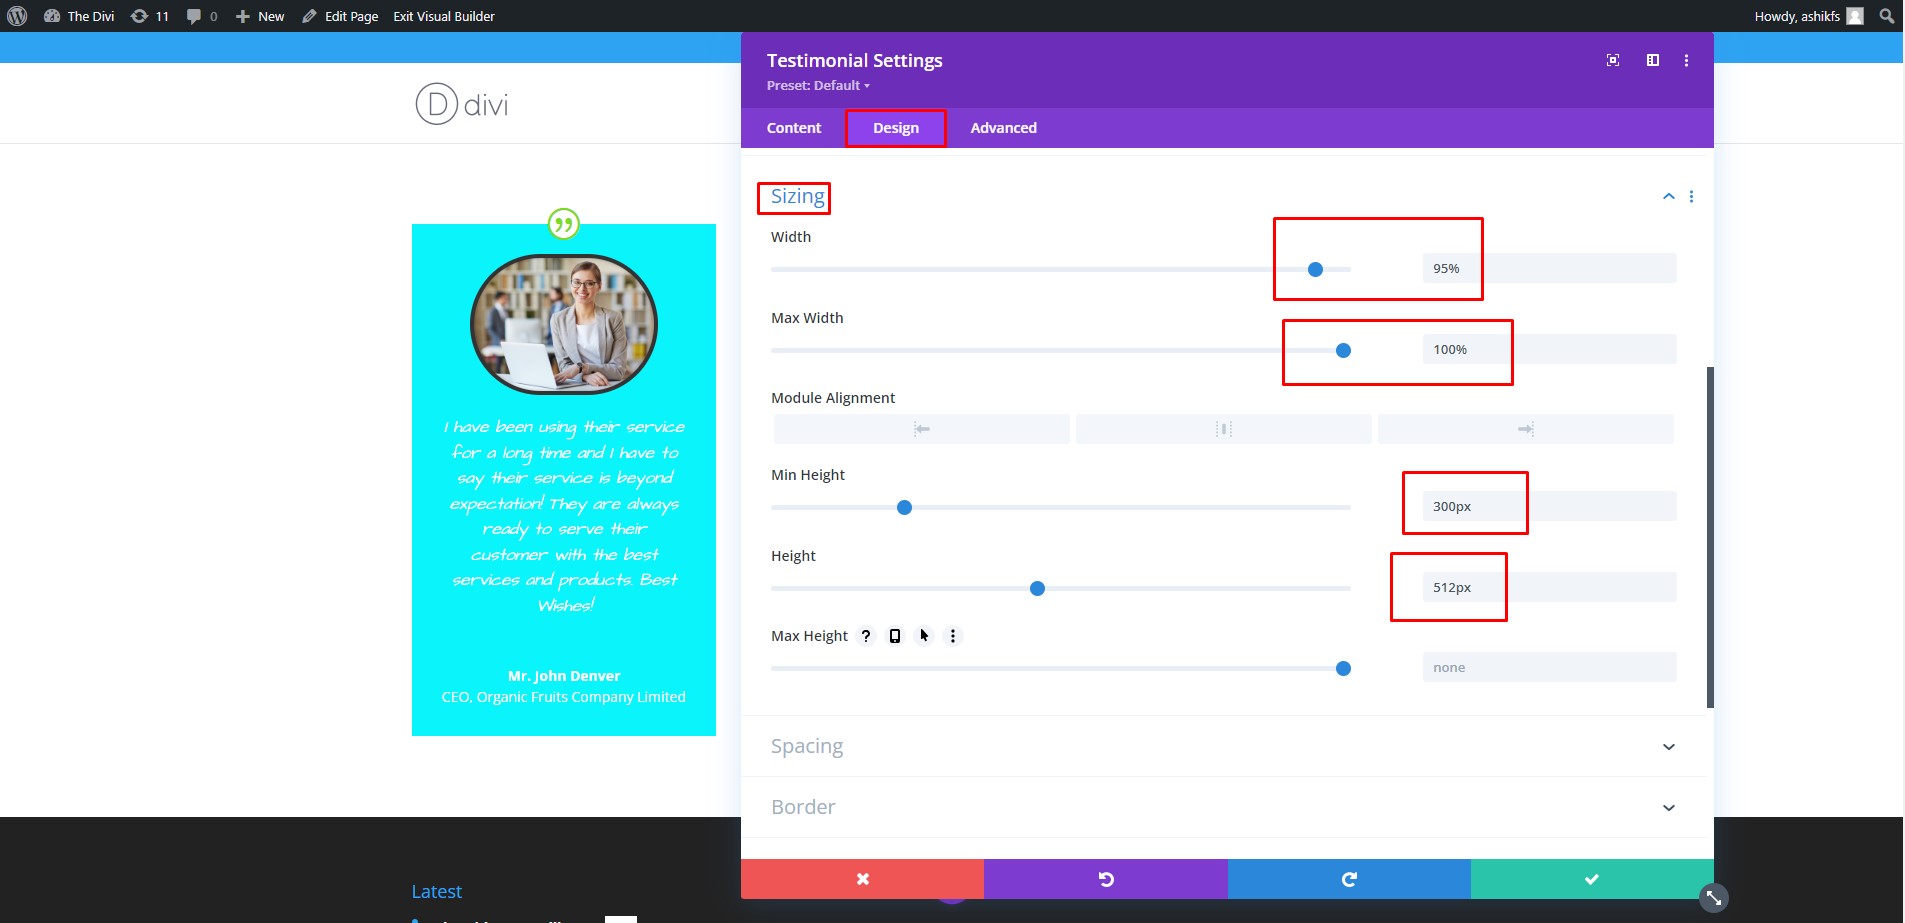
Step 22:
In the ‘Sizing’ section, you can adjust the height, width, minimum height, and minimum width of the Divi Testimonial module.
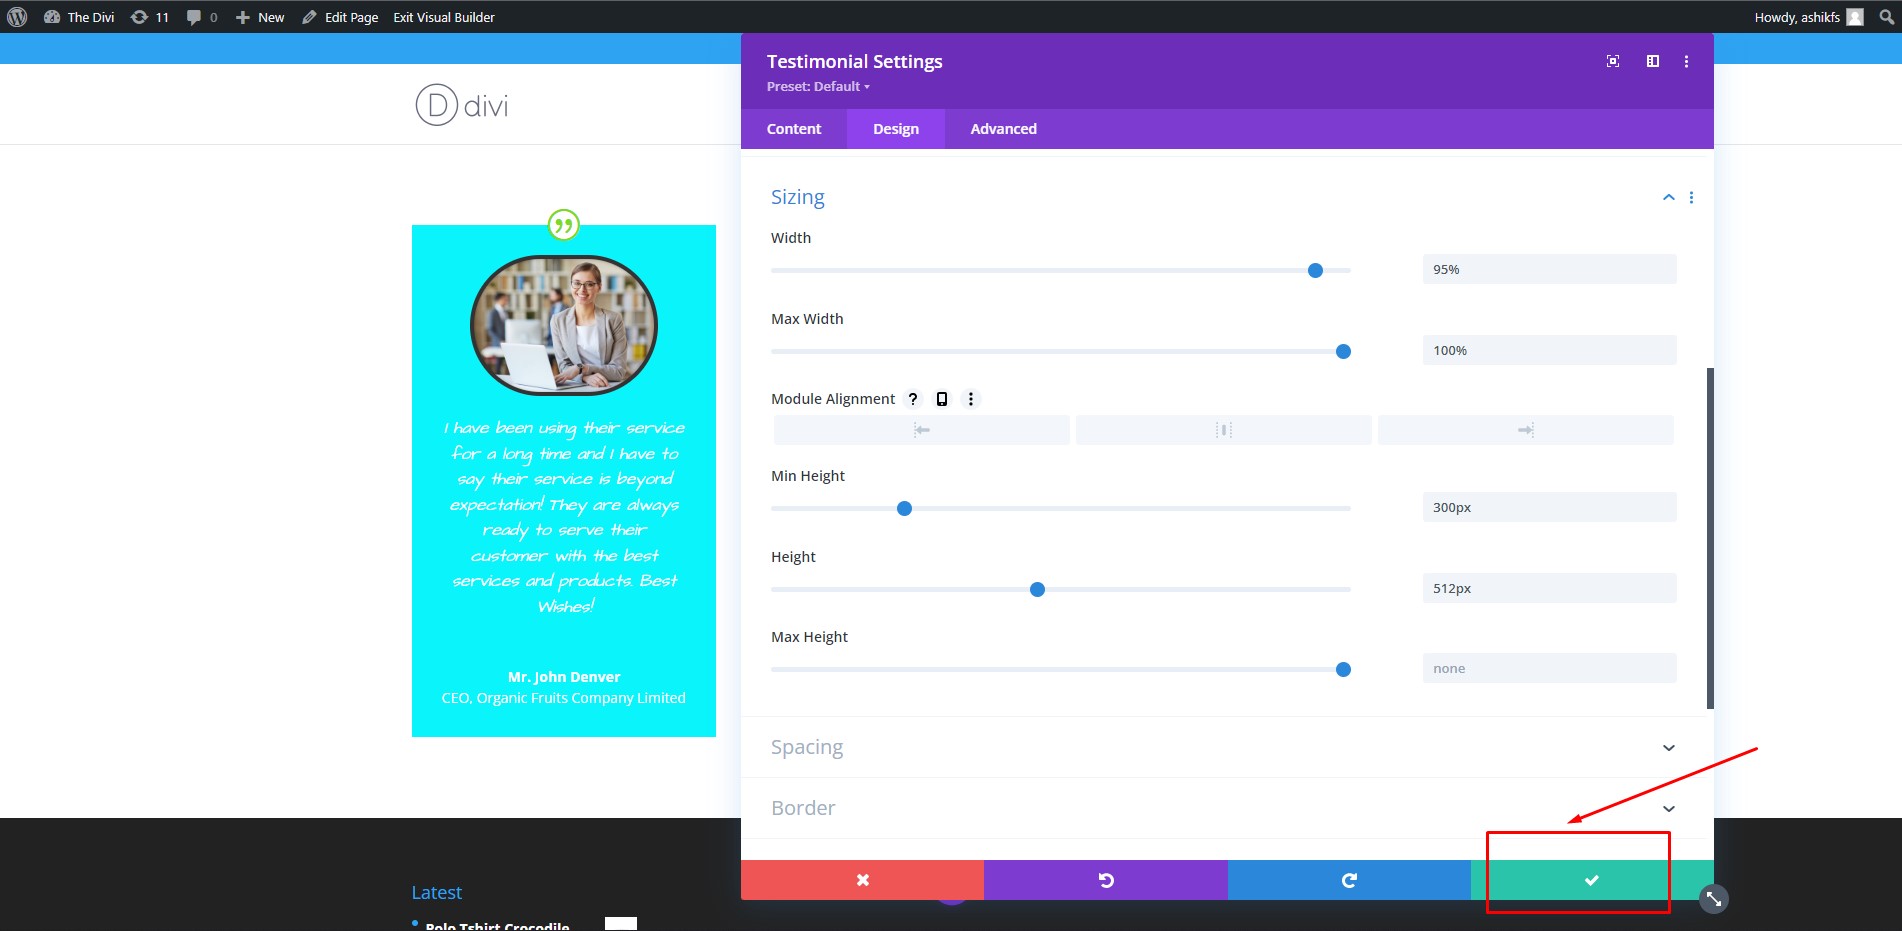
Step 23:
As we have done the customization, click on the ‘Tick’ icon to save.
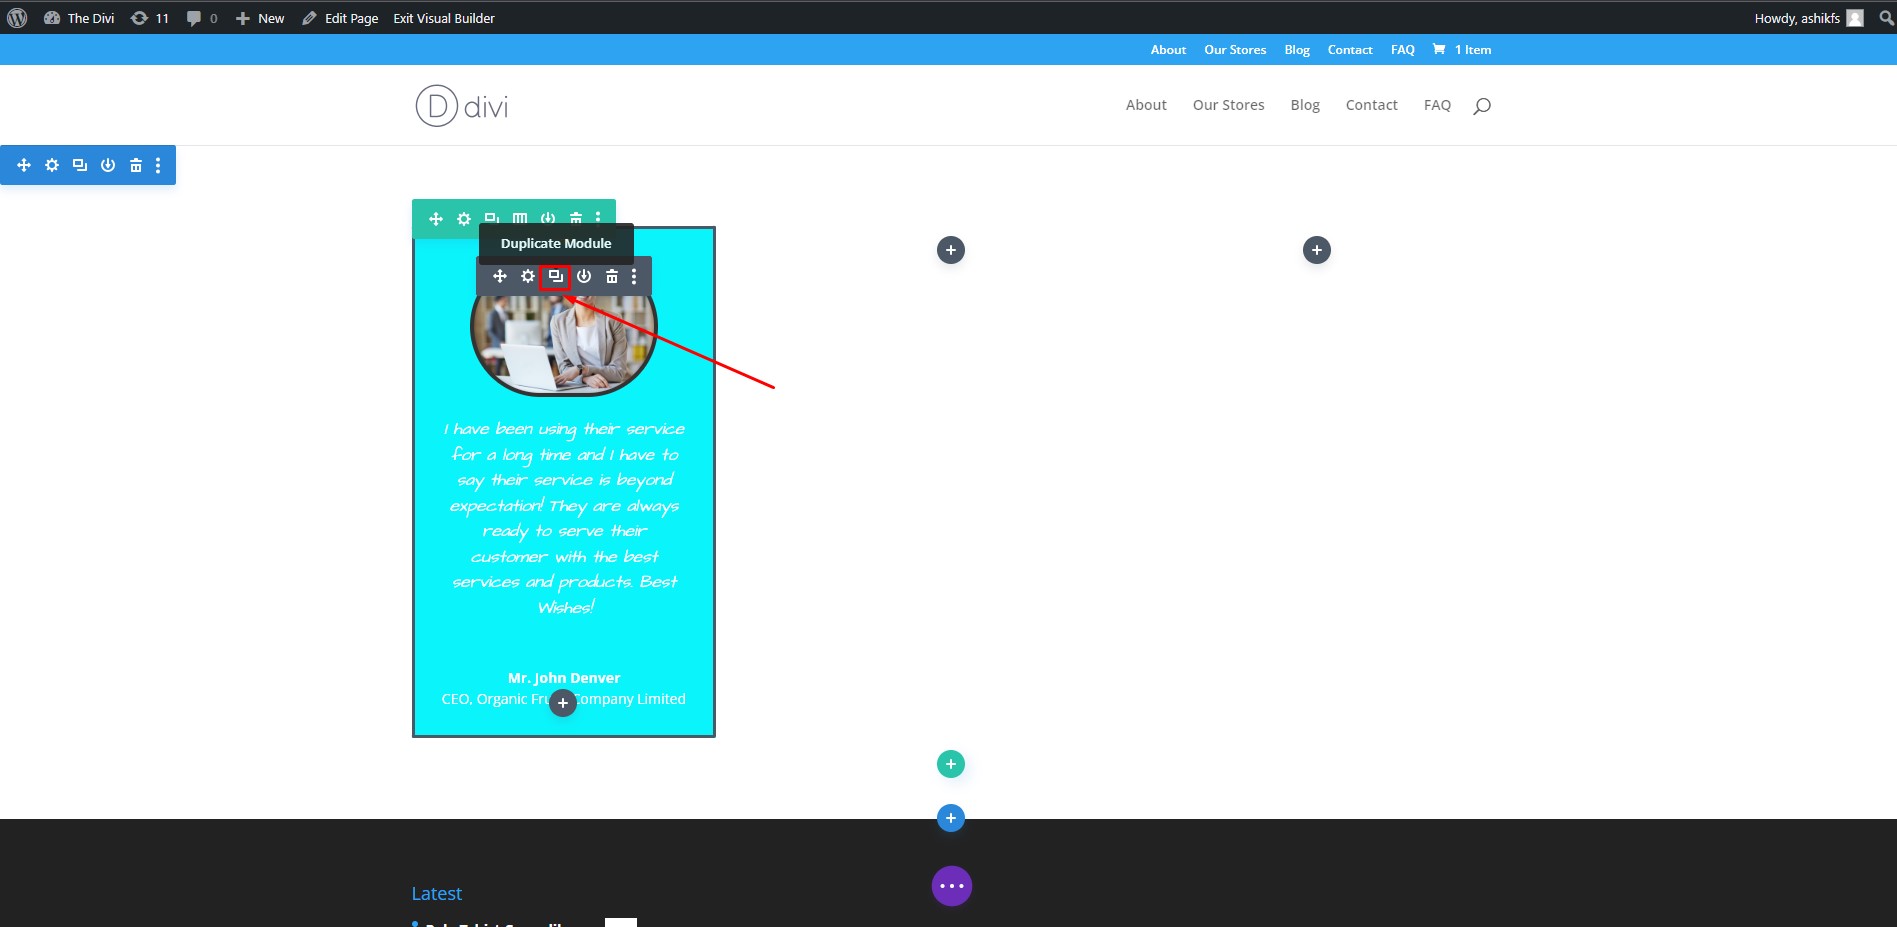
Step 24:
Click on the ‘Duplicate module’ twice to clone the module two times. Then drag and drop the cloned modules on the other two columns.
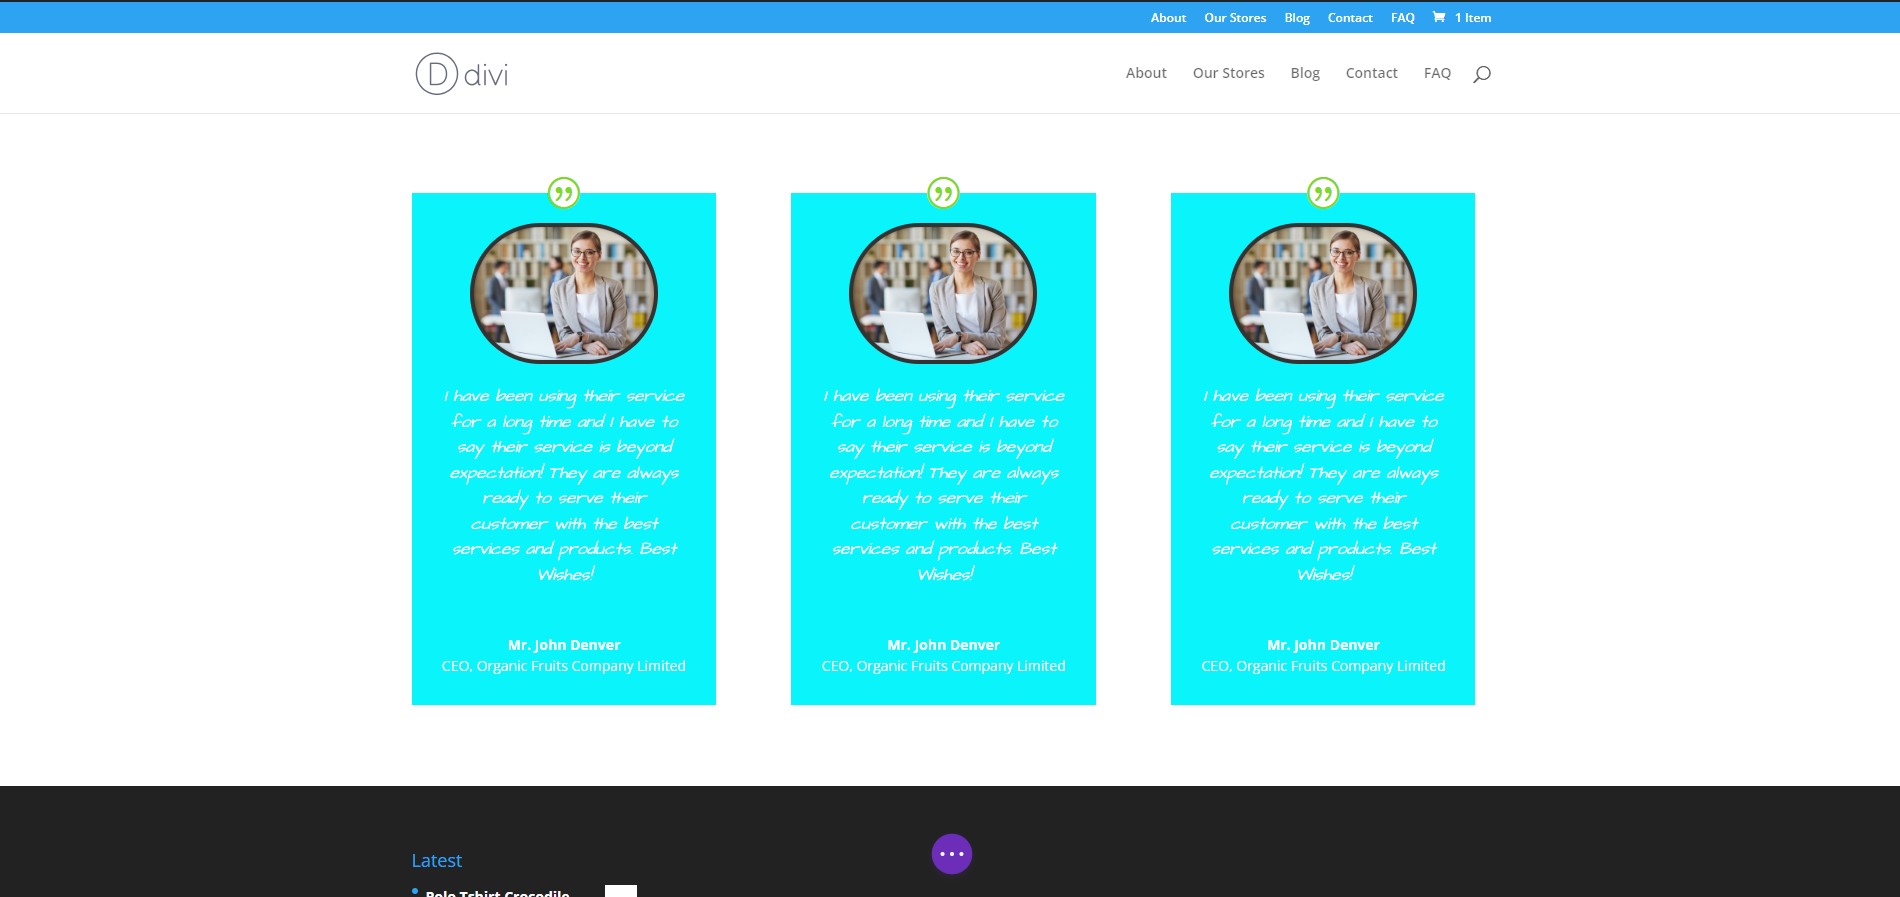
Step 25:
Now, as shown before, click on the duplicate modules settings and customize them with your content.
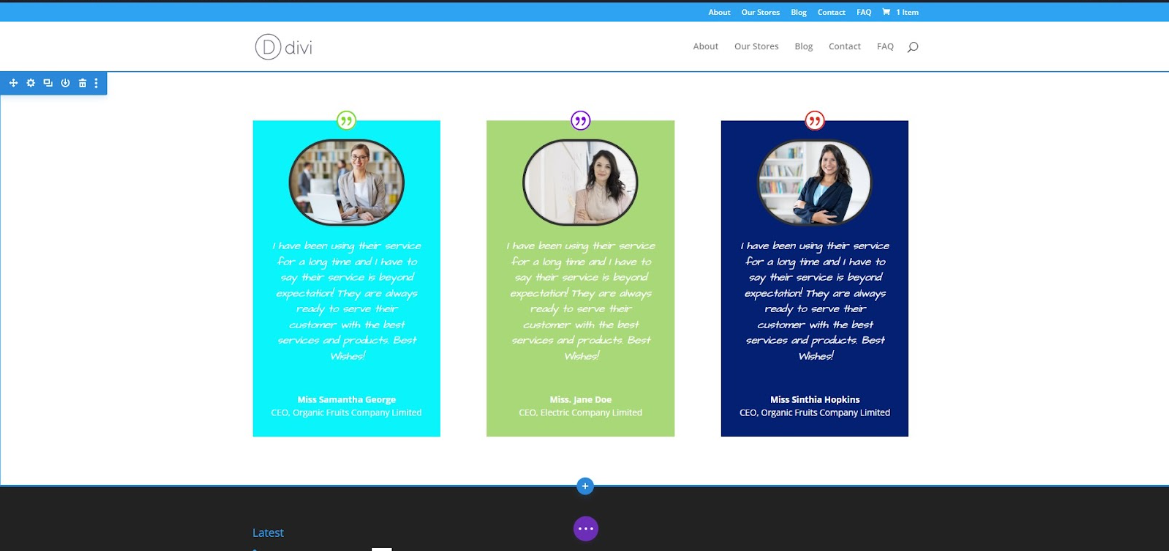
Final Output
We have created a simple and attractive Divi Testimonial section using the Divi theme.
Conclusion
In this tutorial, we focused on showing step-by-step how you can create a Divi Testimonial section in the Divi theme. Following this procedure, you can develop testimonials of various designs. We hope that this tutorial will be helpful for you. Feel free to go through our article on Divi vs Flatsome theme comparison to get insight into the most popular WooCommerce themes.