
Add a WordPress survey plugin to have customers’ feedback on the product or service. Because it can help you to improve your service. Also, you get to know what kind of facilities your customers are expecting.
Besides those factors, a customer feedback survey can get you lots of data about your customers. And analyzing those can give you a good insight into your visitors. You can set your marketing campaign based on that information.
In this article, we’re going to show how can you create a customer feedback survey for a WordPress-powered website. We’ll use a WordPress plugin called “Survey Maker” for demonstration purposes, but you can choose any according to your choice.
Create a Customer Feedback Survey Using WordPress Survey Plugin
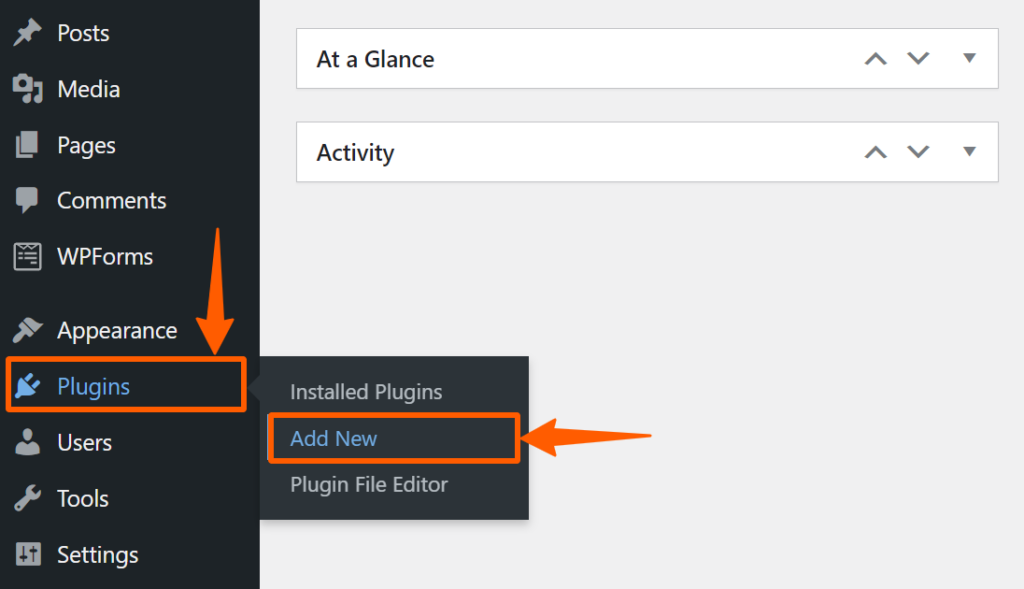
Step 1: Go to the WordPress Dashboard, then hover on Plugins and click Add New.
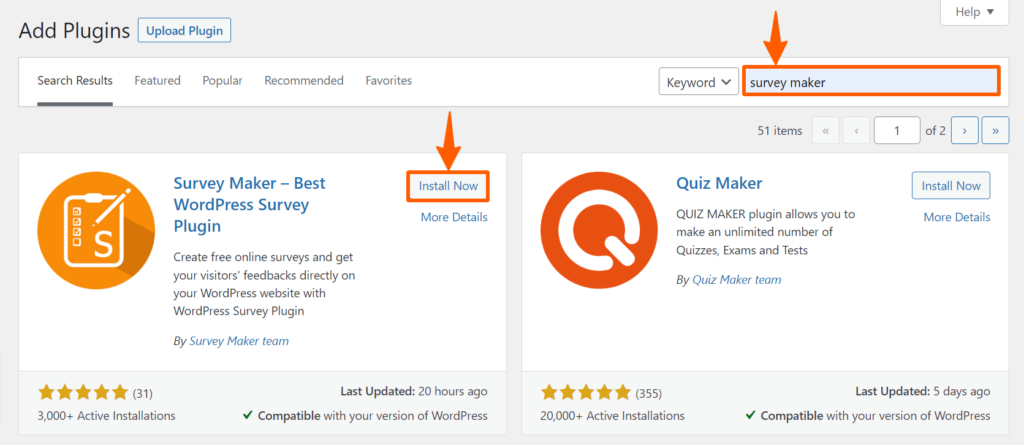
Step 2: You’ll be redirected to the WordPress plugin repository. On that page, search for “survey maker”, and install and activate it.
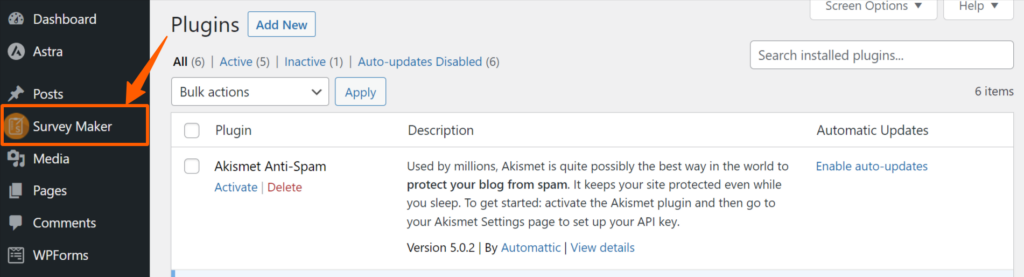
Step 3: After successful installation, you’ll find a new menu on the WordPress Dashboard menu, click on that.
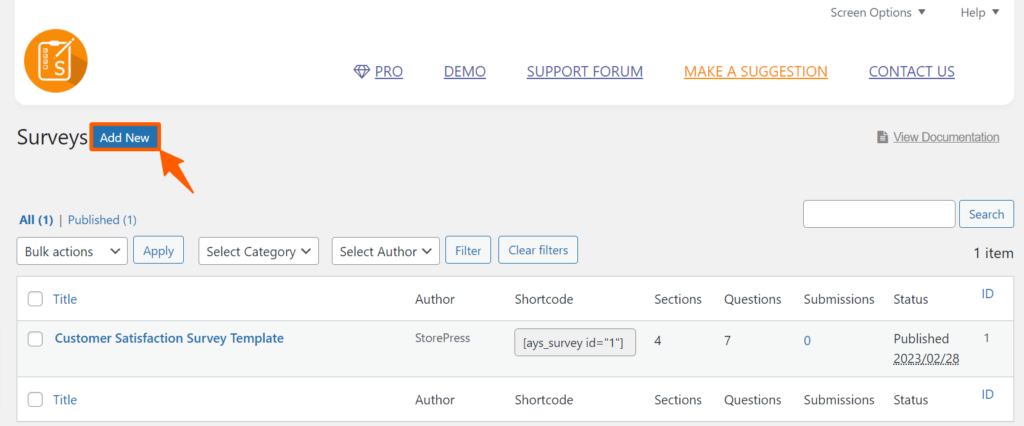
Step 4: Now, you need to create a new survey form. To create a new one, click Add New button on the top.
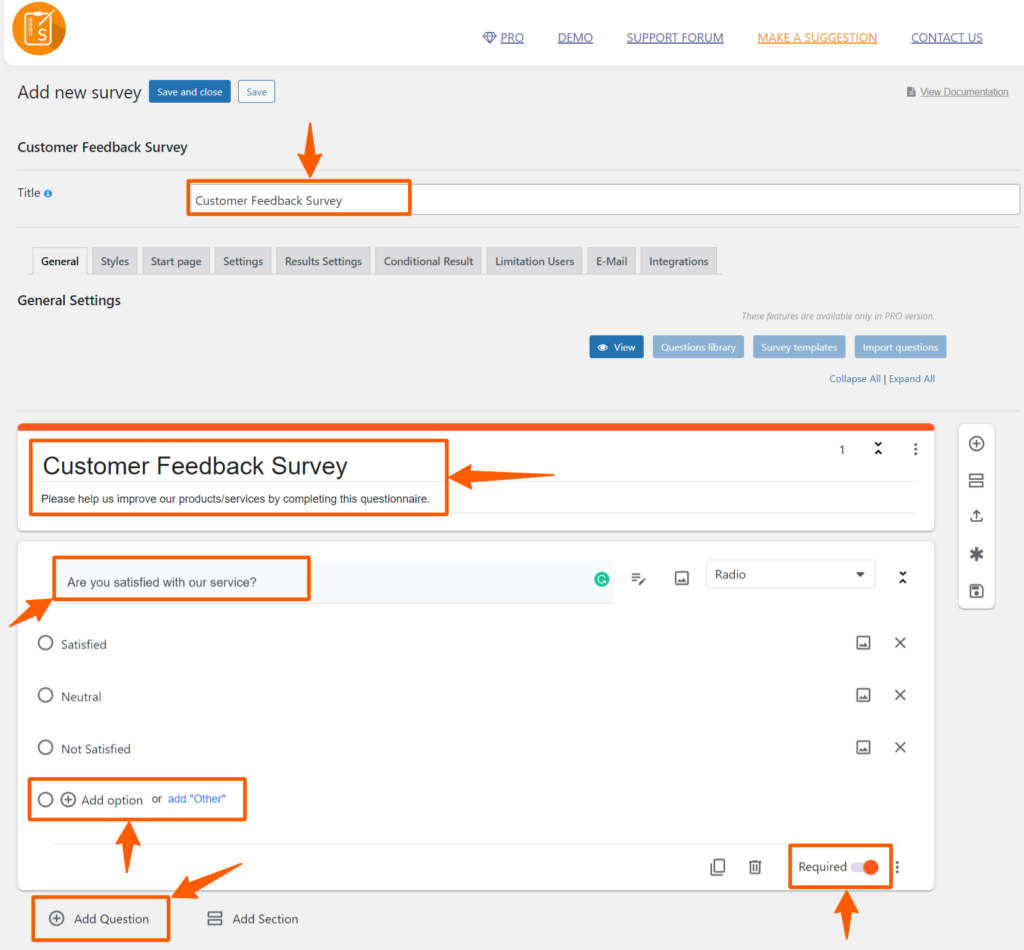
Step 5: A new blank page will appear. Put title, question, and answer options there. You can add multiple questions by clicking Add Question at the bottom. Moreover, set the requirement of the answer on the right bottom of each question. After adding questions, click the save button to save them.
Additionally, you can set multiple questionnaires in a single survey, and you can customize the user input types. There are some default user inputs, such as Yes/No, short text, long text, radio options, etc. Also, you can add too many radio options if you like.
But we recommend not to use more than 4 radio options for a better user experience. We also recommend keeping the questionnaire short and on point to get the better result.
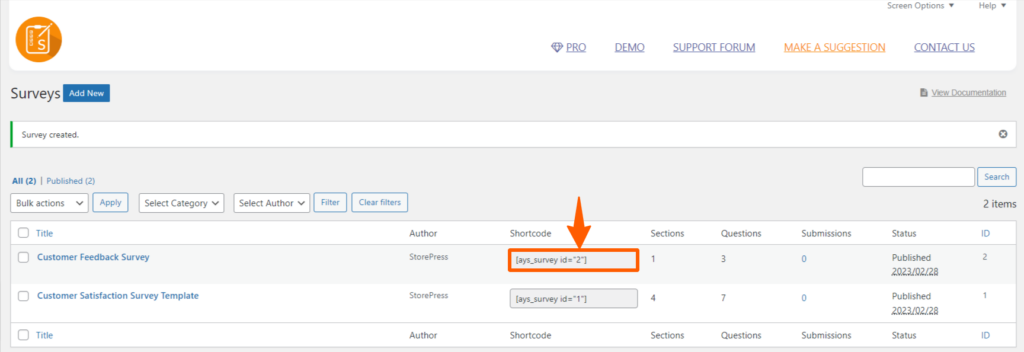
Step 6: After saving the questionnaire, you’ll be automatically redirected to the Surveys page. Copy the shortcode of the desired survey.
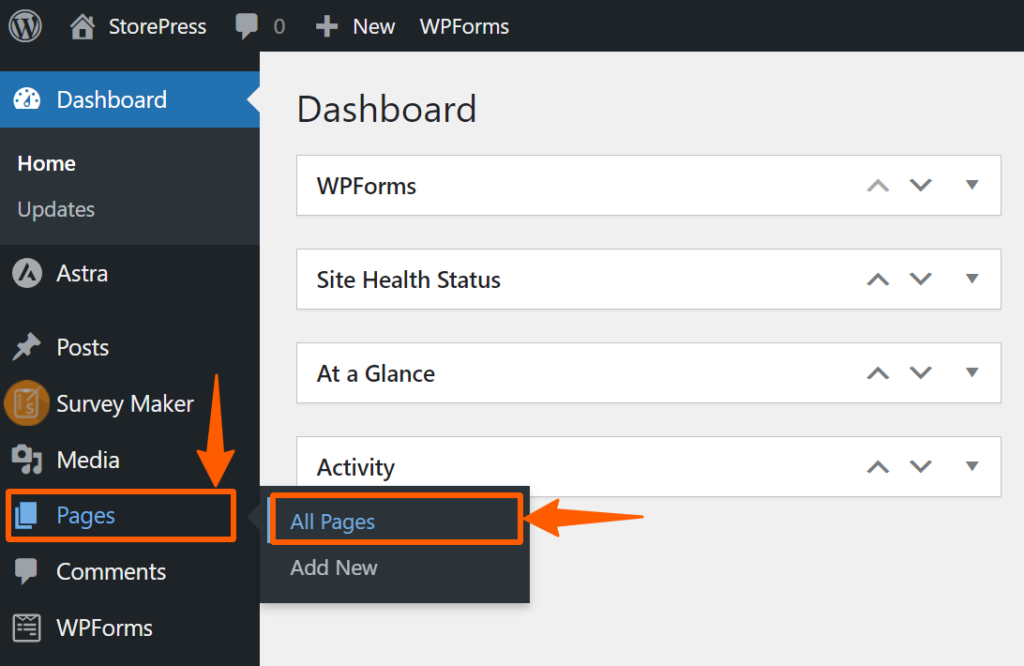
Step 7: Go to the WordPress dashboard, and then to the pages.
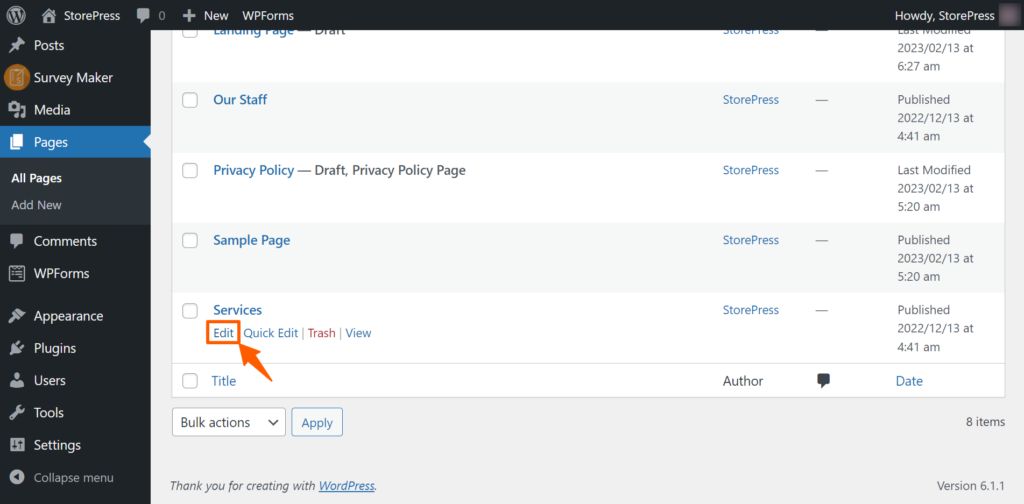
Step 8: In the pages, find the page where you want to put the survey form. In our case, we’re putting it in the Services. Hover the section, and click on Edit.
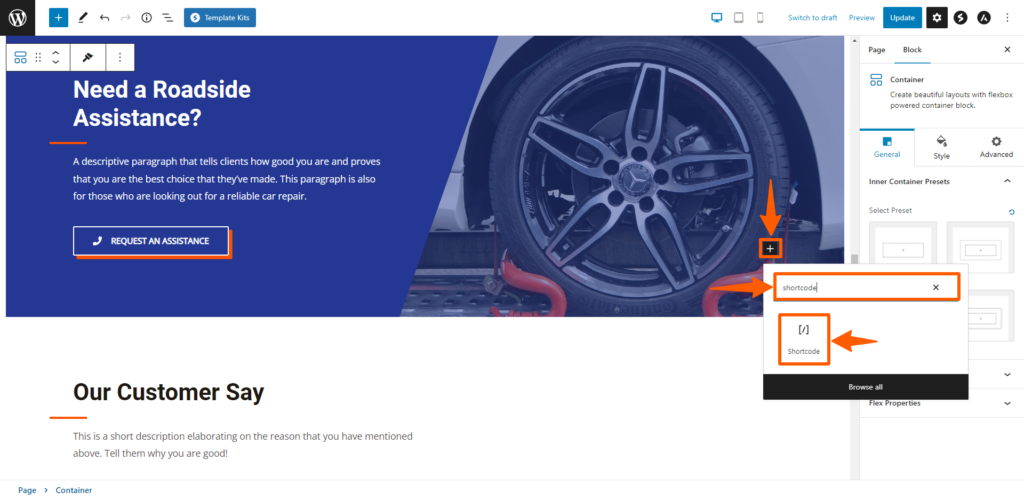
Step 9: Find the spot where you want to put the survey form, then click on the + button for adding an element. Then search for Shortcode, and click on it.
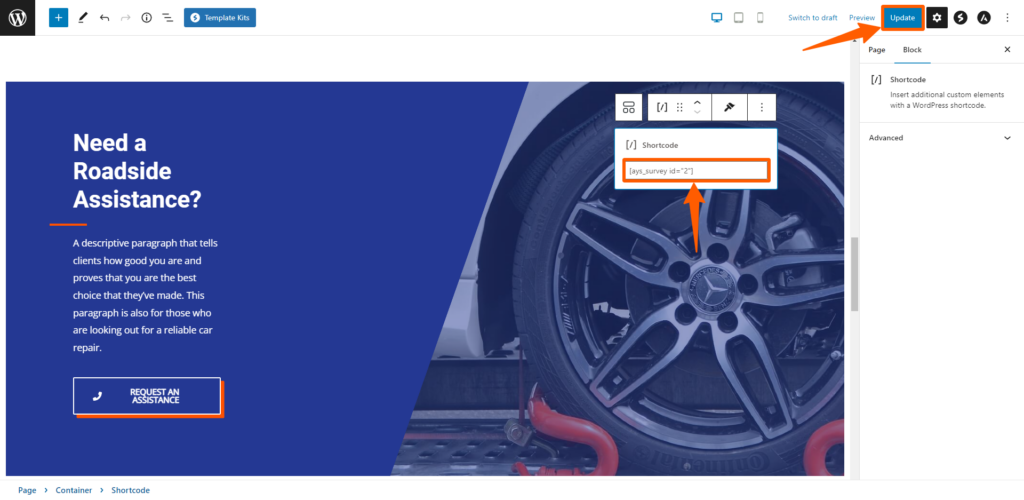
Step 10: Now paste the code there and click Update to make it effective.
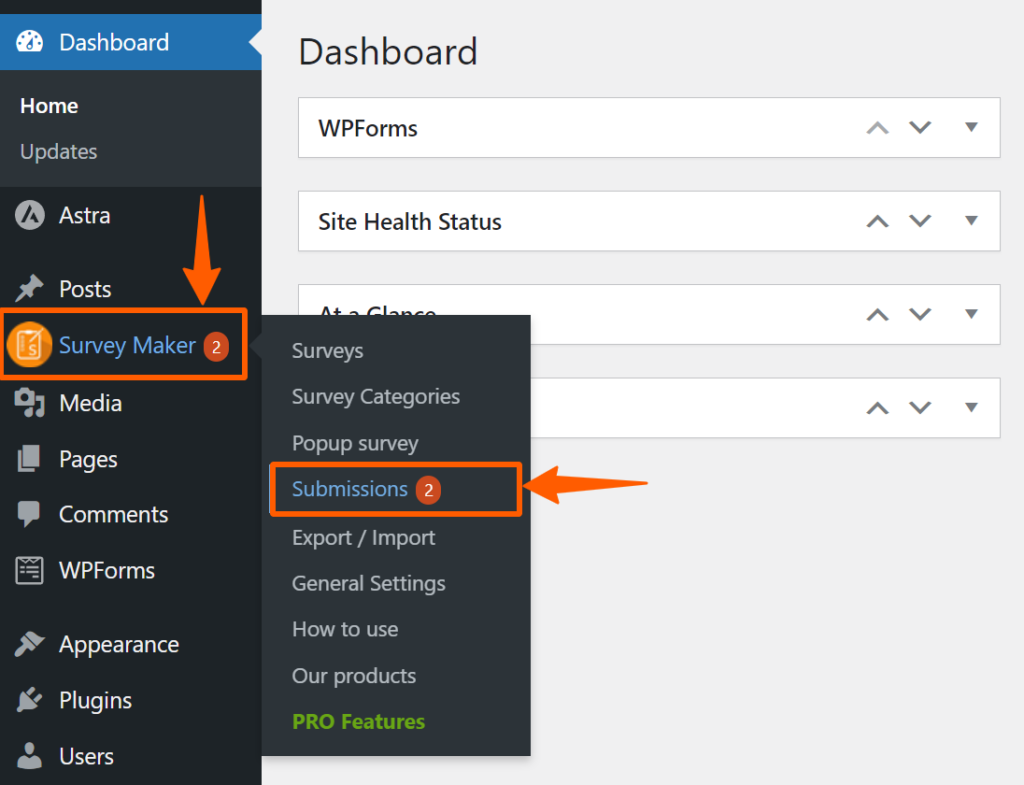
Step 11: To check the responses to the survey form, go to the WordPress dashboard, hover on Survey Maker, and click on Submissions.
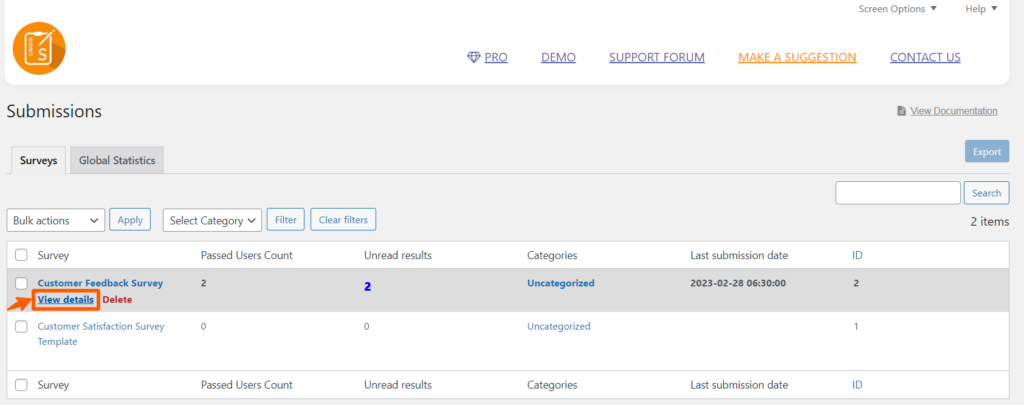
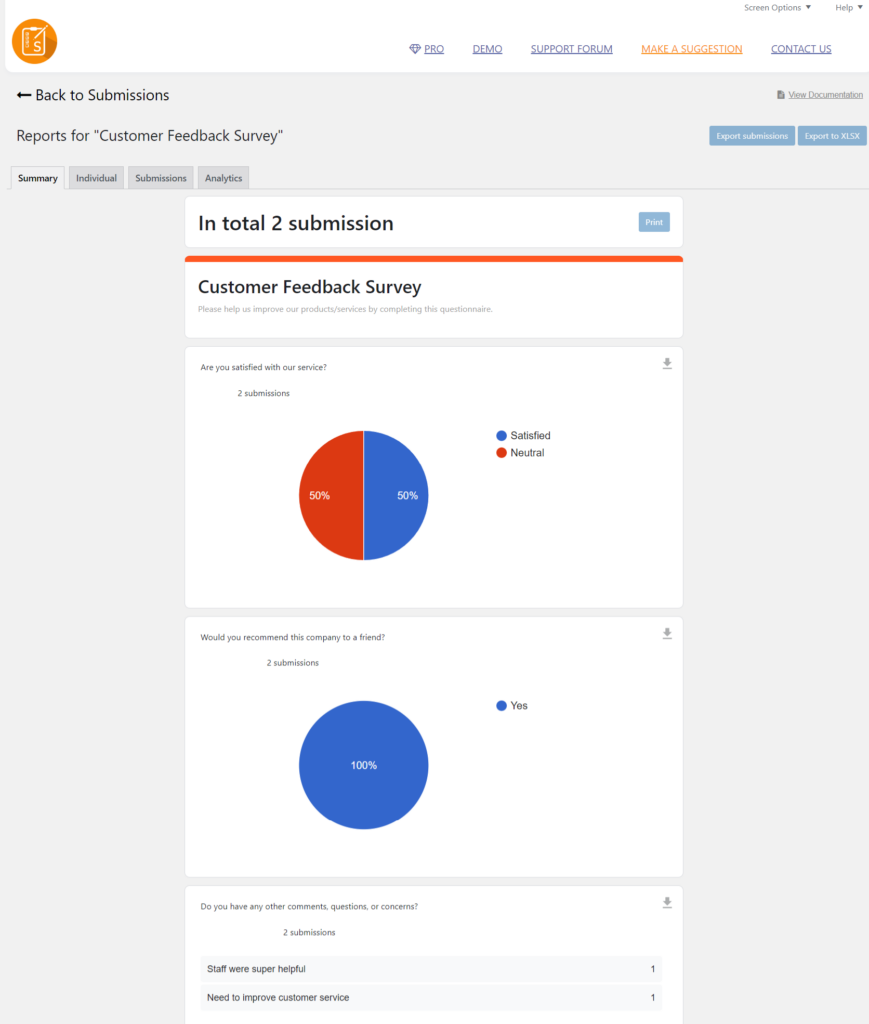
Step 12: You’ll find a list of responses according to the surveys. Hover on the survey you want to view responses for, then click on view details.
Preview– Report
This is how the whole survey response will look like.
Preview– Customer Feedback Survey on the Website

Conclusion
We hope that you’ve successfully added the survey form to your website. This process will work fine even if you use a different WordPress survey plugin for this. And feel free to reach us if you’re having issues creating a questionnaire. We’ll try our best to help.
Keep in mind that, you won’t be able to use the full power of it unless you purchase the pro version of it. If you’re using it for a small scale, we’ll recommend the free version. Because it’ll cover most of the important parts. Otherwise, you can try the premium version. Even if you’ve purchased a pro version and don’t find it useful. You can ask for a refund within a short time.
After adding the survey form, you can follow our other WordPress tutorials for improving your WooCommerce site.