As the online business is growing more and more popular each day, it is of utmost importance to know how you can create a multi vendor for WooCommerce store. A multi-vendor store allowsother sellers to sell their products on your website in exchange for a specific commission. This not only allows your business to grow fast and makes you able to make more money easily. This tutorial will show the simplest way of making a multi-vendor WordPress WooCommerce theme using the Flatsome theme and WC Vendor plugin. At the end of this tutorial, you will be able to create a fully functional and properly configured multi-vendor WooCommerce store.
What is a multi vendor for WooCommerce?
A multi-vendor website is where you allow other people to sell their products on your website in return for a specific amount of commission. On a multi-vendor website, vendors and sellers can add their products upon approval and sell them to the customers of your store.
Adding multi-vendor functionality to WooCommerce
WooCommerce doesn’t provide multi-vendor functionality by default. So, we need to integrate a plugin to our Flatsome theme. There are various multi-vendor plugins available in the market. We recommend you to use the WC Vendors plugin as the top WooCommerce multi-vendor plugin. The WC Vendor plugin is available both in the free and premium versions. It can also work with any free and most popular theme WordPress.
Installing and setting up WC Vendors with the Flatsome theme
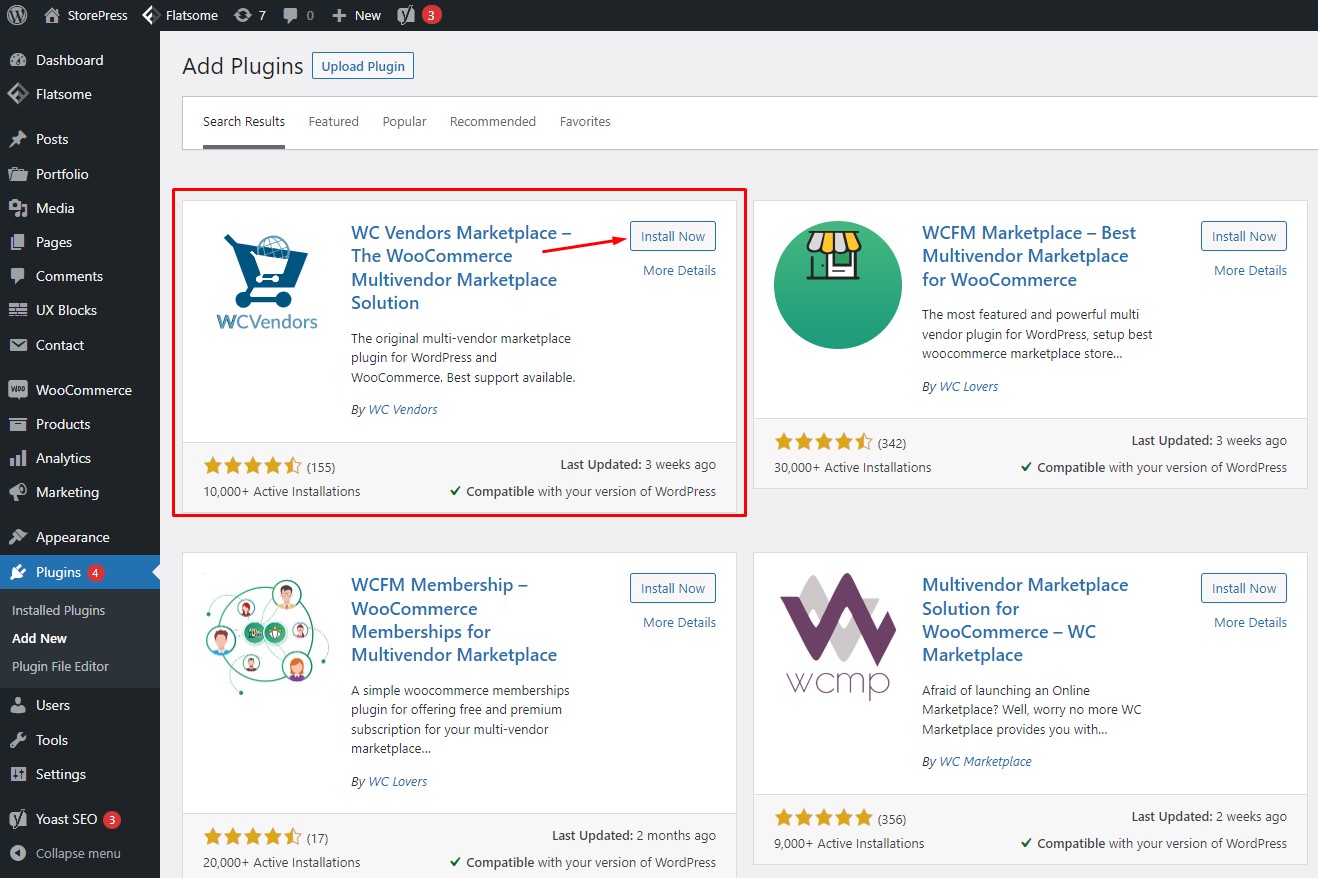
Step 1:
First, visit the WordPress plugin directory from your dashboard and search for WC Vendor’s free version. Click to install the plugin and then activate it.
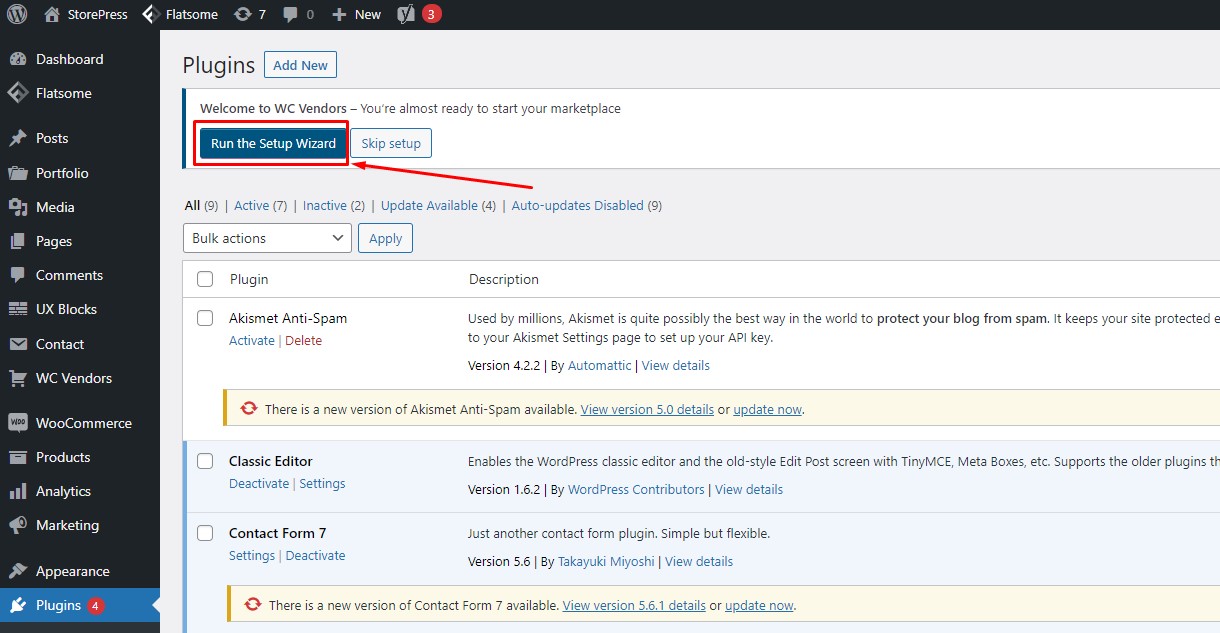
Step 2:
After the activation, you will be redirected to the installed plugin page. Click to run the setup wizard for the WC Vendors plugin.
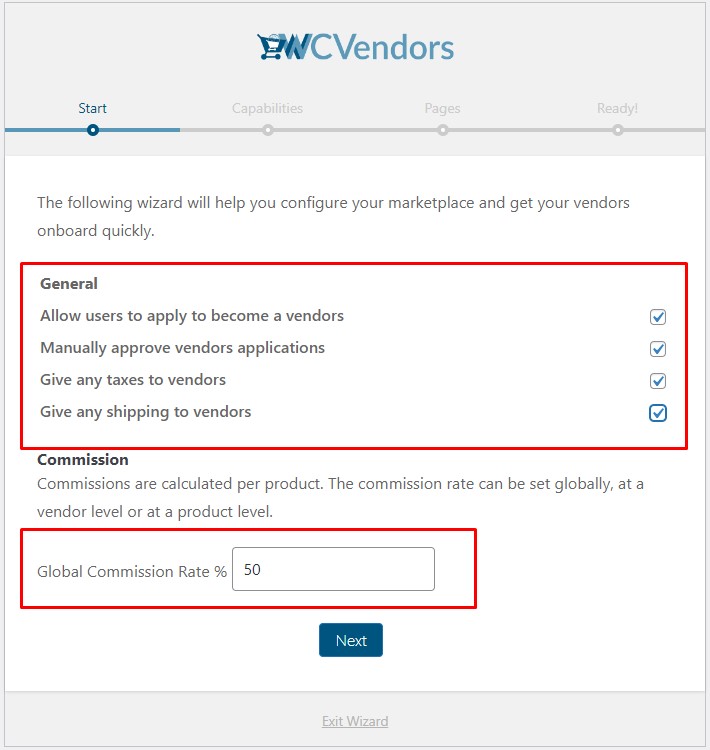
Step 3:
Inside the setup wizard, you will be asked to choose various options essential to get the best of this plugin. In the first tab, you can set the global commission rate for your vendors. You can also select or deselect options like allowing users to apply to become vendors, manual approval, any tax and any shipping to the user, etc. Click ‘Next’ to proceed to the next stage.
Step 4:
At the second tab, you will get several options for capabilities regarding products and orders. You can turn on the option that allows vendors to add/edit, publish, and publish without approval for products. You can also select options that allow vendors to view orders, order notes, export CSV, etc. Click ‘Next’ after selecting the options.
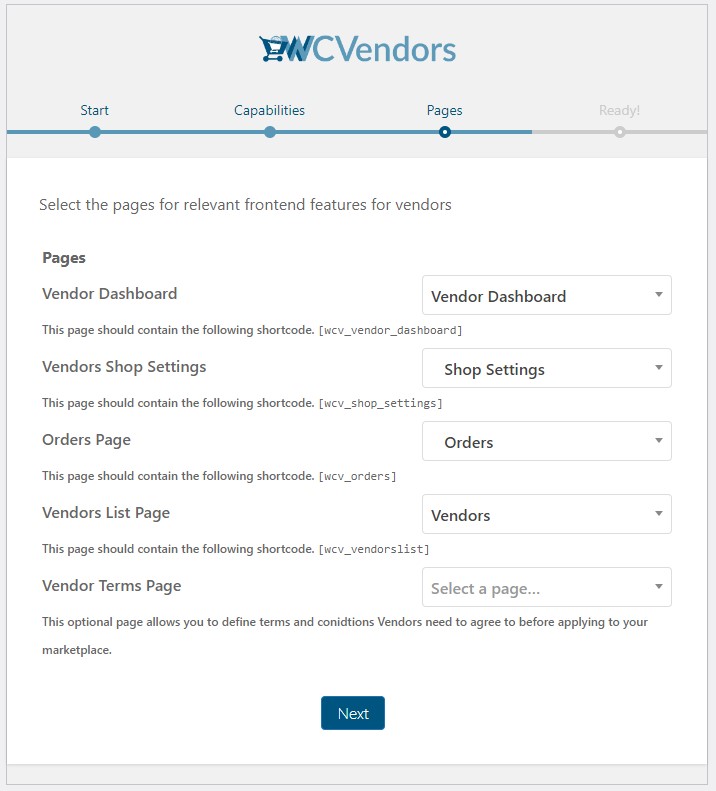
Step 5:
In the third tab, you can select your own pages for different sections like vendor dashboard, shop settings, order page, vendor list page, etc. Click ‘Next’ after setting up pages.
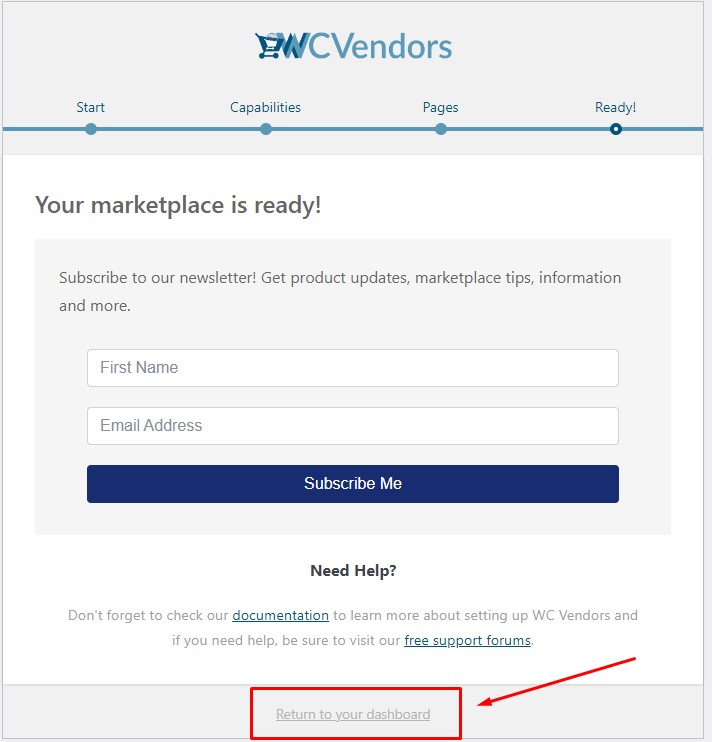
Step 6:
As shown in the image, we successfully completed the vendor plugin setup. Click on ‘Return to the dashboard.’
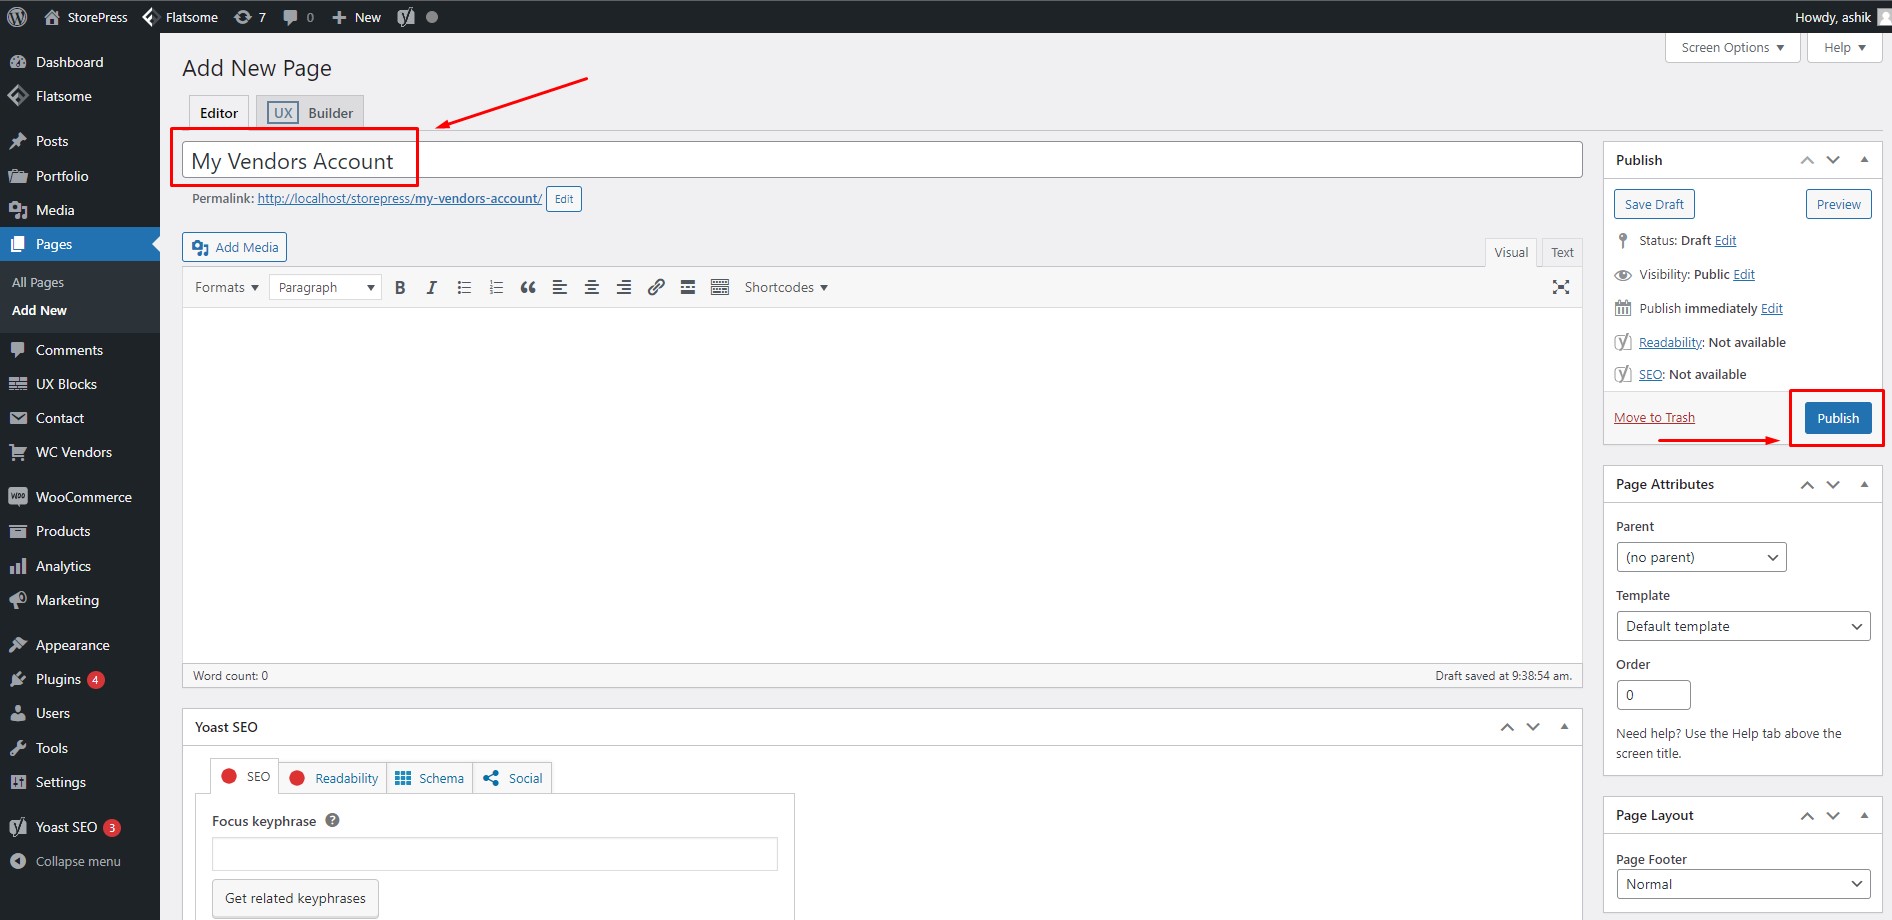
Step 7:
The next step is to create a page in WordPress that will work as our Account page. We will name this page ‘My Vendors Account.’ This customization can also be done using any free elementor themes for WordPressAfter that, copy this shortcode ‘
Login
Register
’ inside the text editor of this page and click on ‘Update.’
Step 8:
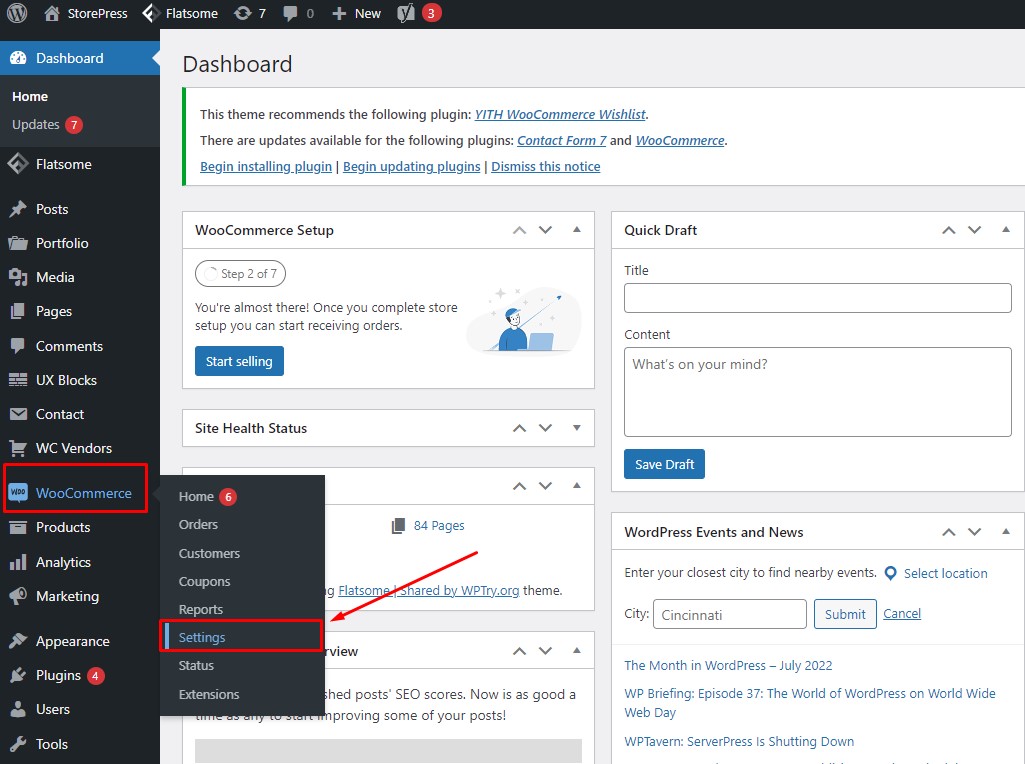
Now we need to install the WC Vendors pro in order to use some advanced features. These features are essential to set up the vendor account page, different types of commissions, etc. You can download the WC Vendors pro version from here. No matter whether you are using the free or pro version, you have to install the free WC Vendors plugin in order to work with the pro version. Now hover on ‘WooCommerce’ in the WordPress dashboard and click on ‘Settings.’
Step 9:
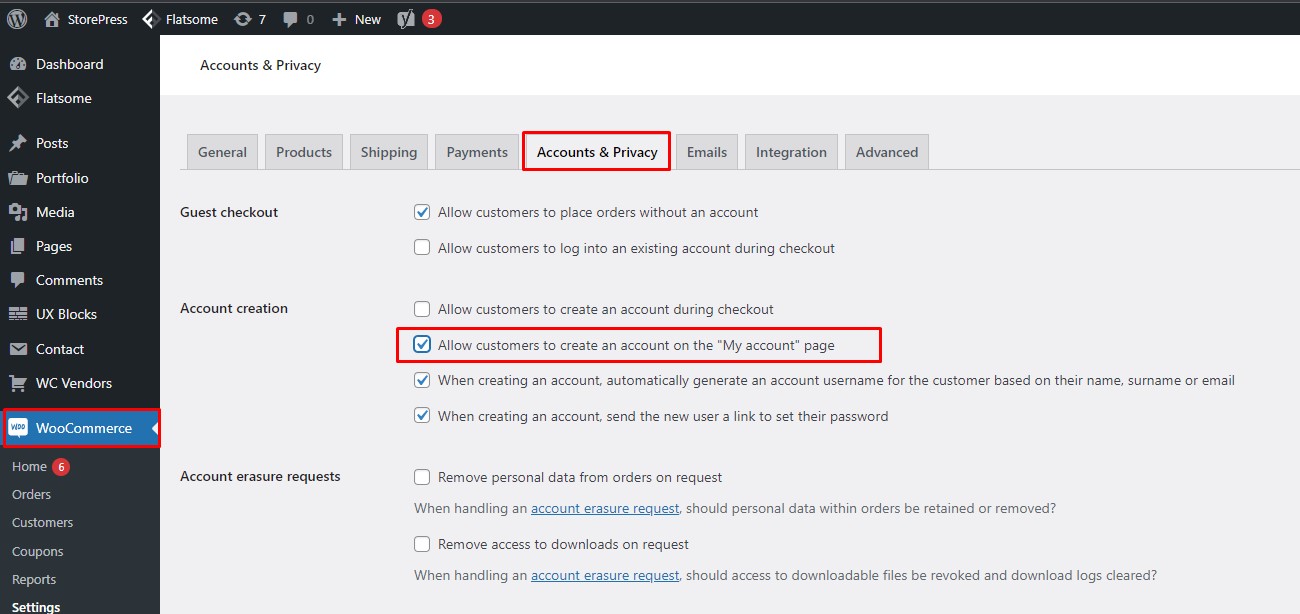
Inside WooCommerce settings, click on the ‘Accounts & Privacy tab and check the box for the option ‘Allow customers to create an account on the My Account page.’ Click on ‘Save Changes to save the settings.
Step 10:
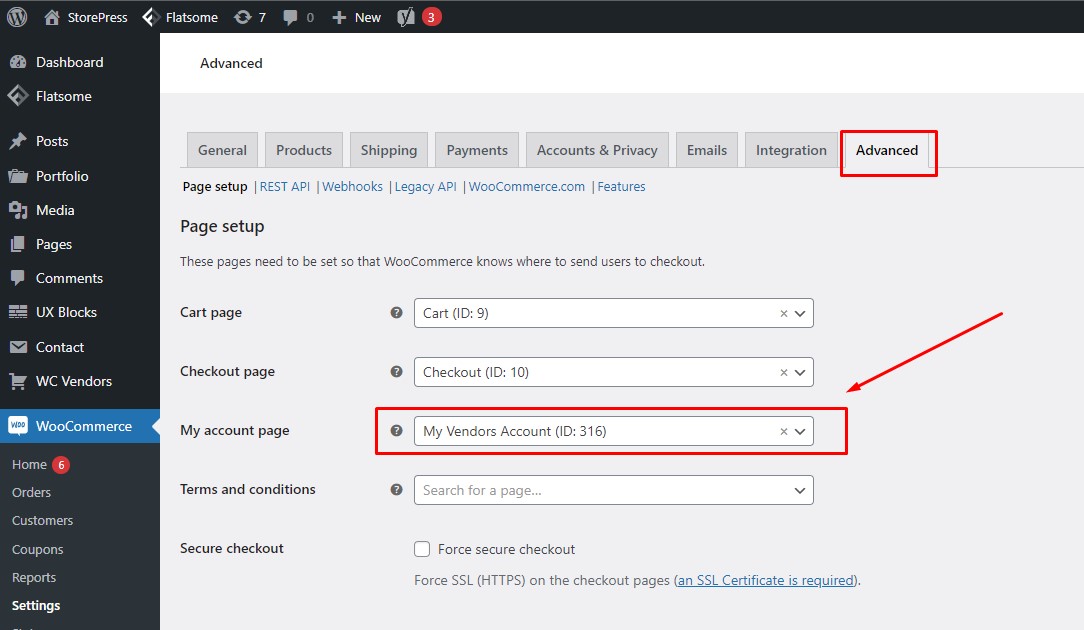
Now switch to the ‘Advanced’ tab, and under the ‘My Account Page’ section, select the account page we created earlier. Now click on ‘Save Changes’ to save the setting.
Step 11:
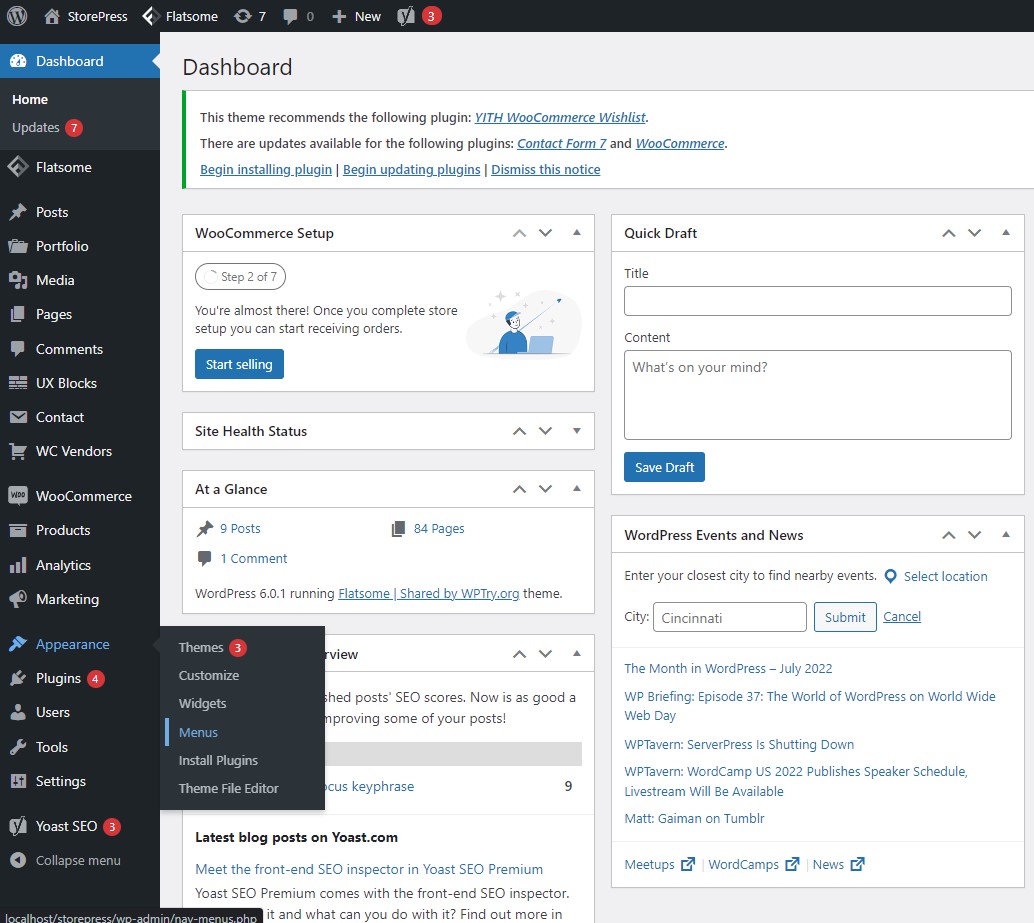
Now we will add a link for the account page to the navigation menu. In the WordPress dashboard, hover on ‘Appearance’ and click on ‘Menus.’
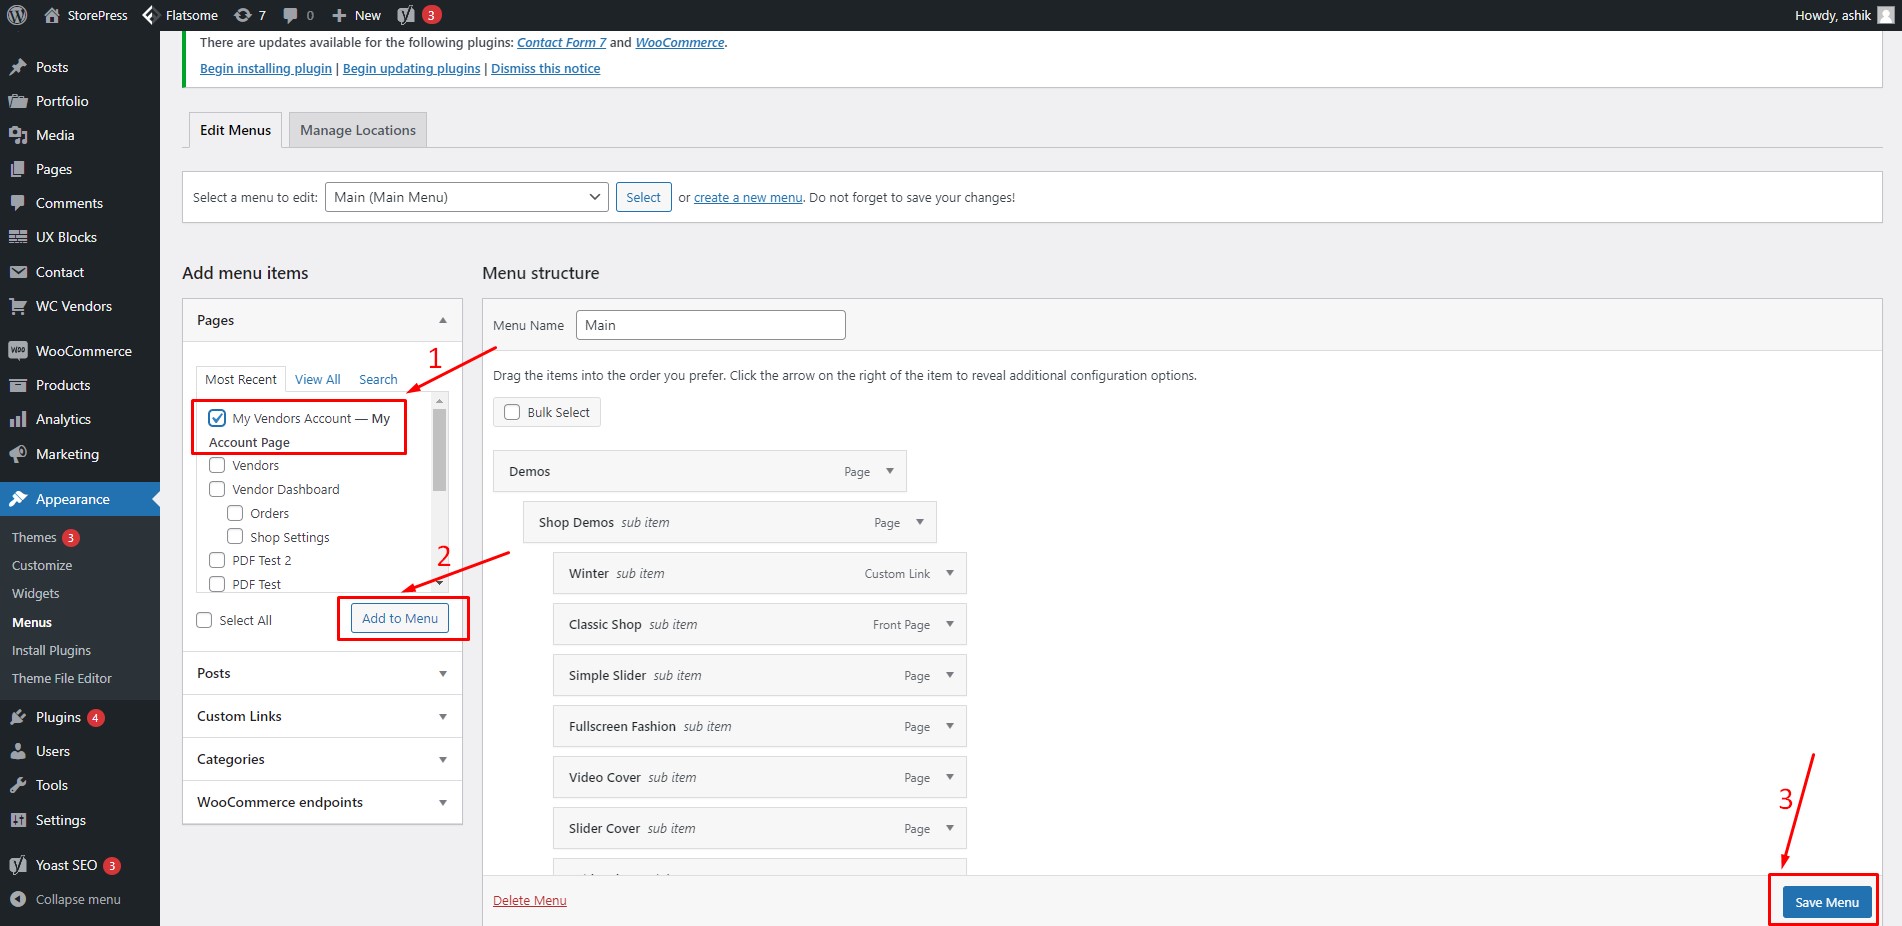
Step 12:
Now add the My Vendors Account page to the main navigation menu and click on ‘Save Menu.’ The menu can also be organized using the best SEO themes for WordPress.
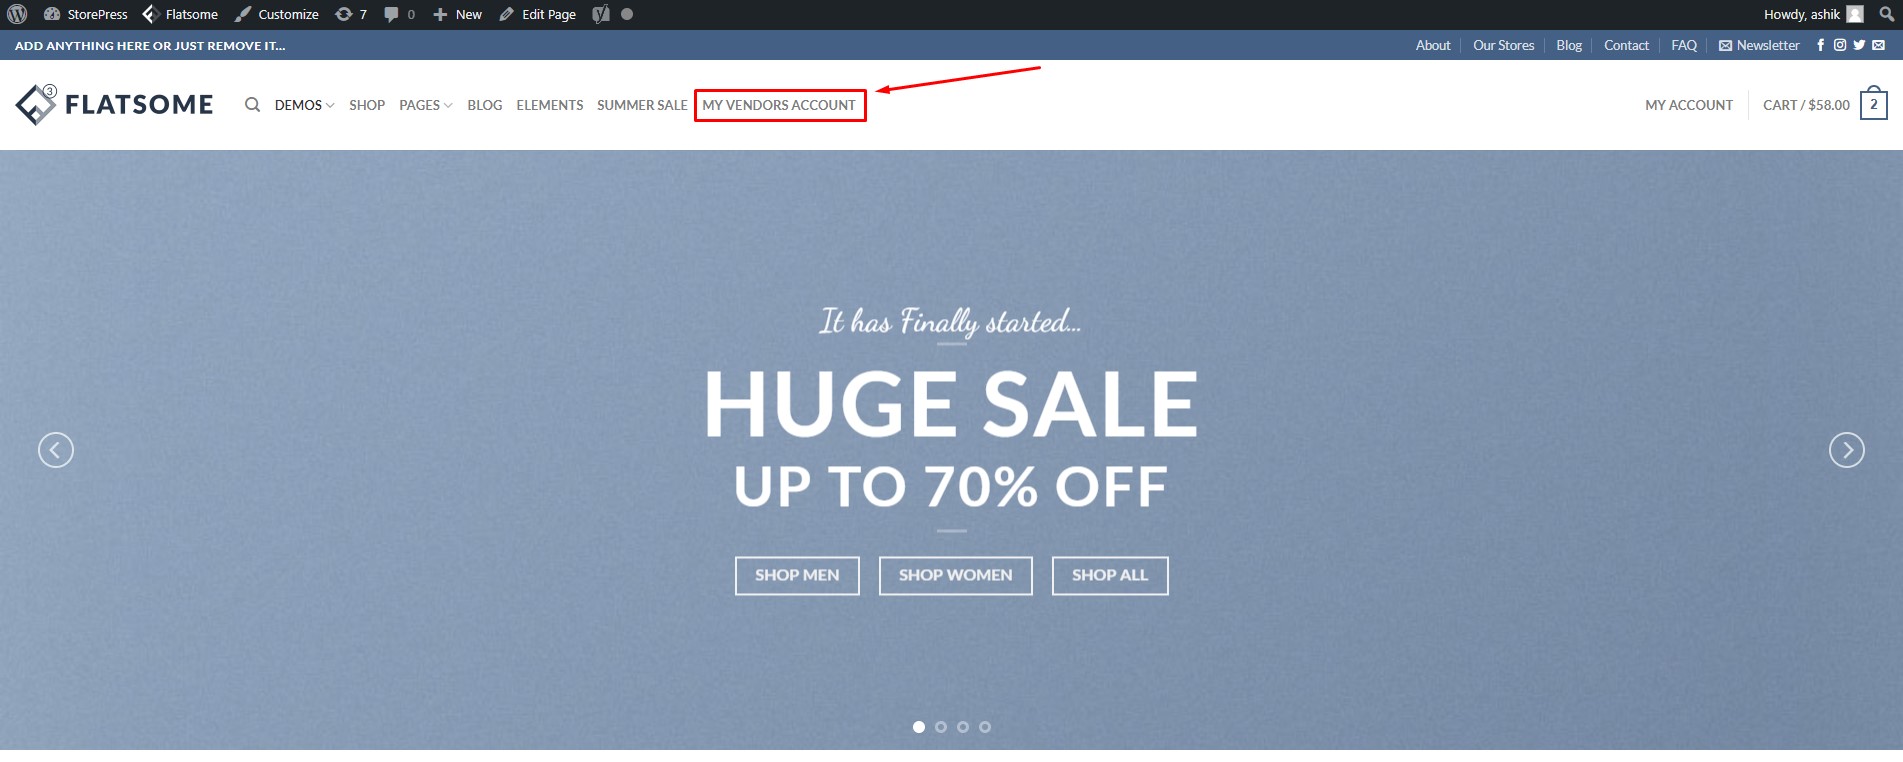
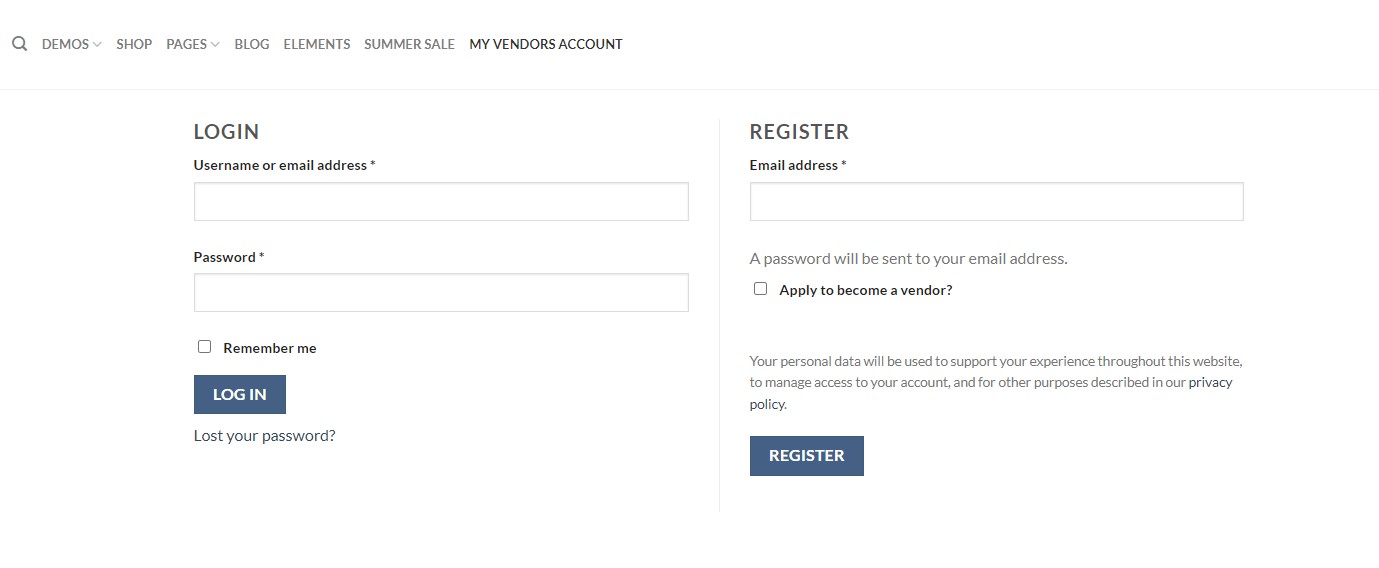
Step 13:
We can see that we have successfully added the account link to our main navigation menu.Clicking on the link will take us to the account registration page.
Managing multi-vendor WooCommerce store
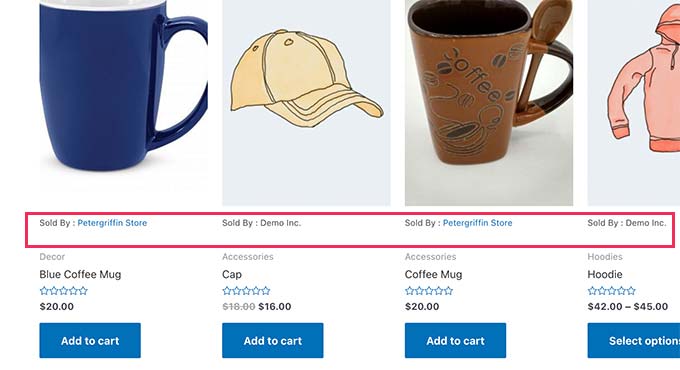
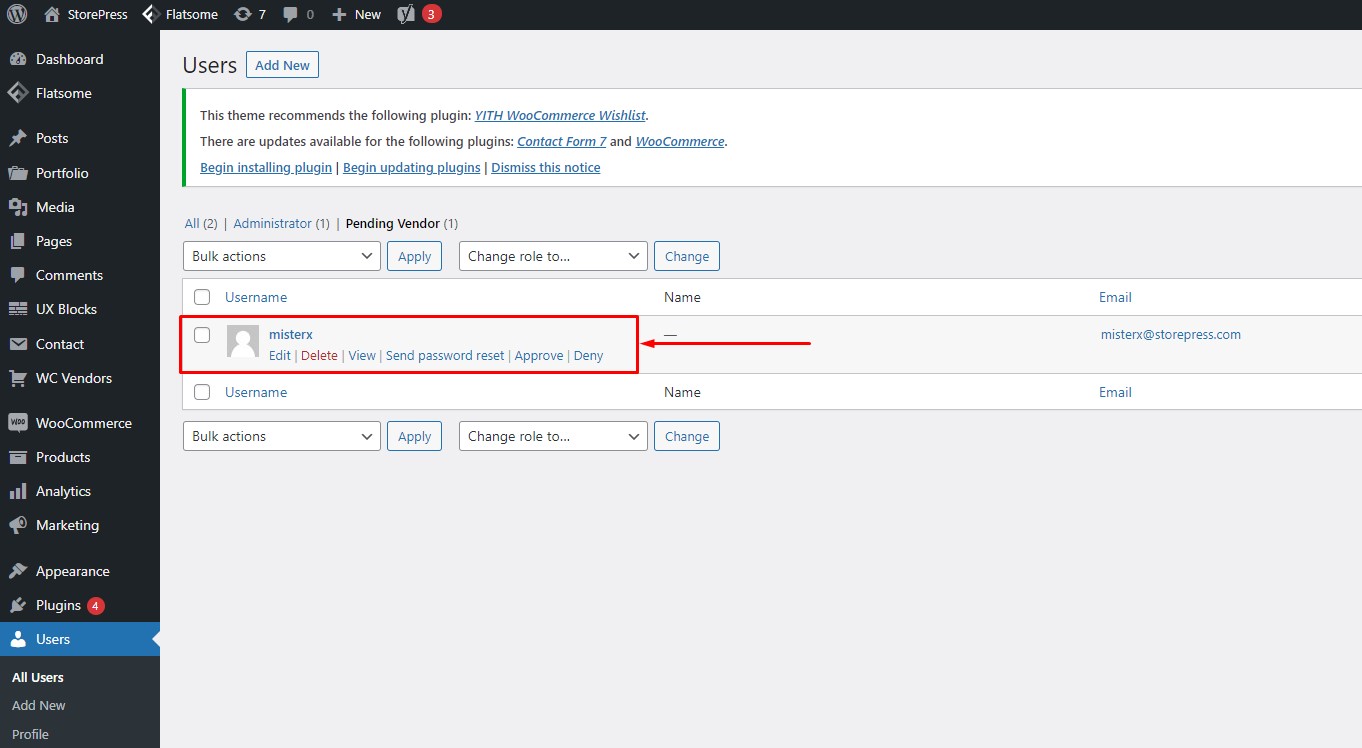
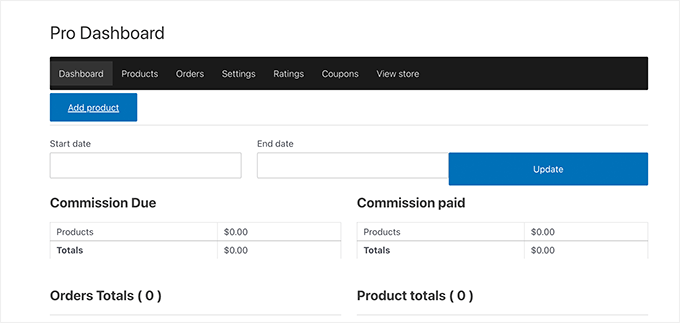
From the ‘User’ section of the WordPress dashboard, you can approve or decline a user if they applied to be a vendor. After the vendors log in using their vendor account details, they will be taken to the vendor dashboard. Users can create and edit products, check orders, and from the Vendor dashboard.When a vendor adds a new product, you will get a notification via email. You can check the product and approve or disapprove from the Product section of the WordPress dashboard.The customers can see the vendor name with the product card and click on the particular vendor name to browse more of their products.
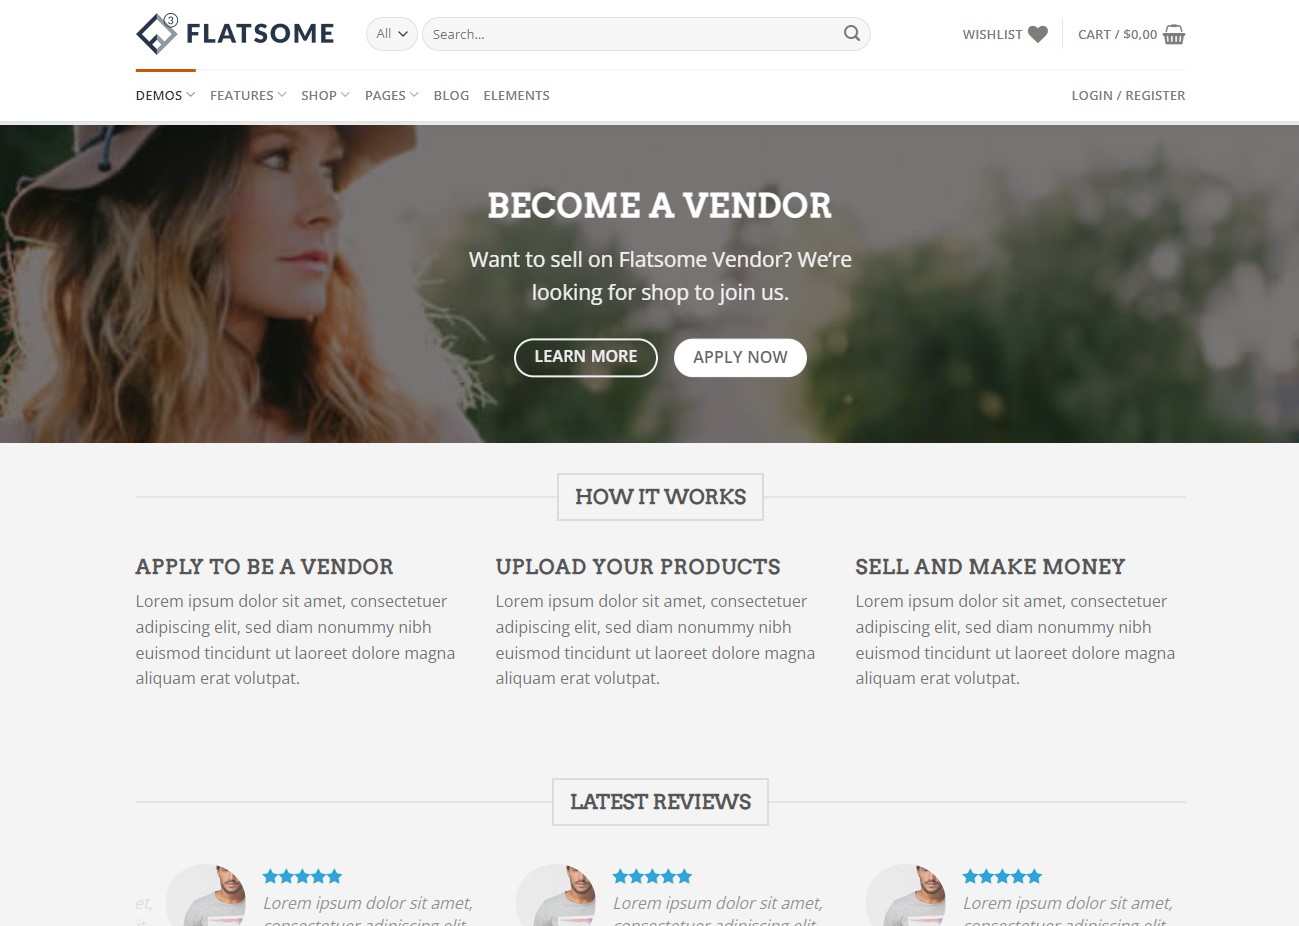
Customizing your multi-vendor WooCommerce store with a Flatsome theme
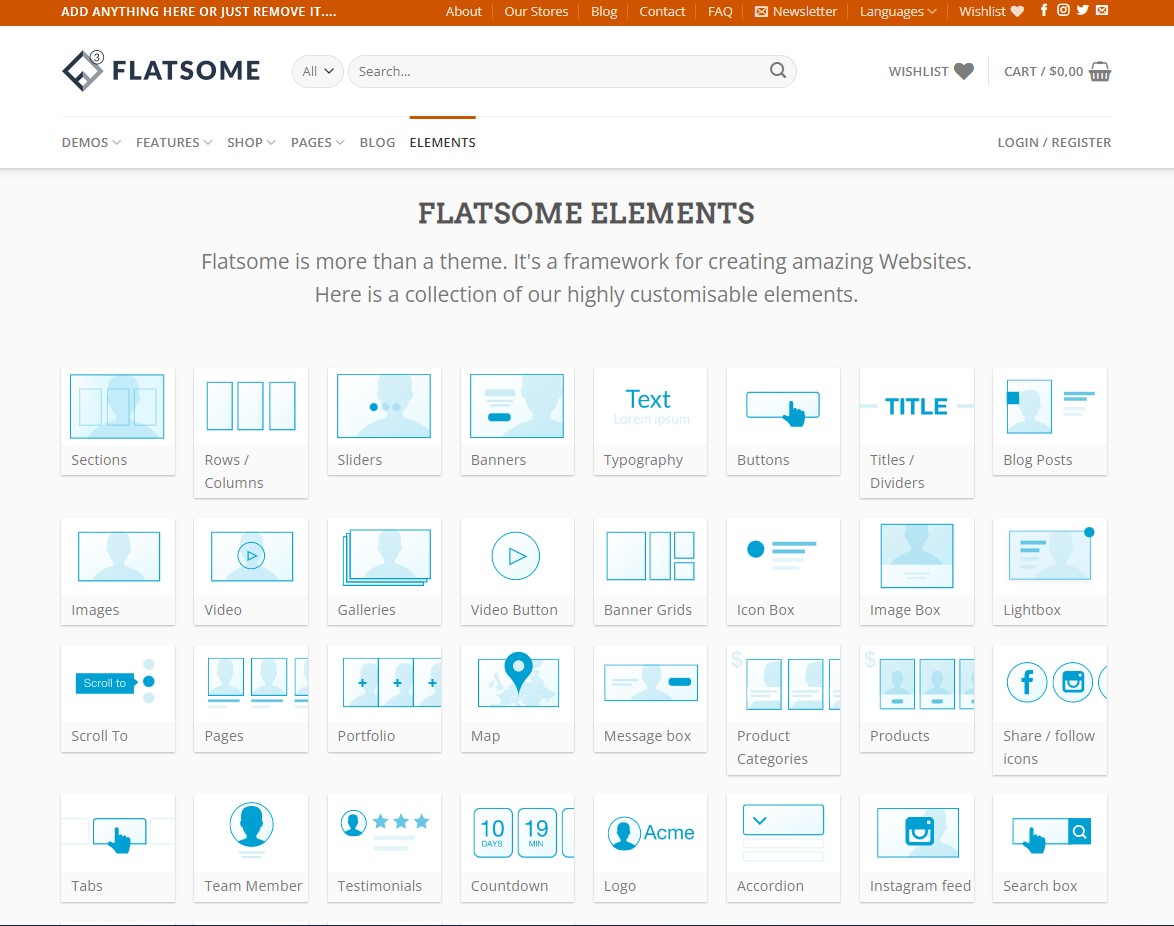
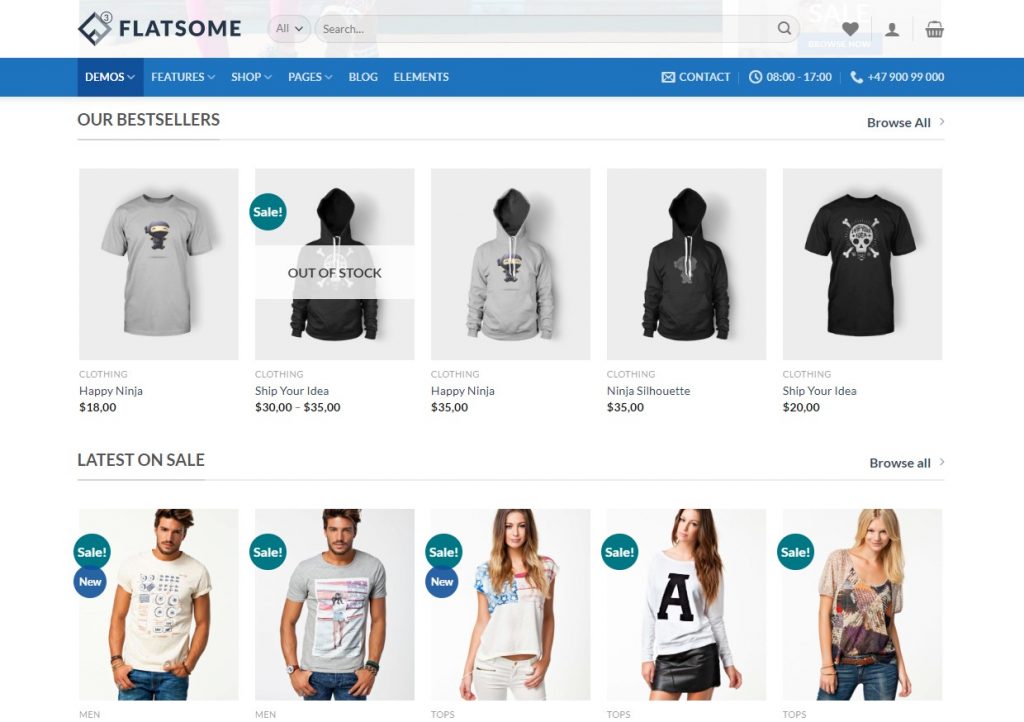
The Flatsome theme is one of the highest-rated WordPress themes designed to create a powerful WooCommerce store. You know Woocommerce store theme like Flatsome has 40+ design elements and various premade layouts you can use to build a dynamic WooCommerce store. As the Flatsome theme has deep integration with WooCommerce, you can flexibly create an online store by integrating the WC Vendor plugin.
Conclusion
In this article, we have shown you in detail and step-by-step how easily you can build a well-structured, fully managed multi-vendor WooCommerce store. You can use the free or premium version of the WC Vendors plugin. Combining this plugin with the best WooCommerce theme Flatsome, you can build and manage a multi-vendor website with zero hassle.
Feel free to check out our Rank Math vs Yoast SEO plugin comparison article to get better insights on the best SEO plugins.


 After that, copy this shortcode ‘
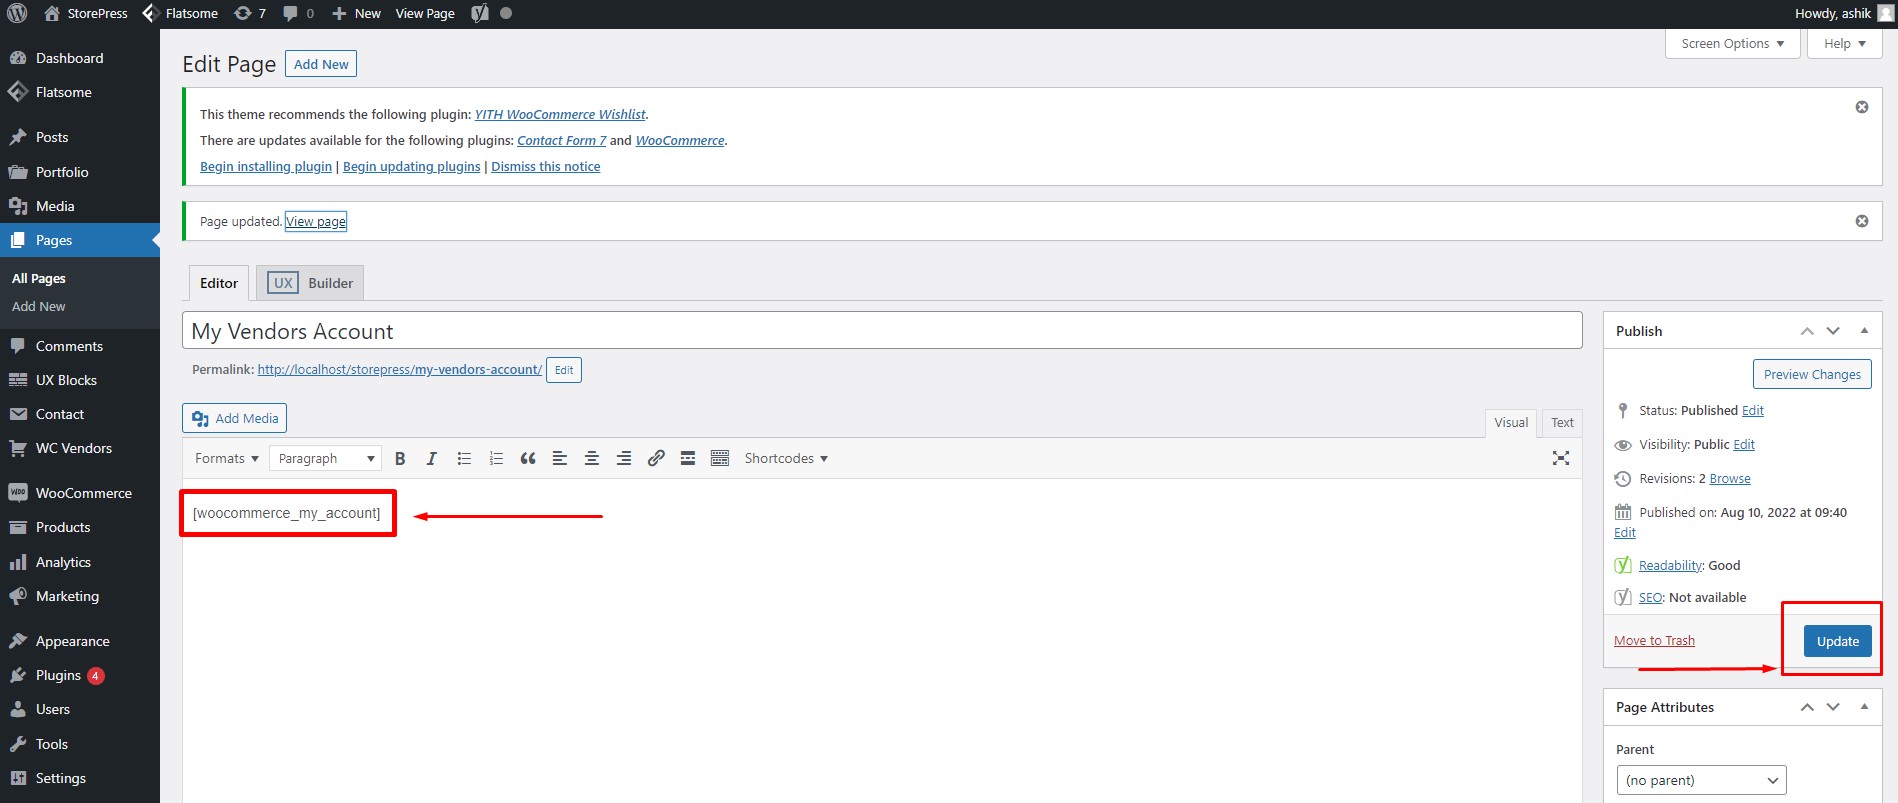
 Clicking on the link will take us to the account registration page.
 After the vendors log in using their vendor account details, they will be taken to the vendor dashboard. Users can create and edit products, check orders, and from the Vendor dashboard.
 When a vendor adds a new product, you will get a notification via email. You can check the product and approve or disapprove from the Product section of the WordPress dashboard.
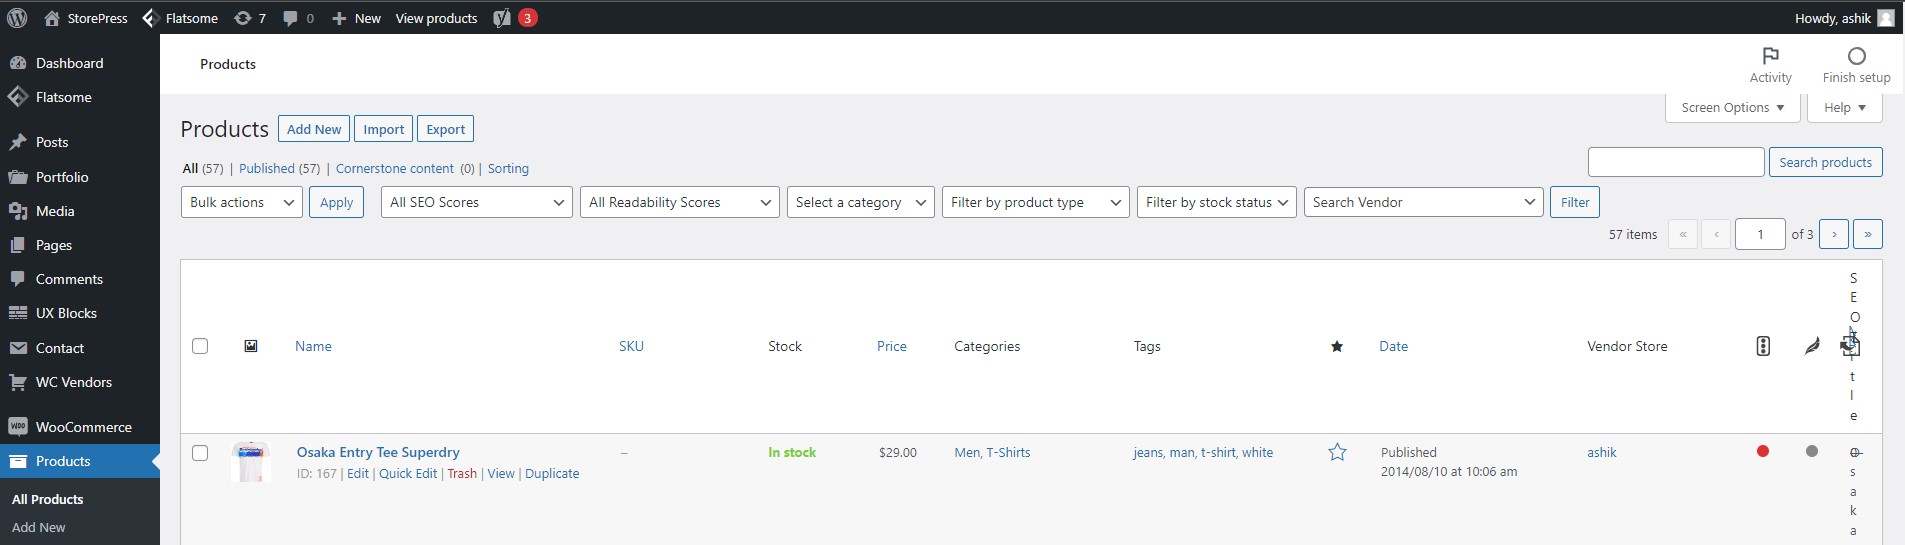 The customers can see the vendor name with the product card and click on the particular vendor name to browse more of their products.