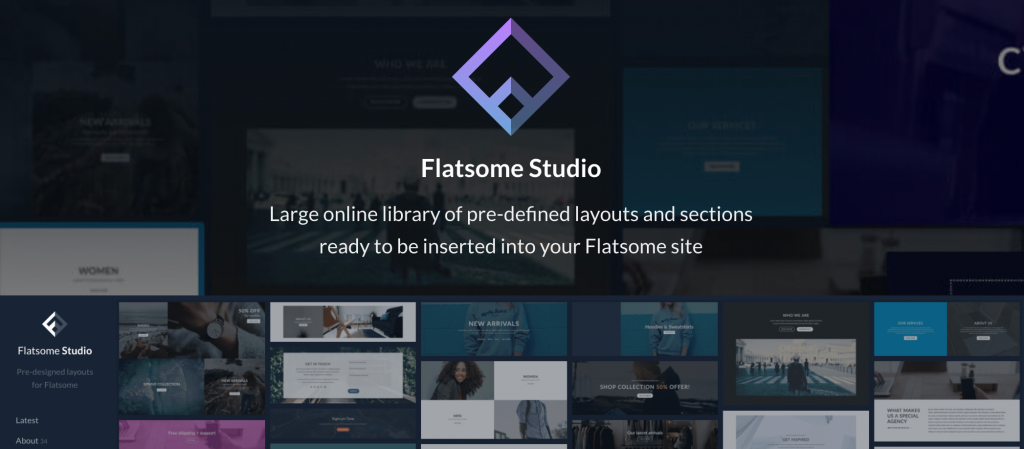
When it comes to building eCommerce websites using the Flatsome WooCommerce theme, Flatsome Studio can help you to do the job in a minute. Though you’ve various theme options, Flatsome is the best choice for creating any WooCommerce website. Because it’s a super fast WooCommerce theme with the least loading speed. Additionally, it has Flatsome Studio, which makes creating a website easier.
UX Themes launched this feature after the 3.0 version. Before that, site owners have to image a page layout and design them using UXBuilder. After the launch of Flatsome Studio, the process has become a lot easier. Now, it offers huge customization. It also has a lot to offer to improve user experience.
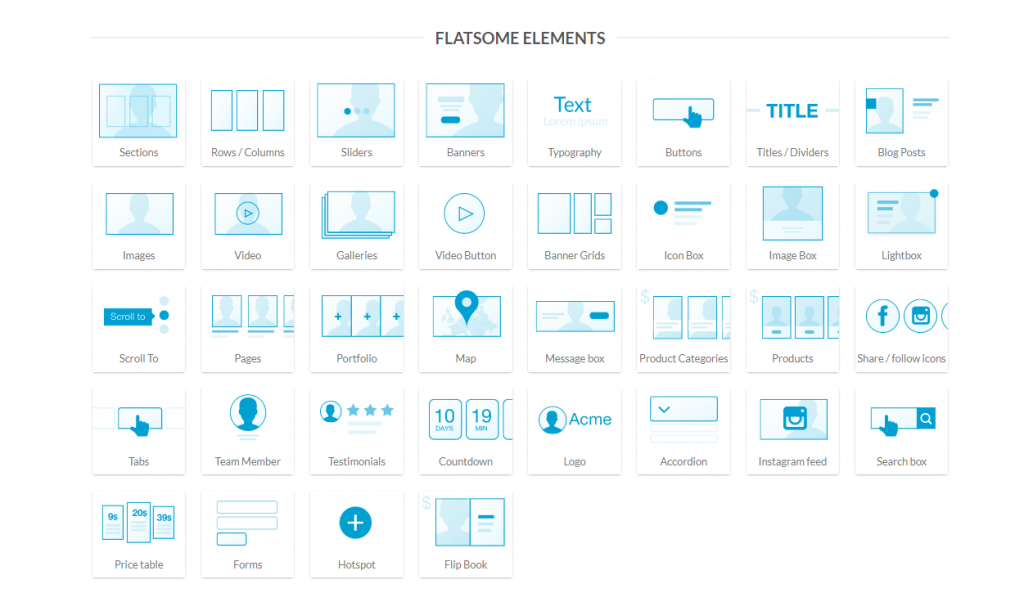
There are more than a hundred website elements in the Flatsome theme studio, such as sticky header, shopping cart, etc. Those are categorized under site elements. We’ve listed them for your convenience.
Flatsome Studio Elements
How To Use Flatsome Studio To Build an eCommerce Website
To use UX Builder, create a blank page giving a name. Once a page is created, the page builder can be accessed from the page backend or frontend.
Please note: UX Builder can’t be enabled on Blog and WooCommerce-based pages.
Step 01: Lunch UX Builder on a Page
If you are on the page backend, launch the builder and click on the Edit UX Builder Button .
Step 02: Enable Flatsome Studio Mode
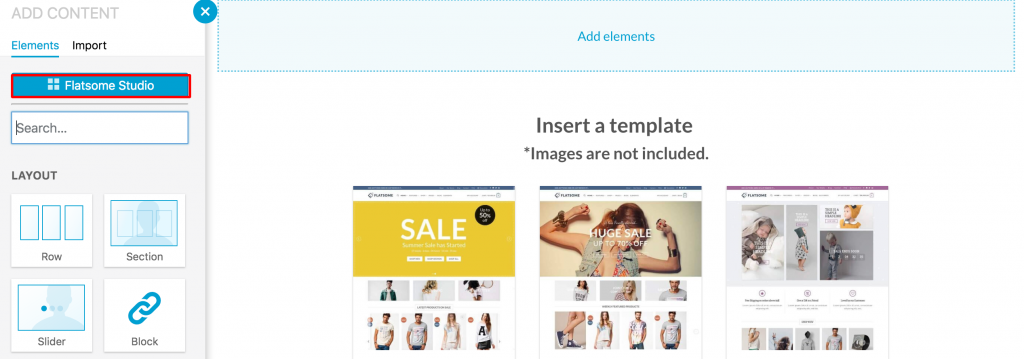
Once UX Builder is launched completely, the screen looks like the following screenshot.
To enable Flatsome Studio mode, click on the Add elements button from the left UX Builder settings panel.
Now, the Flatsome Studio button appears at the top left of the page. Click it to enable Flatsome Studio mode.
Step 03: Import Desired Site Elements
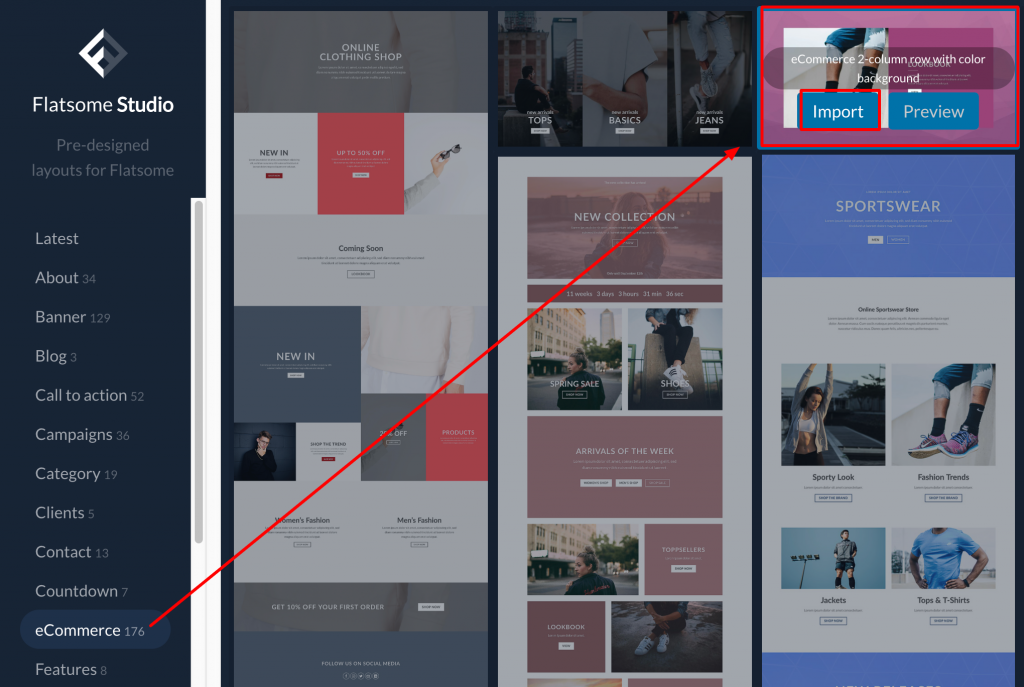
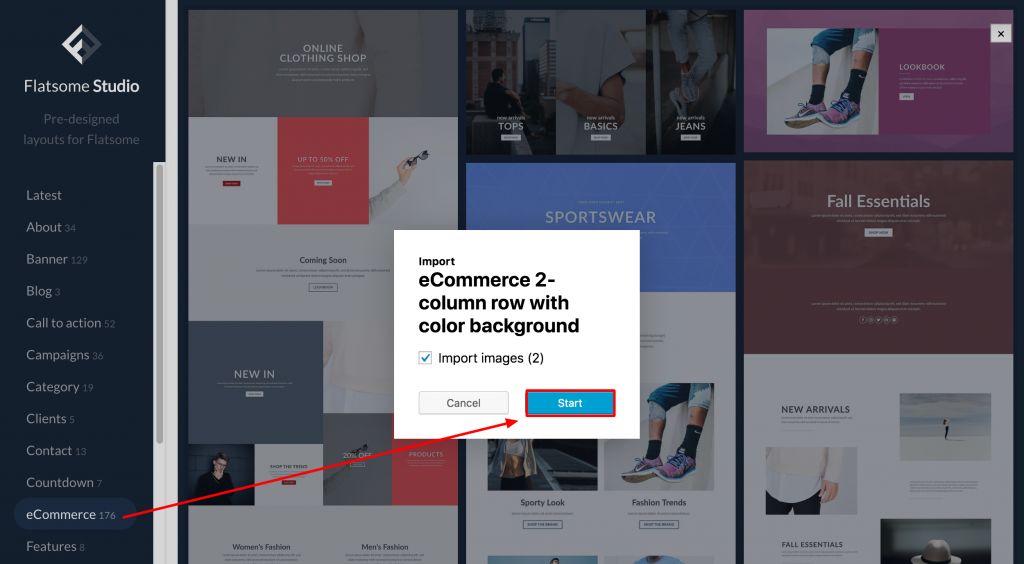
Now you have access to Flatsome Studio. Try to find your desired elements from the startup screen. Even you can get into elements categories like eCommerce, testimonial, etc., to find your desired page element. Each element comes with Preview and Import buttons. Preview helps to view elements with the live theme option. And Import will add the element to your page.
To Import the pre-made layout, select the Import button.
And click the Start button. It will add the element to the page builder in a few seconds.
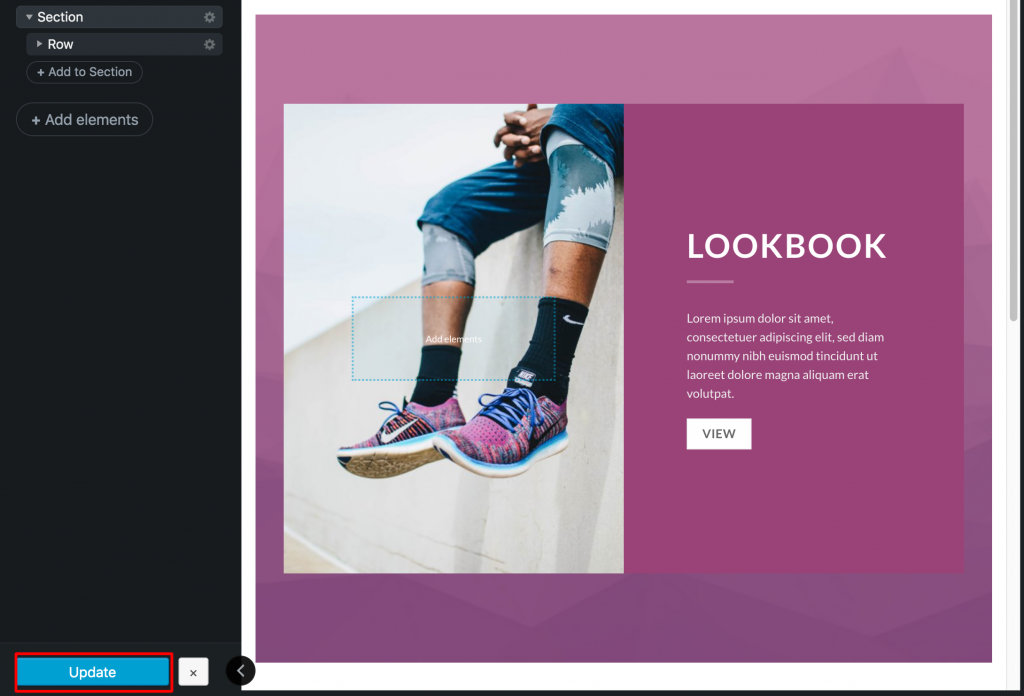
Once the builder element is added to the Flatsome UX Builder, press the update button.
There are hundreds of templates from which you can choose. You may not find the exact template we used for the demonstration. In that case, use any template you like. Using those, you can build unique landing pages, product pages, and checkout pages.
Troubleshooting UX Flatsome Studio
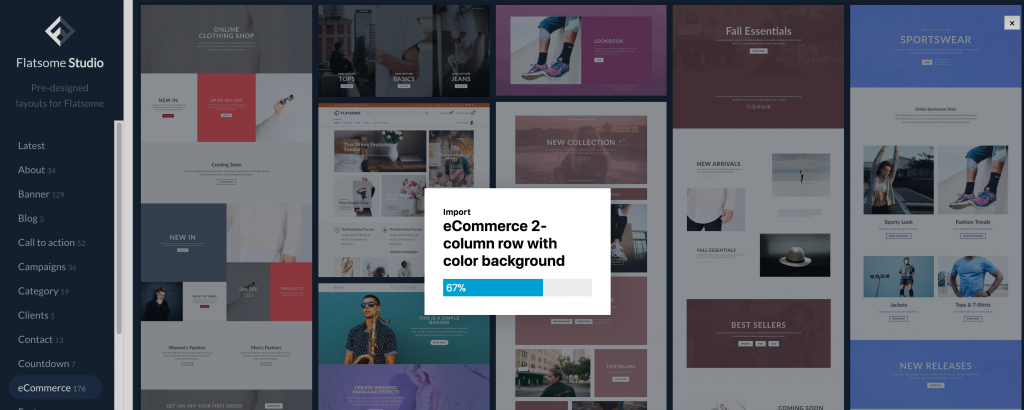
Sometimes, you may find an issue like “Element Importing Process Get Stuck or Freeze,” like the following screenshot.
You can easily solve this issue. If your site is running on PHP 5.6 or higher, you need to add the following limits in the php.ini file.
- max_execution_time 180
- memory_limit 256M
- post_max_size 48M
- upload_max_filesize 48M
Now, get to your file root and edit wp-config.php. Make sure the WordPress memory limit increase has been done.
If you can’t increase the limit in PHP, follow WooCommerce’s official guidelines to increase the memory limit on WordPress or contact your hosting service to do that on your behalf. In case you are not getting support from your hosting service, we recommend you get a better hosting service for your website.
Conclusion
Flatsome Studio can help you to build a unique WooCommerce website with Flatsome WordPress WooCommerce theme. With this feature, you can quickly build responsive websites within the shortest period. If you’re facing any issues while following this tutorial, let us know. We’ll try to solve your issue.
If you want to be an expert in the Flatsome theme and want to use its full features, you must try our other Flatsome tutorials.

