Add table of content when you’re writing a lengthy blog. Because it’ll help your visitors a lot. You may be wondering how it works, let us help you to go through it.
Have you ever stopped reading something because it was too long, or you couldn’t find the section you wanted to read? Sounds familiar, right? Most of the reader encounters the same problem so your site visitors.
A usual blog post is 1,500- 2,000 words lengthy, or nearly four pages of material, which makes readers less interested in reading posts. You can’t reduce this, but you can use a table of content to keep this straight, time-saving, and easy to understand.
WordPress users have more freedom to employ plugins to increase a website’s functionality than website builders do. This article will go over how you can add a table of content to your WordPress site with a plugin.
What is a Table of Content in WordPress
Tables of contents are probably something you’ve seen before in physical books. They list the book’s major chapters so you can quickly find relevant information without going through the full book. As a result, you can easily get the information you need while saving time and effort.
If you add table of content on a WordPress website, it provides a similar function. But, a WordPress table of contents will be more dynamic and engaging than a physical book. An index of jump links to various parts of a page or post is known as a table of content. They are especially useful for long posts because they highlight the important portions and make reading more enjoyable.
A reader could jump ahead to the section that applies to their question the most. The complete article can also be read, but the reader chooses rather than the order the author intended.
Why Table of Content Is Important
Though a table of content for a blog post may seem unnecessary, it can significantly enhance user experience on your website. The majority of readers look to your material for precise answers to questions. A table of content allows them to easily access the relevant content. It saves them from browsing and scanning to get what they need.
A table of content can also help with search engine optimization(SEO) for your posts. These useful connections make it easy to find exact information. For example, if users can navigate easily to the sections that address their search purpose, it might lower the bounce rate on your website.
How to Add Table of Content Using a Plugin
The majority of visitors are likely to lose interest in your website as a result of long pages or walls of content. It could take a while to manually add table of content for lengthy posts with numerous headings. By using a table of contents plugin, you can enable viewers to quickly browse between various areas of your content. Luckily, a WordPress plugin can make the process simpler.
We’ll show you some easy steps on how to add table of content with an Easy Table of Contents plugin, but you can try any other plugin you want. We’re using it just for demonstration purposes.
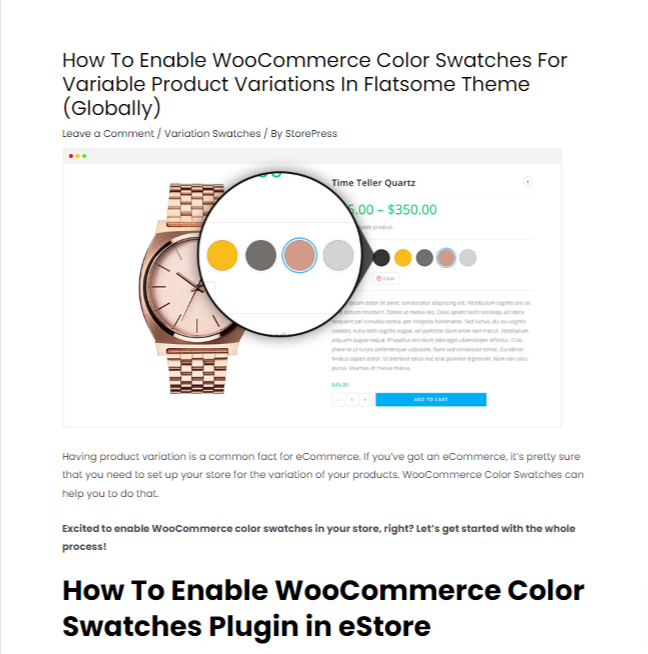
This is how an article looks without any table of content. We’ll add a table of content and see the differences it makes in the same article.
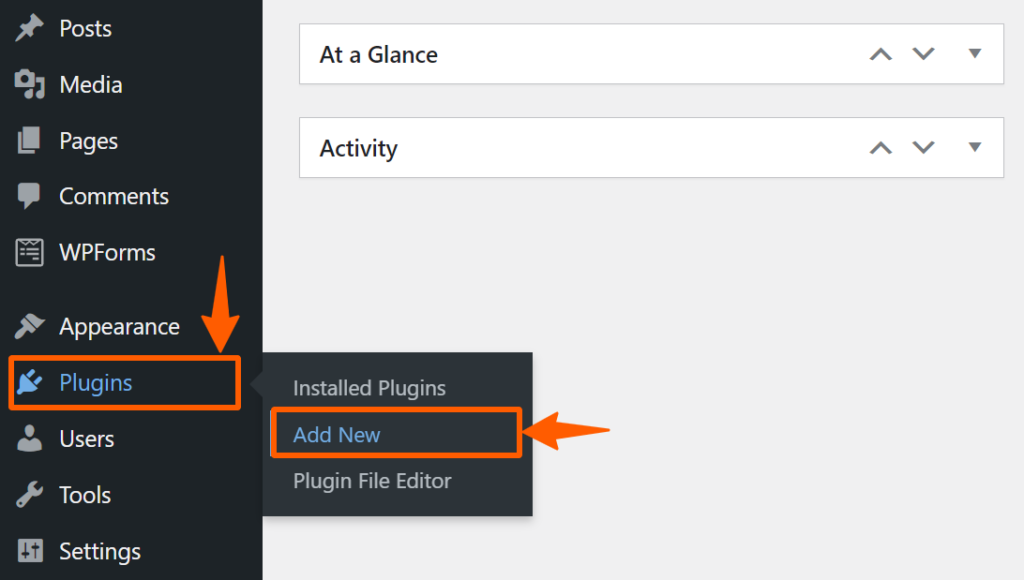
Step 1: Navigate to the Plugins in the WordPress dashboard and click Add New to add a new plugin.
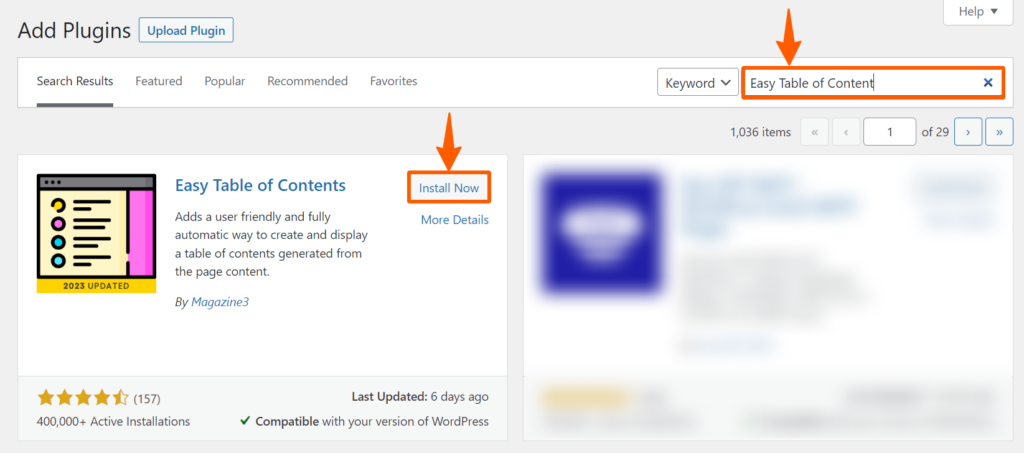
After that, search for Easy Table of Contents, then install and activate it.
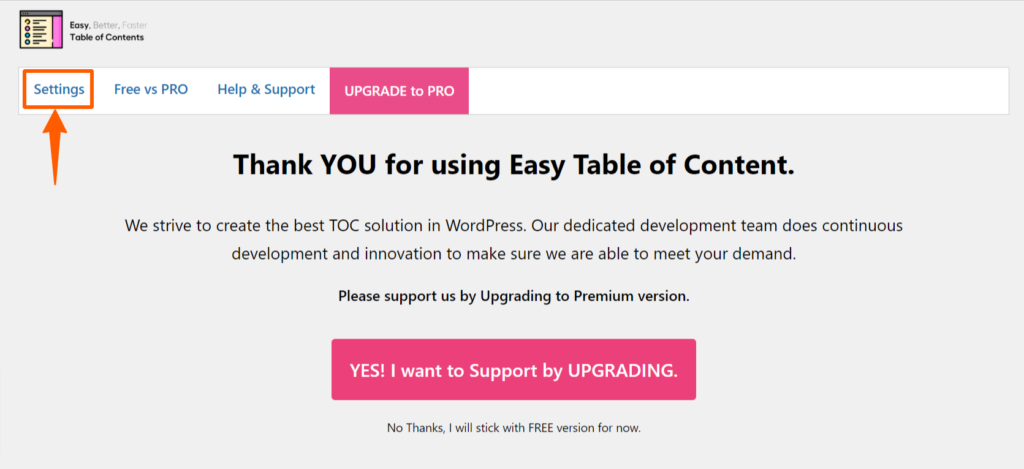
Step 2: Once you have activated the plugin then you’ll be redirected to the Easy Table of Plugins settings. If you’re not being redirected, go to the WordPress dashboard menu and go to the setting from there.
Now, you need to work on the settings so that you can use the table of content as you need. Click on Settings to use the full power of the free version.
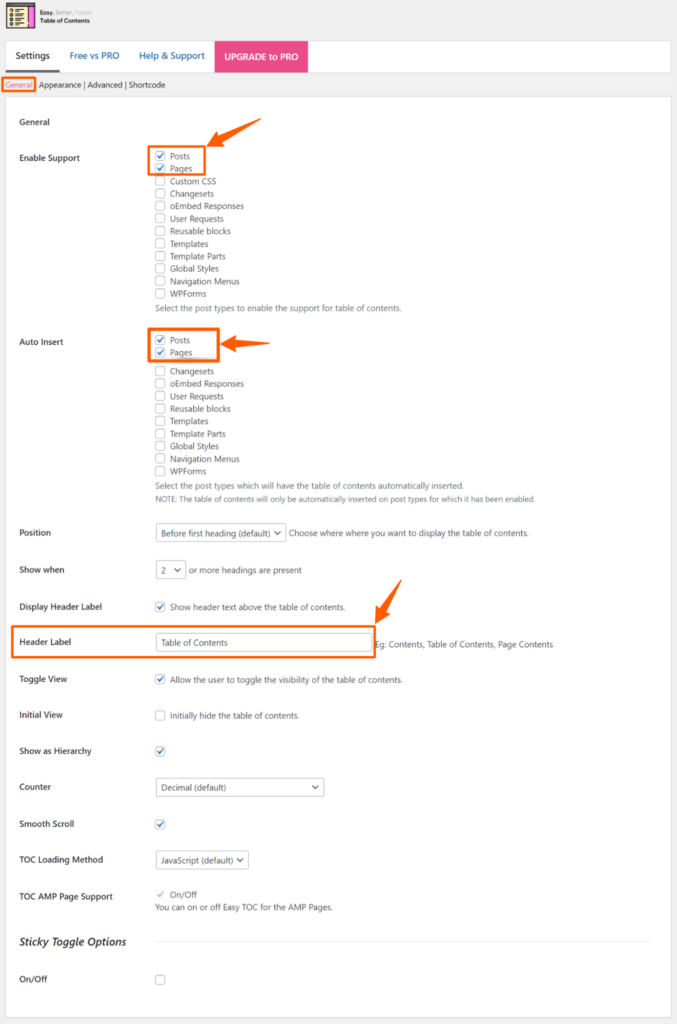
Step 3: On the Settings page, you’ll find 4 types of Settings. First, we’ll look into the General settings. From there, you can enable a table of content on certain types of posts, blocks, and pages.
You can also control the header and in what cases you want to add a table of content automatically. In our case, we’re not changing any settings because the default one works fine for us. If you just want to add a table of content to your blogs, the default settings will work for you too.
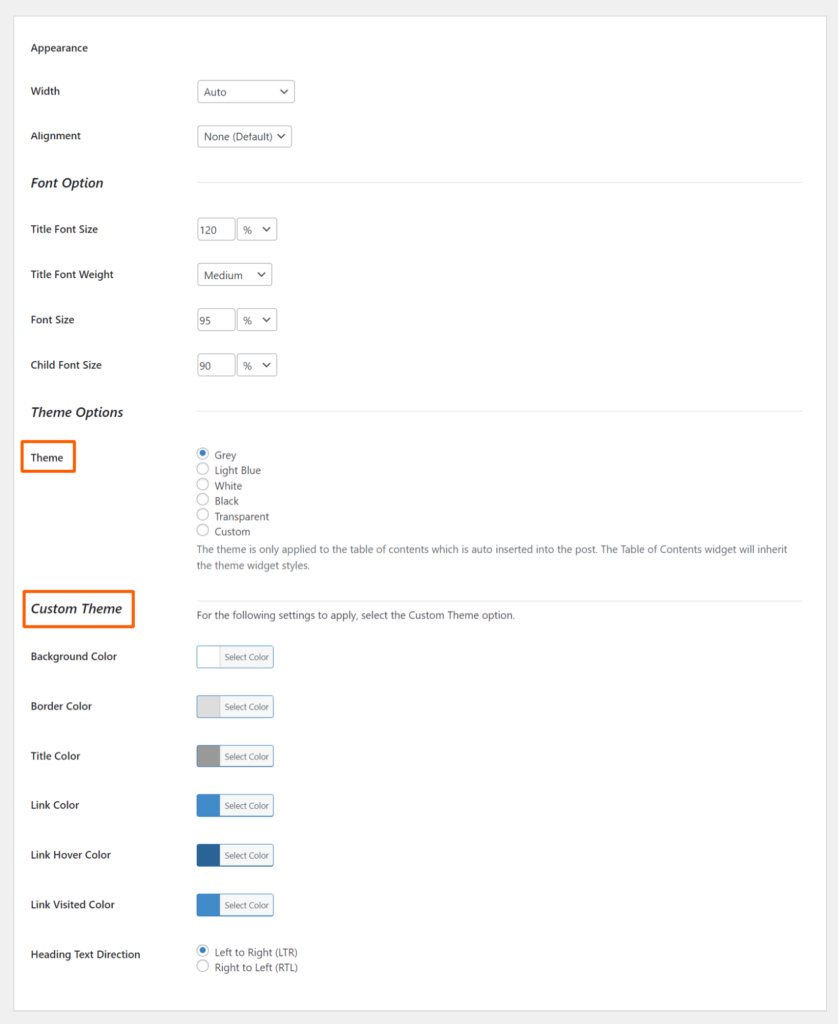
Step 4: After setting the General settings, scroll down and set the Appearance settings. From there, you can change some styling of your table of content.
It offers some default themes and custom themes to choose from. Feel free to customize this as per your requirement.
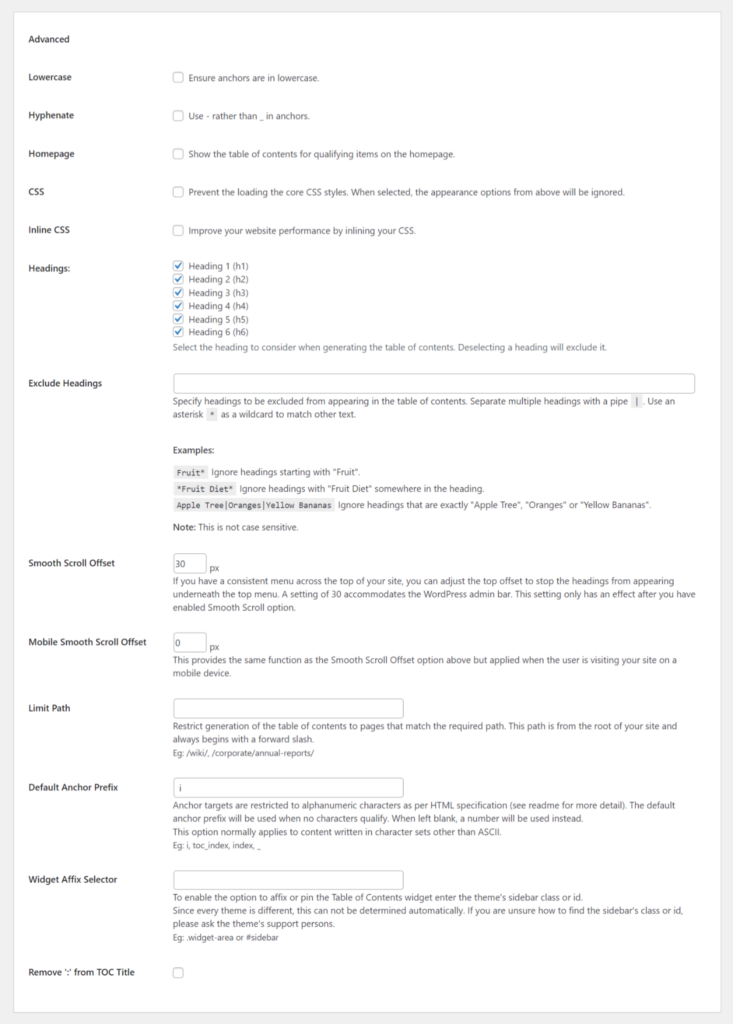
Step 5: Now, scroll down again, and you’ll find the Advanced settings. This section gives more customization options. Using this, you can prevent loading core CSS, control which headings will be visible, exclude headlines, limit path, etc.
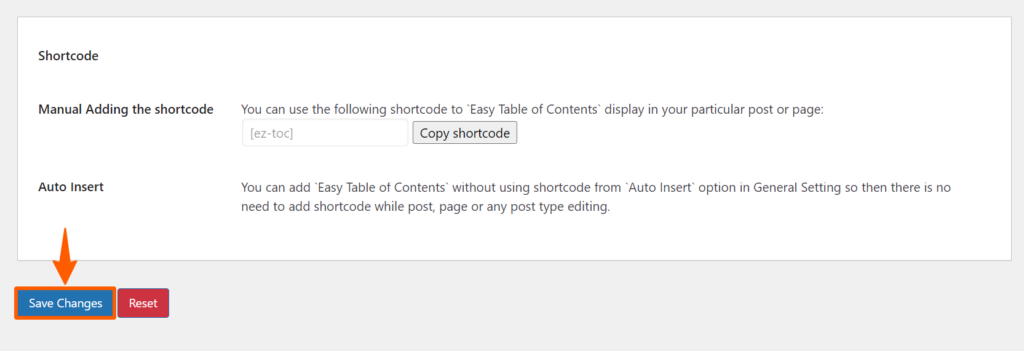
Step 7: After settings the Advanced section, you’ll find the Shortcode section. You can put some shortcodes manually from there. Then you can Save Changes from there.
Now, you’ve successfully added the table of content section to your site. Let’s preview an article to find out how it looks.
Preview

Conclusion
We hope that you’ve added the table of content using this plugin. In case you need any extra features, such as Adding Gutenberg block, Elementor widget, sticky TOC, etc., you’ll need a pro version of the plugin.
The pro version also offers full AMP support, continuous updates, and excellent documentation. We recommend trying the free one first, then finding out if you need the pro version or not.
Feel free to drop any queries or suggestions regarding this tutorial, and find more tutorials on WordPress on WPCred.