
Elementor is one of the most popular page builder plugins in WordPress at present. It is effortless to create an Elementor sticky header. Using Elementor, you can create and customize your website by each pixel. Elementor has an exciting drag-and-drop element for creating an attractive and informative header section.
The header section is more valuable when it stays on the web page while the user scrolls up or down, called the sticky header. This tutorial will demonstrate how easily and flexibly we can create and customize a sticky header that will engage the visitors more in your WordPress website.
What is The Use of a Sticky Header?
A general header section usually is located at the top of your web page. When the user scrolls down, the header section disappears as it is fixed at the top. The one distinction between a sticky header and the regular one is that the sticky header always stays on the webpage no matter how the user scrolls.
A sticky header increases the flexibility of navigation as the header section contains all the links for pages and posts. Without a sticky header, your users might feel challenging to browse through your website; that is where the importance of the sticky header lies. And if you have a sidebar on your website, A sticky sidebar in WordPress is also valuable.
Create an Elementor Sticky Header Step by Step
We will see how to create an Elementor sticky header step by step. To do this, install the latest version of WordPress and the free version of Elementor page builder.
Elementor Sticky Header: Create a Main Menu
Step 1:
From the WordPress dashboard, go to Appearance>Menus. From the menu selection panel, click on ‘Create a new menu” inside the Edit Menu tab.’ You will the page for creating a new menu. Give your menu a name; create your personal menu label and click ‘Save Menu.’
After the page reloads, add pages from the Pages section on the left and click ‘add to the menu.’ Now from the Menu Settings at the bottom, select ‘Main Menu’ and ‘Main Menu-Mobile.’ to display them at those locations. Finally, click ‘Save Menu’ to finish creating your header menu. This process is the same as all the best Elementor themes for WooCommerce to create a fantastic online store. 
Step 2:
As we have created the navigation menu, it is time to install the Elementor page builder plugin. Note that you need to install the premium version of Elementor to create and customize basic theme elements like header, footer, widget section, etc. We will use the premium version to create an Elementor sticky header from scratch as it is easier than Gutenberg; you can also compare Elementor vs. Gutenberg to get the best experience. 
Elementor Sticky Header: Create and Customize Header with Elementor
Step 3:
It is time to start creating a sticky web page header design in Elementor. From the WordPress dashboard, hover on ‘Templates’ and click ‘Theme Builder.’ 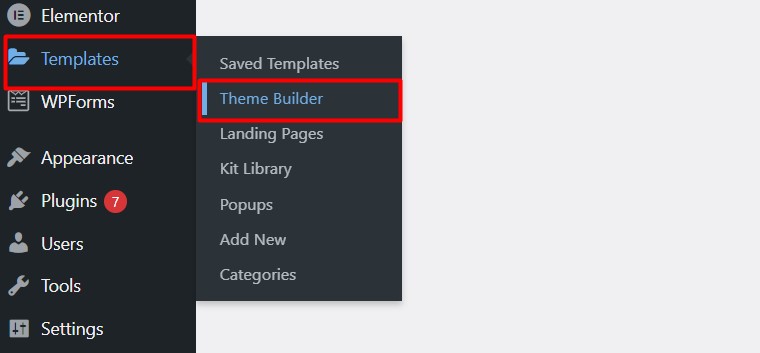
Step 4:
Inside the theme builder page, click on the ‘Header’ section and select ‘Add New Header.’ 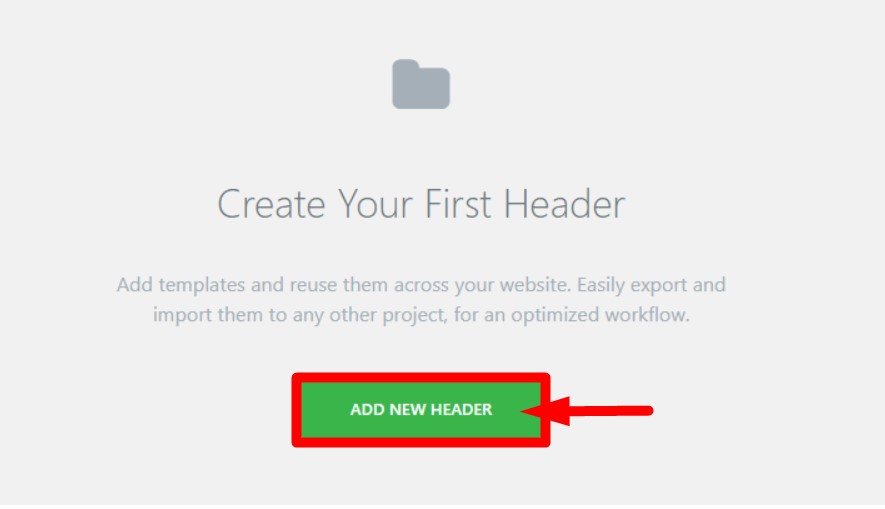
Step 5:
You will see a pop for creating a new header. Choose the ‘Header’ template from the select box and give a name for the new header. Click ‘Create Template.’ 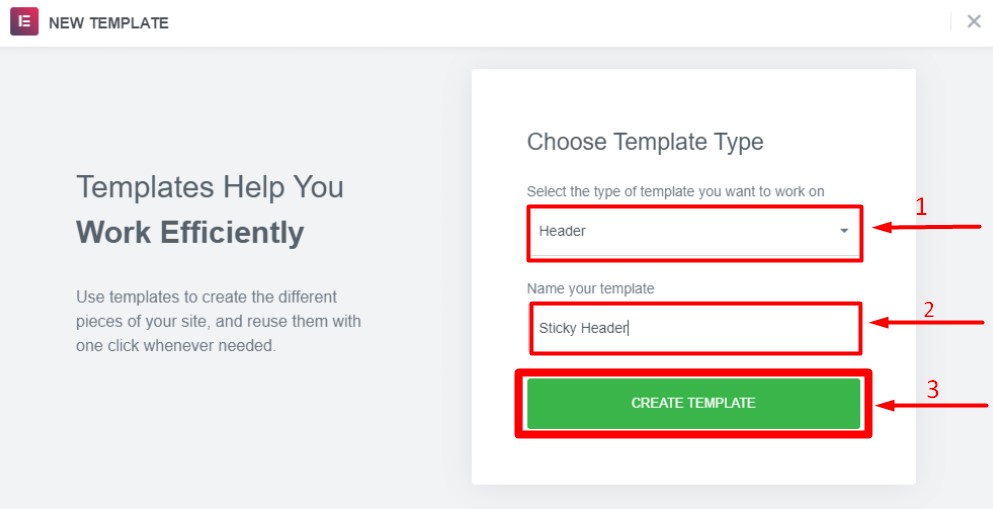
Step 6:
You will be taken to the Elementor editor page, where you can customize your Elementor sticky header with different dynamic elements and effects like a sticky column and more. Elementor offers 7+ widgets that make creating a beautiful and informative header easy. If you have been using Gutenberg previously, you can easily disable the Gutenberg widgets block editor by following some steps. 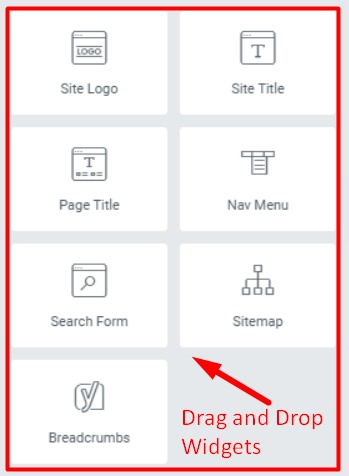
Step 7:
Firstly, select a column structure for the header section. We will use the two-column layout, one for the logo and the other for the navigation menu. 
Step 8:
Now click on the column section we just created, and a section settings box will appear. Under the Layout tab, choose the ‘Boxed’ content width. Other features are available in the settings, like column gap, sticky column, height, vertical alignment, etc., which you can use for the header section. 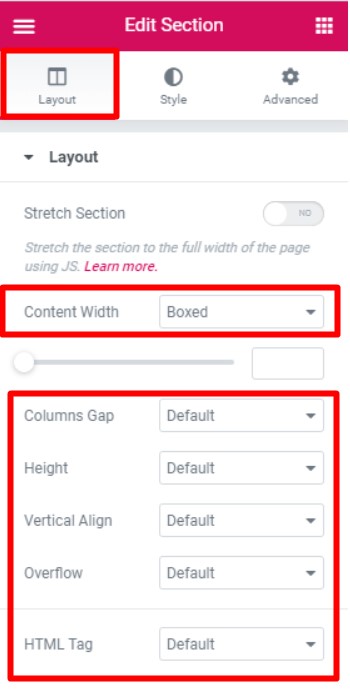
Step 9:
Now drag and drop the logo widget on the left and the navigation widget on the right. Click on the menu widget, and the menu setting will pop up. You have to select the menu we created in step 1. After that, select the right alignment for the menu. Click ‘Update,’ and we have created a basic header for our website. 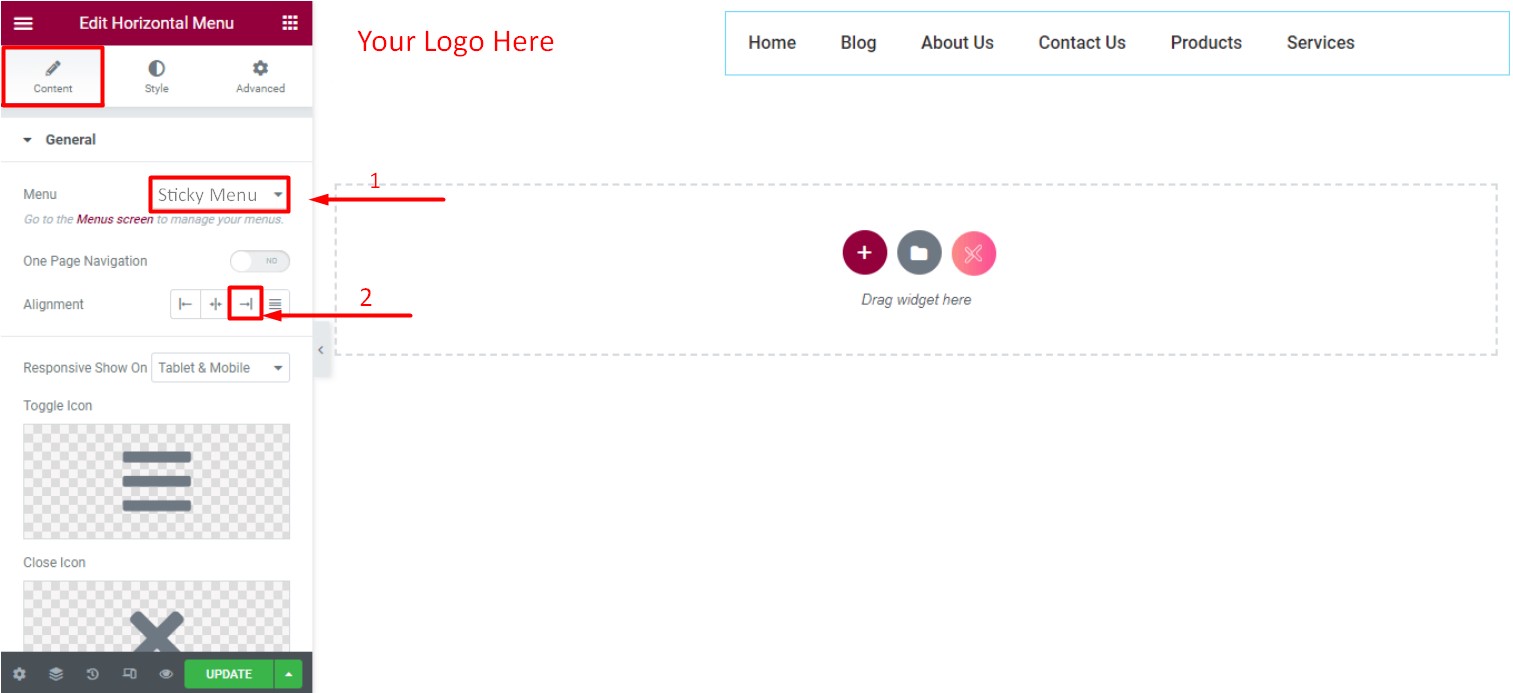
Step 10:
The last thing left to do is to turn our newly created header into an Elementor sticky header. Click on the ‘Edit Section’ of our header section, and a section setting will appear. Head over to the Advanced tab and click ‘Motion Effects.’ 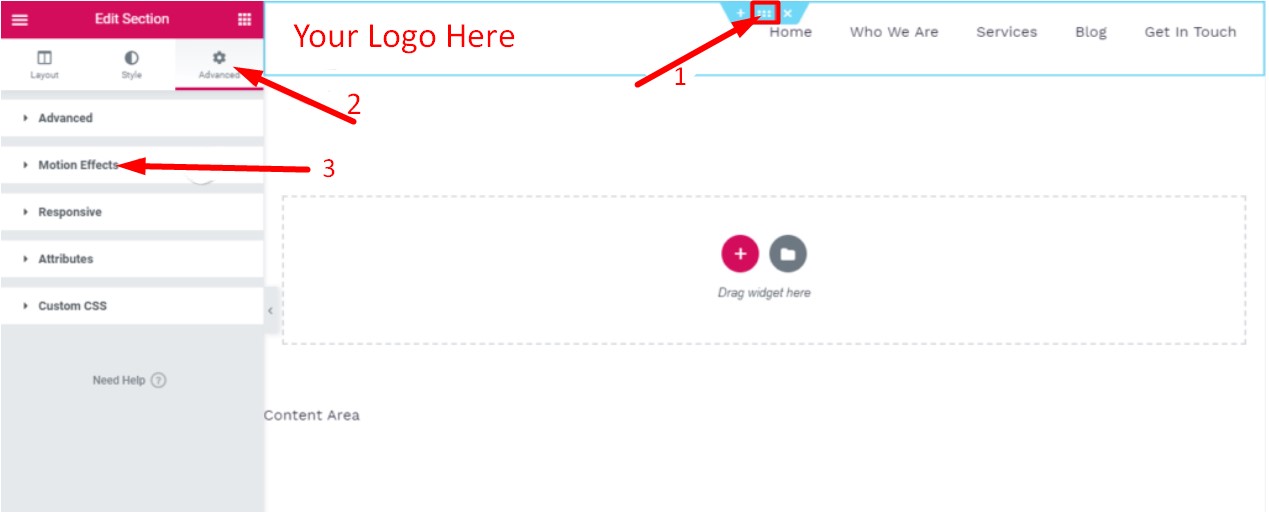
Step 11:
Inside the motion effects setting, choose ‘Top’ for the sticky option to appear at the top of the page. Next, you need to decide on which devices you want to display the sticky header. Choose desktop, mobile, and tablet to make the sticky header visible on those devices. Now click Publish’ and finish customizing the Elementor sticky header. 
Step 12:
After publishing, a new window will pop up where you can exclude or include pages to display the sticky header. Type and add the pages you want the sticky header to appear on and exclude the ones you don’t want. You can also use custom CSS for your Elementor sticky header. Click “Save & Close” to finish publishing the newly created Elementor sticky header. 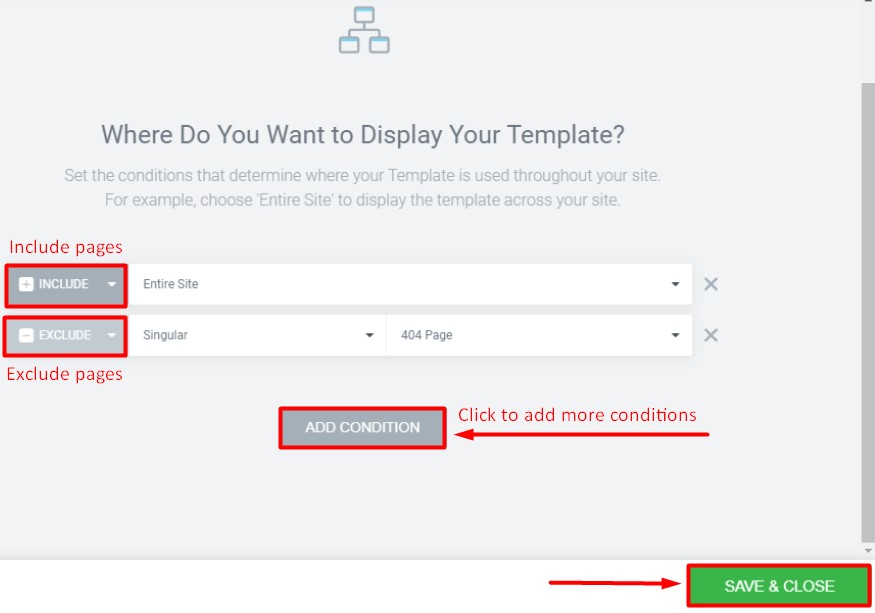
Conclusion
The Elementor page builder is one of the most powerful and feature-rich editors to create any section of your website and webpage with numerous elements and unlimited customization possibilities. Following the same procedures we have demonstrated in our tutorial will allow you to create and edit other website sections.
This article will be helpful for you to successfully create a feature-rich, informative basic, and sticky header for your WordPress website. Feel free to review our article on the best 5 hosting services for WordPress websites to make the right choice for your precious WordPress website.
