Do you know how to use Custom Icons in Flatsome? If not, don’t worry, we’ve come up with a simple tutorial to use custom icons in the Flatsome theme. Custom Icons are widely used for better design of the website. Google is the most popular and widely used for custom icons among icon creators. You can use a vast number of icons from Google for absolutely free. To use custom icons, you just need to copy some code and paste it to your site to use custom icons.
Why Do You Need Custom Icon?
Flatsome provides a good number of icons to use for your website. But sometimes, you may need to use icons unavailable in the Flatsome theme. Or you may prefer the design of any other individual company. There can be thousands of reasons for using a custom theme. So, it’s better to know how you can add custom icons.
Does It Require Coding?
Don’t worry about the code; you don’t need to understand the code or any of the coding procedures. All you need is to select the code and copy it, then paste it in the appropriate place. If you want, you don’t even need to select and copy the code, the code will be auto-copied to your device by clicking on a copy button. Adding a custom icon may seem a bit technical but it’s not. I can assure you, without any coding, you can add custom icons using only these 12 steps.
How to Use Custom Icons in Flatsome: 12 Steps Only
Step 1: Go to Google Icon and find which icon you want to use. ![]() Step 2: Choose an icon and click on it. A slider will appear on the right side, you can find an option named Web, click on it.
Step 2: Choose an icon and click on it. A slider will appear on the right side, you can find an option named Web, click on it. ![]() Step 3: Scroll down that section and find section Static icon font. You’ll find two sections of code there. Copy the first one manually or by clicking on the right of that section.
Step 3: Scroll down that section and find section Static icon font. You’ll find two sections of code there. Copy the first one manually or by clicking on the right of that section. ![]() Step 4: Go to the WordPress Dashboard. Hover your pointer on the Flatsome. A section will appear. Click on the option named Advanced.
Step 4: Go to the WordPress Dashboard. Hover your pointer on the Flatsome. A section will appear. Click on the option named Advanced. 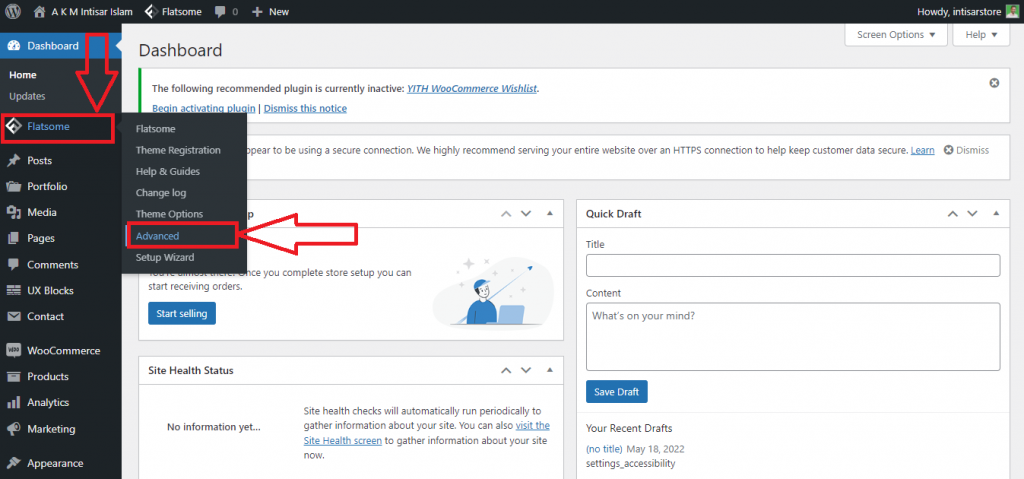 Step 5: A new window will appear. Click on the Global Setting. You’ll find a box with a heading of Header Script. Click on the box and paste what you’ve copied.
 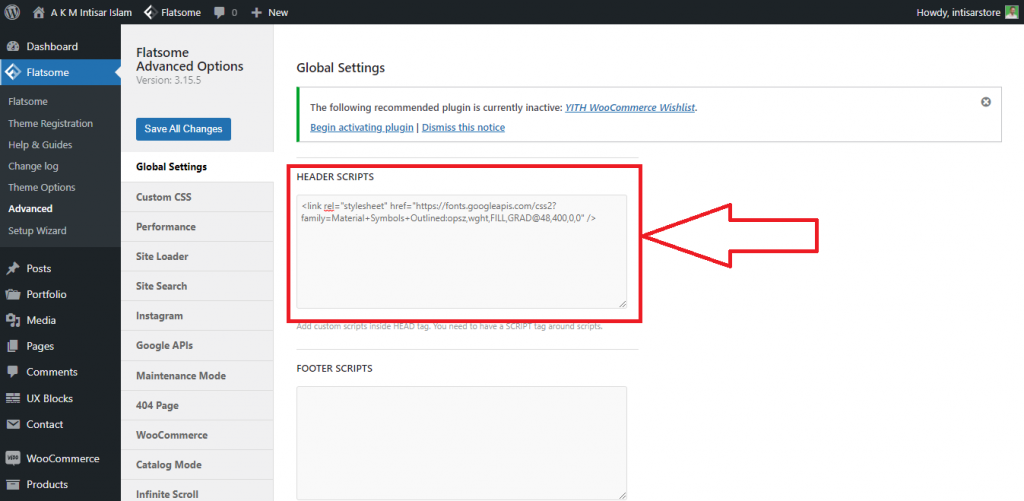 Step 6: Scroll down and click on the Save Changes
 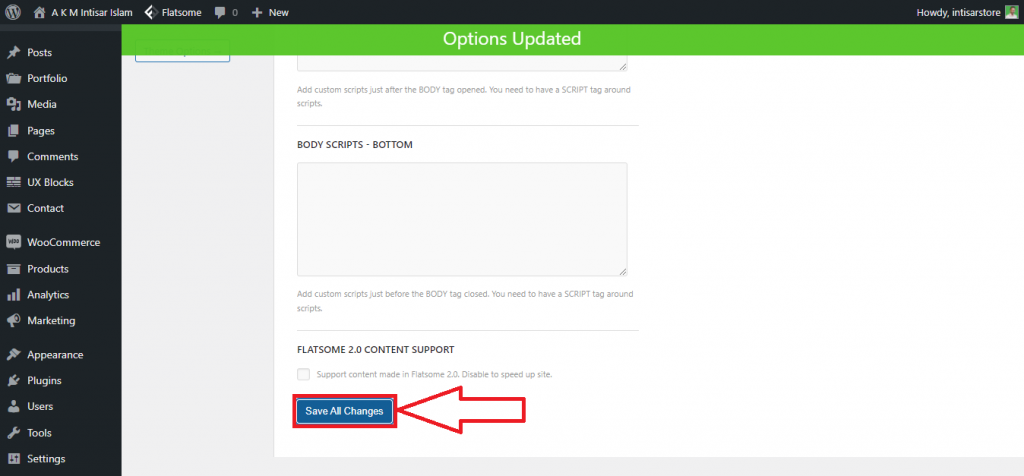 Step 7: Scroll up and click on the Save Changes on the left again.
 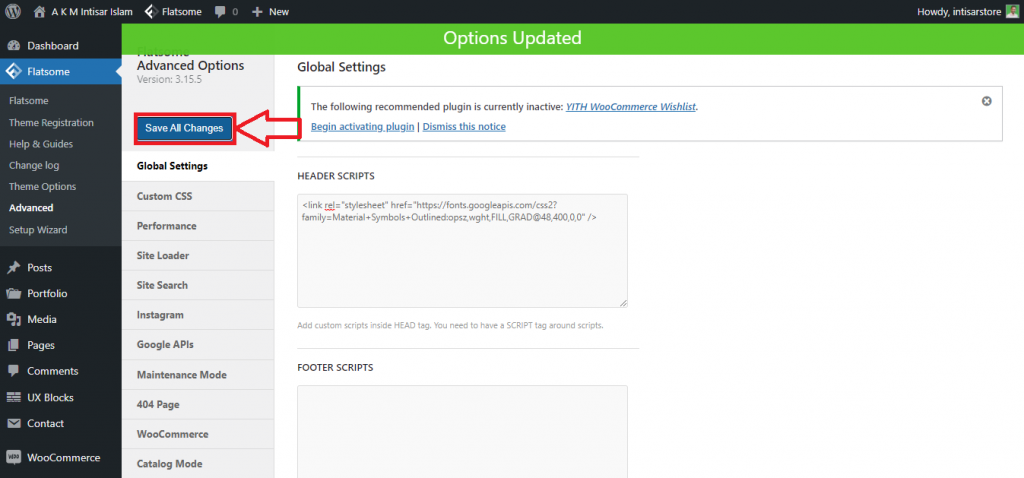 Step 8: Go to the main website and hover the pointer on the Edit Page and click on the Edit with UX Builder.
  Step 9: To add a custom icon below the title, click on the text.
 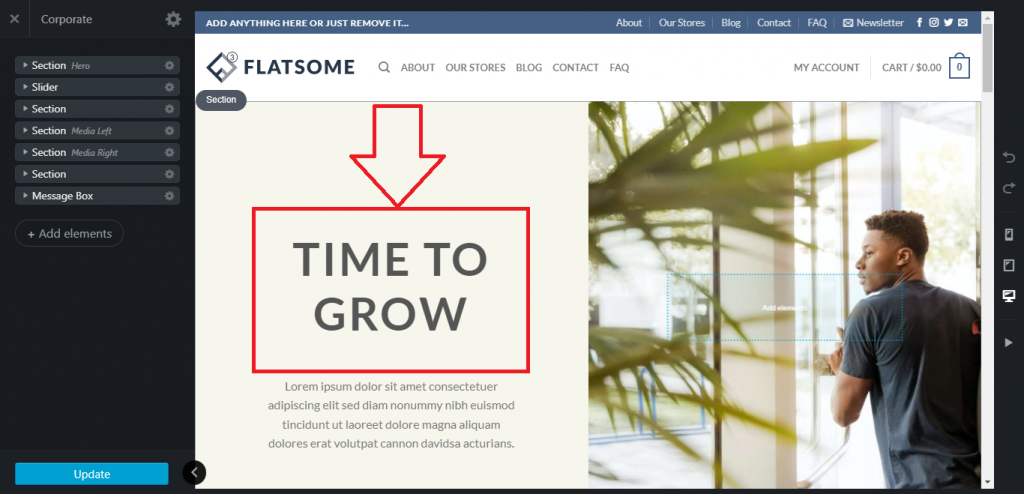 Step 10: A new window with several options will appear. Click on the text box section.
 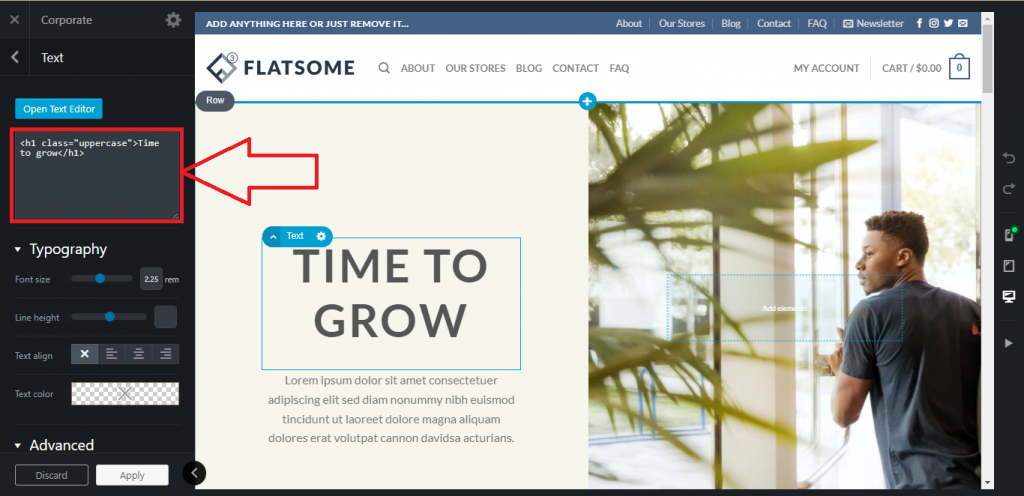 Step 11: Copy the 2nd code from step 3 and paste the code you copied. An icon will appear under the title. Click on Apply button to execute this setting.
 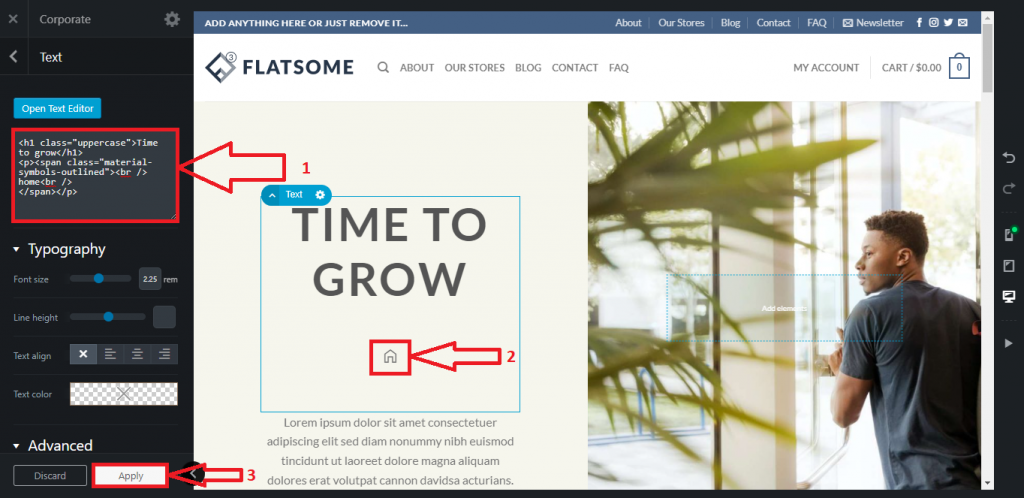 Step 12: A new window will appear. Click on Update to save the new edit.
 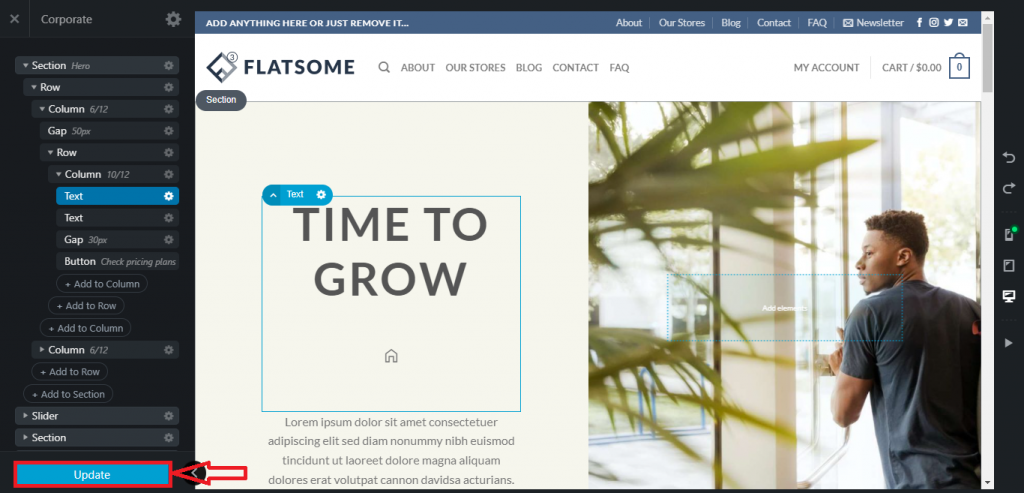 Final Preview: The icon will be displayed where we wanted to place it.
Conclusion
Adding a custom icon is super-easy. If you’re facing any issue, try from the beginning again and understand the process from scratch. For the sake of example, we’ve put the custom icon under a title, but this is not the only place to put your custom icon. Even you can also add payment option icons in the footer section too. You can add a custom icon anywhere on the website. All you need is to click on your desired place instead of the title in step 9 and follow the same process. You can also drop a comment about the difficulty you may face. If you like the tutorial and want to work more in Flatsome, you may read our other Flatsome theme tutorial to be an expert.
