Embed Discord WordPress can be a very useful decision for a website. Discord offers a very easy integration method for this. And with a WordPress-powered website, it becomes a lot easier. In this article, we’ll demonstrate to you how you can embed a Discord widget into a WordPress website.
We’ve crafted the article in a way that even if you use a different CMS or no CMS. This tutorial can help you to add a Discord widget.
What is Discord?
Discord is a social app mostly used for communication with larger groups. It’s widely popular among the gaming industry, software development companies, and many other small and large communities. This app is mostly free and offers to text, call, and video chat with other users. It is especially popular among young people. Moreover, it’s compatible with the most popular WordPress themes.
What are the benefits of the Discord Widget?
- Faster communication technology
- Customizable according to the user’s choice
- Easy communication with a large team
- Instant video, and audio meeting
- Easy to decentralize the workforce
- Free streaming service among groups
- Options to take a break from work
How to Embed Discord WordPress Widget
- The setup process is super easy. You need to open a discord account first, then create a custom server using it.
- After successfully setting up the server, configure it, find the HTML code for that server, and copy that.
- Afterward, go to your site’s WordPress dashboard, find the page or post where you want to add the Discord widget and edit that.
- Using the block element, add the code we’ve applied. In this way, you can easily add the Discord widget to your WordPress-powered website.
If this seems not clear enough for you, we recommend you follow the whole tutorial.
Setting Up Discord
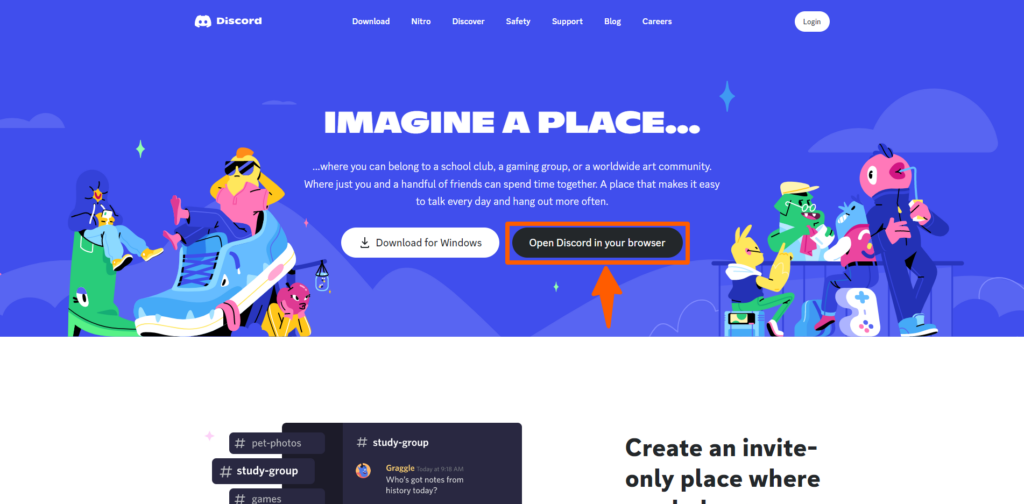
Step 1: Go to discord.com, click on Download for Windows or Open Discord in your browser. We’re using the browser version to keep it simple. You can download the Desktop version for a better user experience.
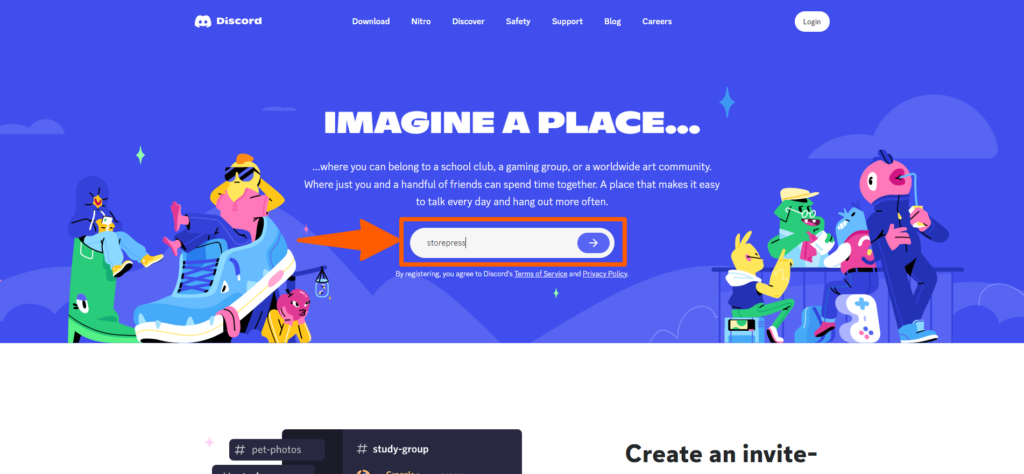
Step 2: Then put your username and click the arrow to proceed.
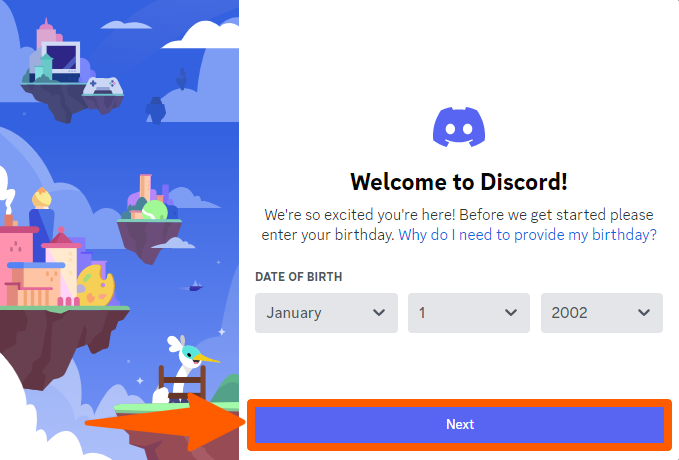
Step 3: Put your date of birth and other necessary information there.
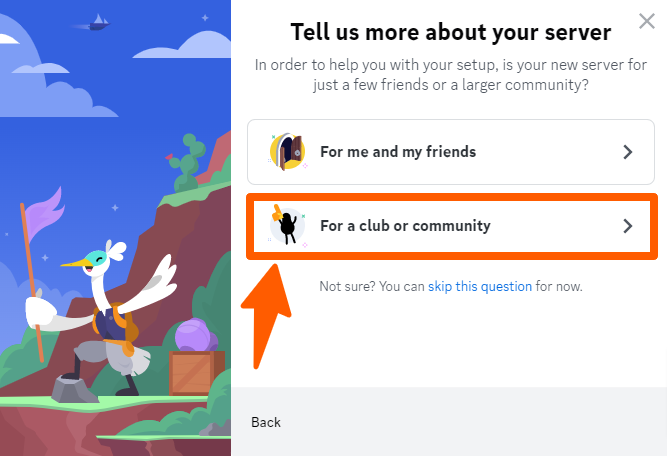
Step 4: Now, you can choose what kind of server you want to create. We’re clicking For a club or community.
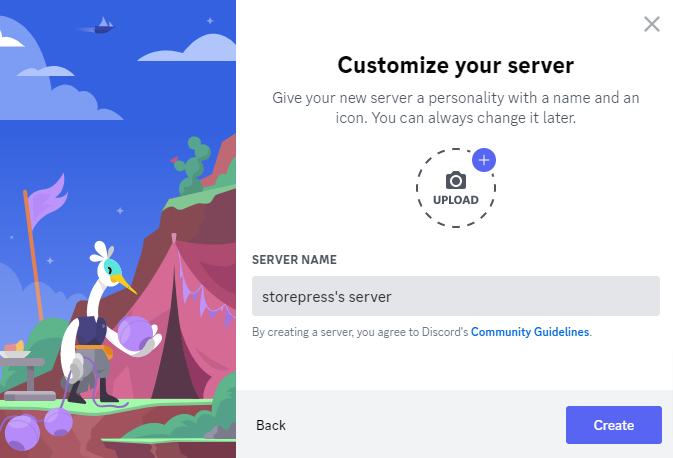
Step 5: Upload a photo, give your server a name, and then click Create to get started with it.
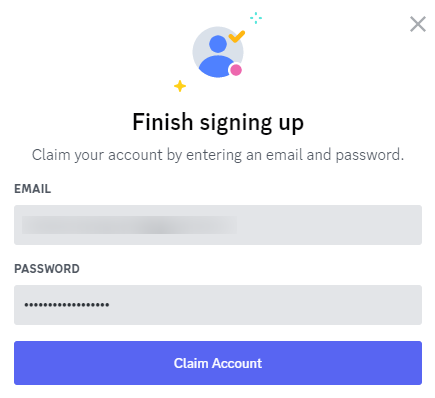
Step 6: At this point, you need to give your email and password, then click on Claim Account. Don’t put your email password here. Create a unique password for Discord.
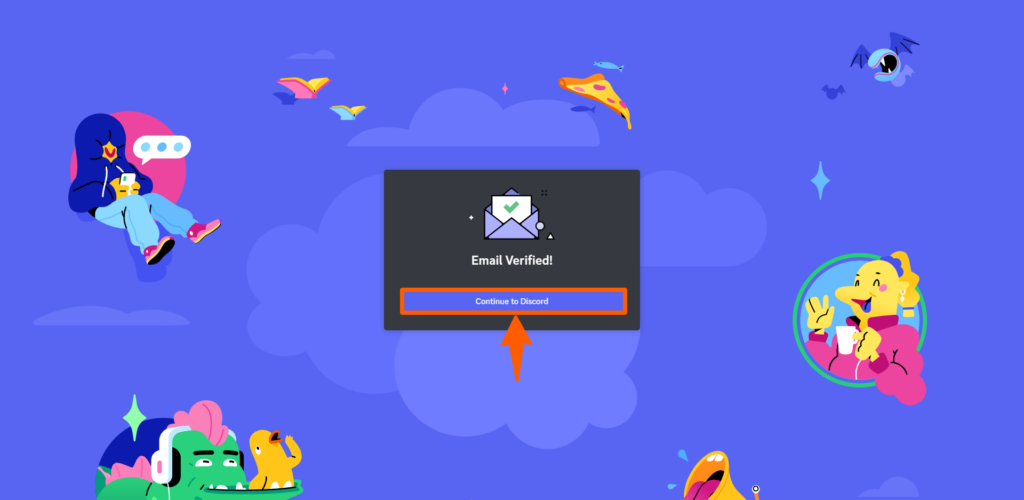
Step 7: Now, you need to go to your email, and find the verification email from Discord. Find it and verify it. Then click Continue to Discord.
Step 8: You’ve successfully created the discord account and server. Now, you need to integrate the server with your website.
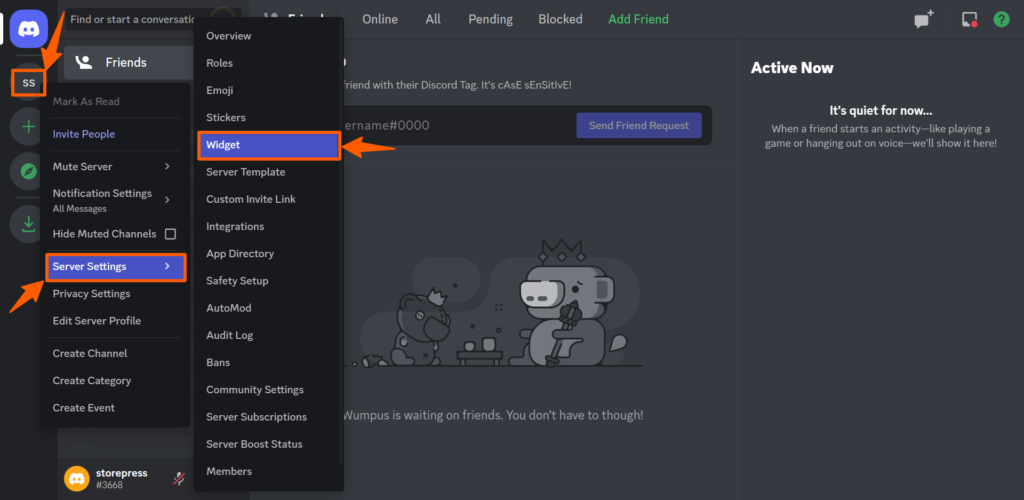
Do right-click on the icon of your server. Then hover on Server Settings, then click Widget.
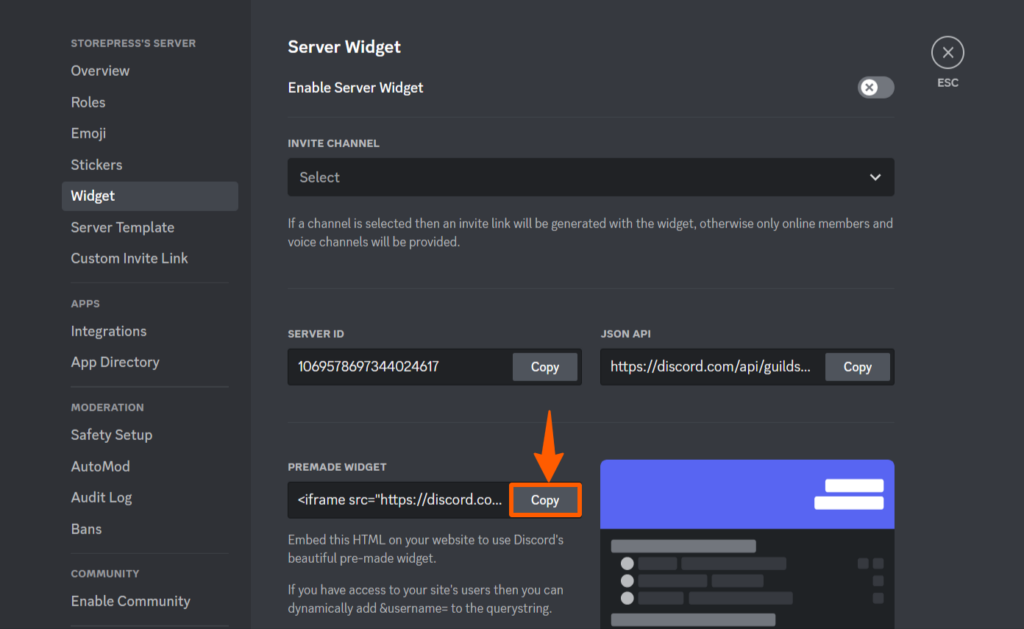
Step 9: You’ll be redirected to the Server Widget page where you’ll find PREMADE WIDGET. Copy the code of it.
Connecting Discord with a General Website
First, decide where you want to put this widget. Then open the code of your website, paste there, and save it. It’ll be instantly added to your website. You can also do some styling of the widget using CSS.
Embed Discord WordPress Website
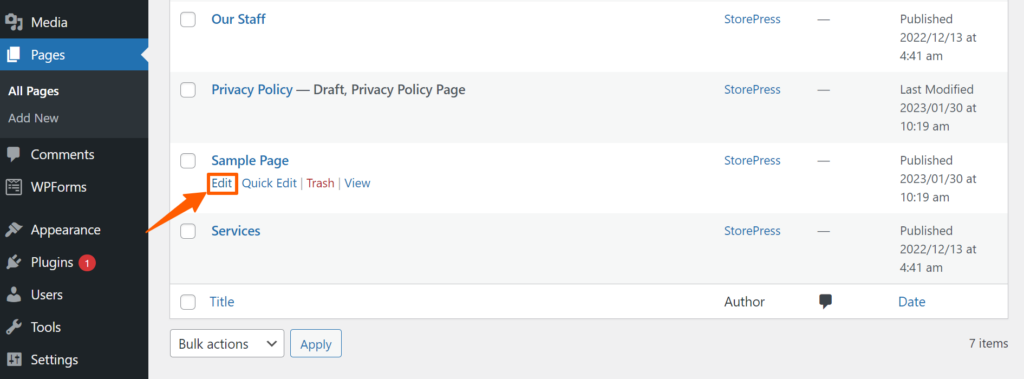
Step 1: Now, it’s time to connect the Discord server with your WordPress-powered site. Go to the WordPress dashboard, and find the pages of your site. Find the page where you want to add the widget, then hover on that page, and click Edit.
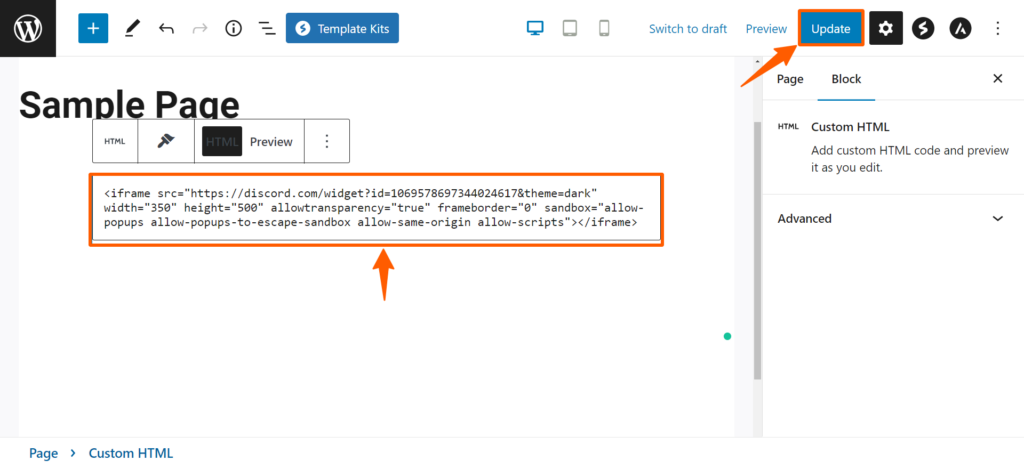
Step 2: On that page, write “/HTML” and you’ll find the custom HTML option, click it.
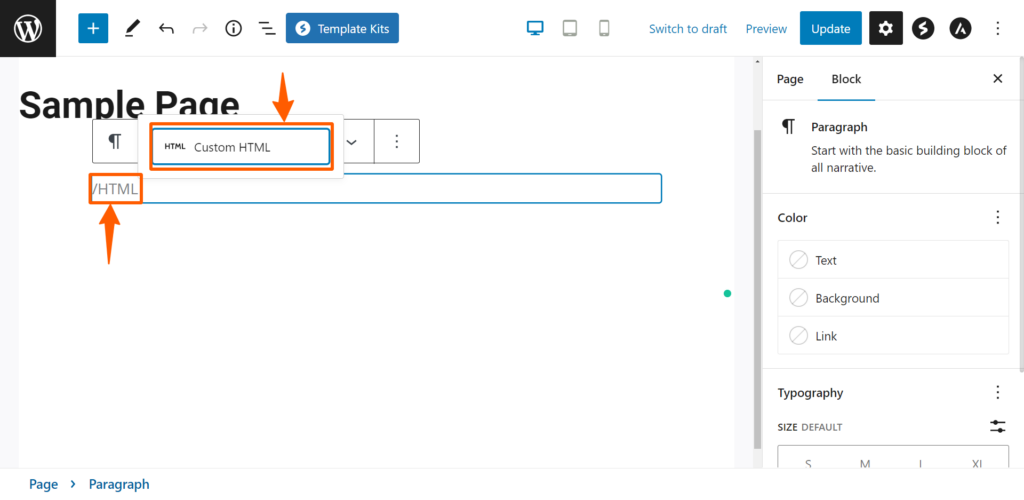
Step 3: Now, paste the code you’ve copied from the Discord server settings, and click the Update button.
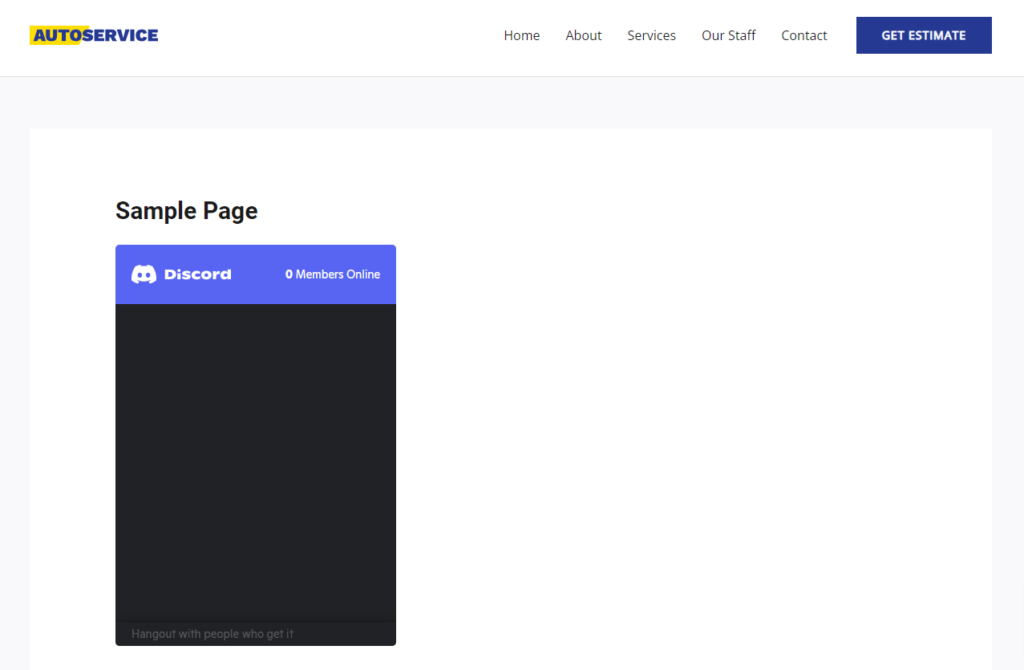
Preview– After updating, this is how it’ll look on your site.
Conclusion
We hope that you’ve successfully added the Discord widget to your website. If you’re not finding the widget after setup, do a crosscheck of the privacy of your discord server. Change server privacy from private to public to make it appear on your site.