“How to export WooCommerce products with images” is a very easy tutorial to follow. It is a straightforward process to help you to export WooCommerce products with images in multiple ways. Though WooCommerce has a default export method, it’s not enough. That’s why you need a different approach.
The default process only exports a CSV file that contains specific information about the product and the links to the images. But exporting your products and images altogether means downloading a CSV file with image files. So, you can’t do this using the default WooCommerce functionality.
You need a pro version of an import/export plugin to solve this. If you don’t want to use a pro version, you can do this in a different way. In that case, export images using a free plugin, then download the CSV file so that you won’t need any pro version of the plugin. In this article, we” demonstrate different ways to do that. Let’s start!
How to Export WooCommerce Products with Images
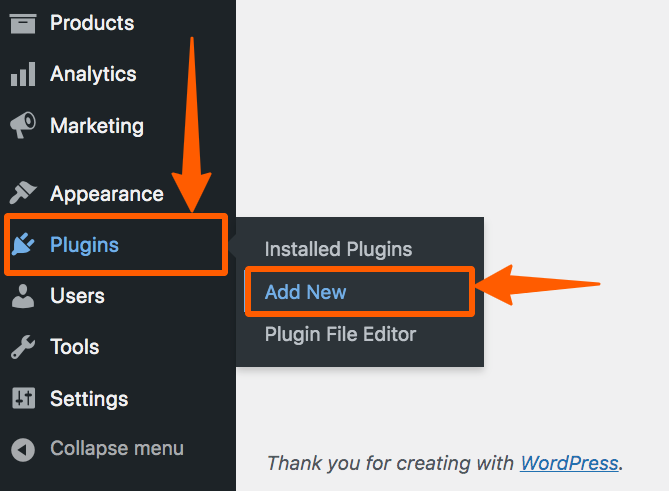
Step 1: Go to the Dashboard, hover on Plugins then click Add New.
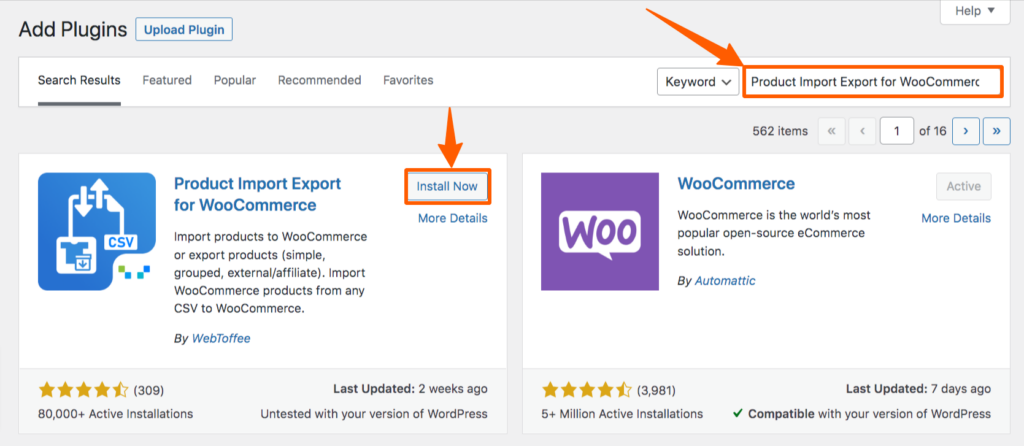
Step 2: Search for Product Import Export for WooCommerce. Then install and activate it.
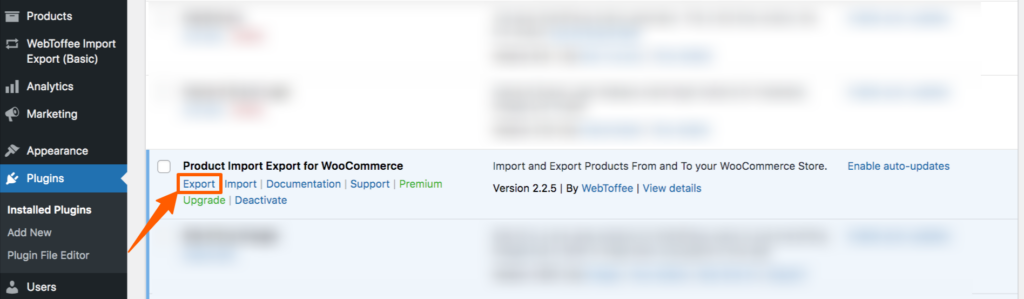
Step 3: After activating it, go to the Plugin list if not auto-redirected yet. Then click on Export under the plugin you just installed.
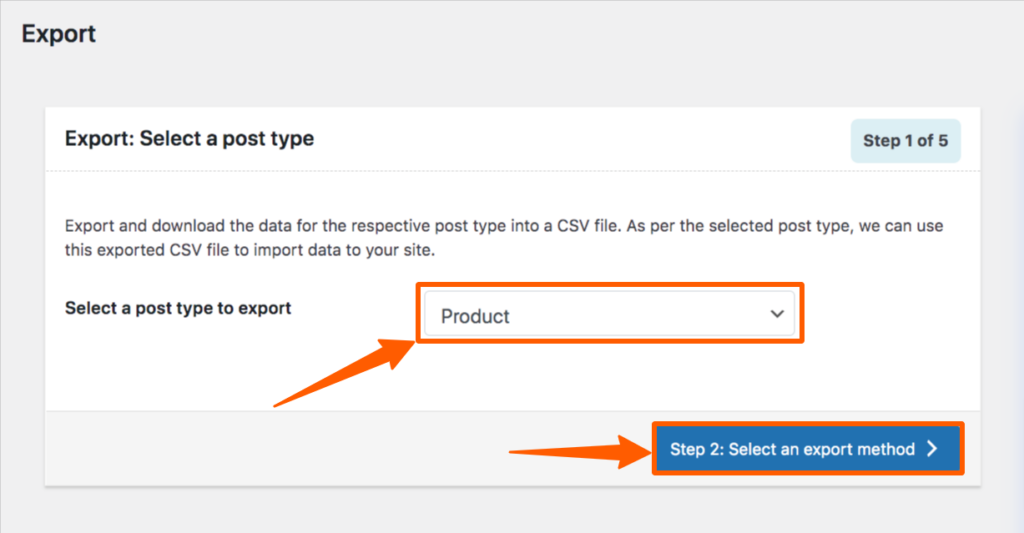
Step 4: A new page will appear where you can select the post type. Select the type of post you want to export, then click on Step 2: Select an export method.
Step 5: Now select Quick Export if you want to export it quickly without any customization. Otherwise, select Advanced Export to filter data. Then click on Step 3: FiIter Data.
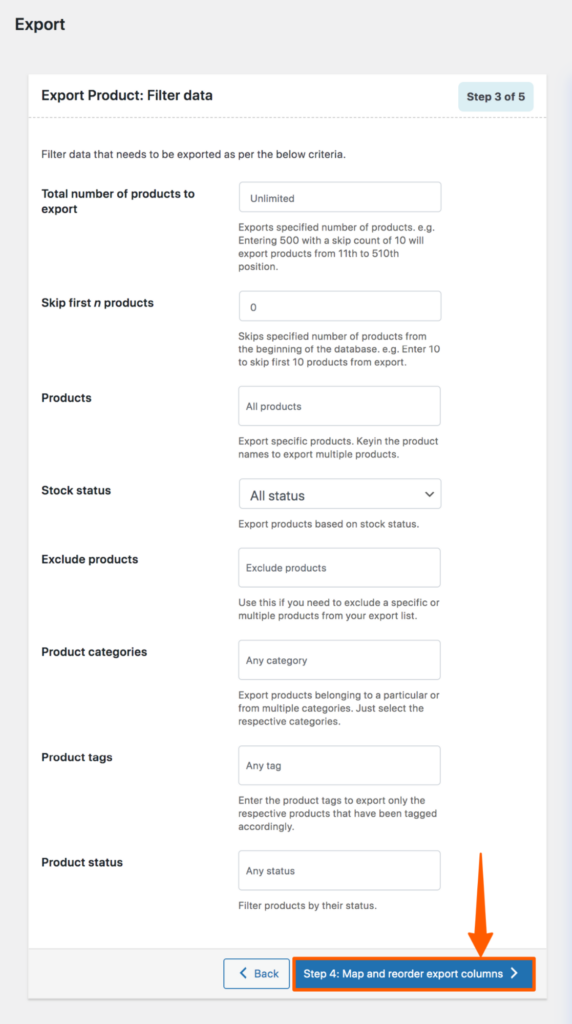
Step 6: Now, filter data using different parameters. Then click on Step 4: Map and reorder export columns.
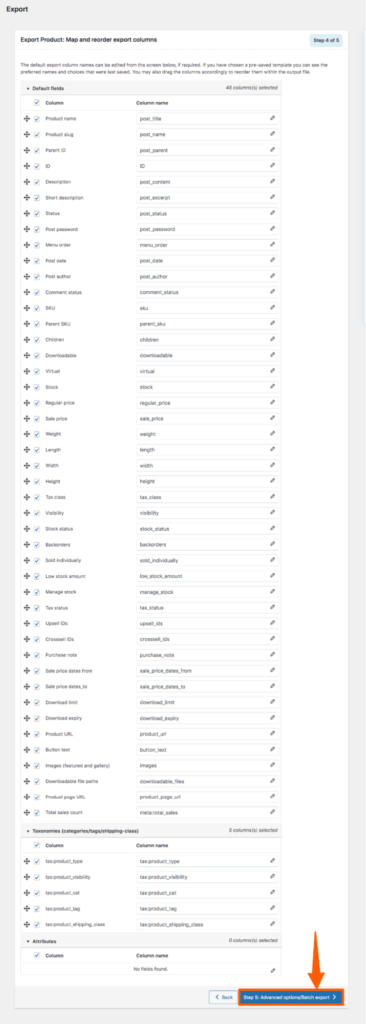
Step 7: After that, you can select and unselect the information you want to have in your CSV file. Select or unselect options and click on Step 5.
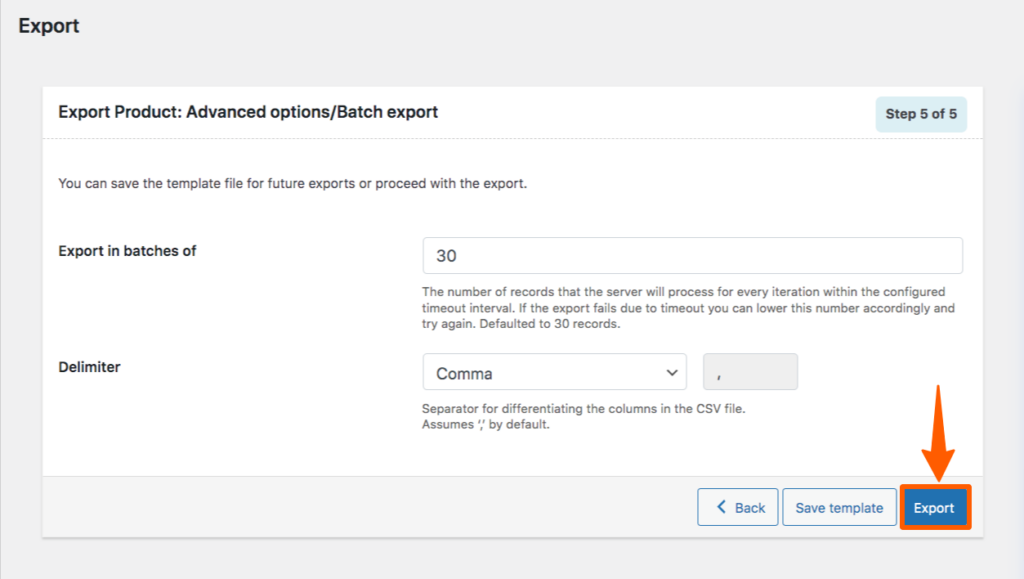
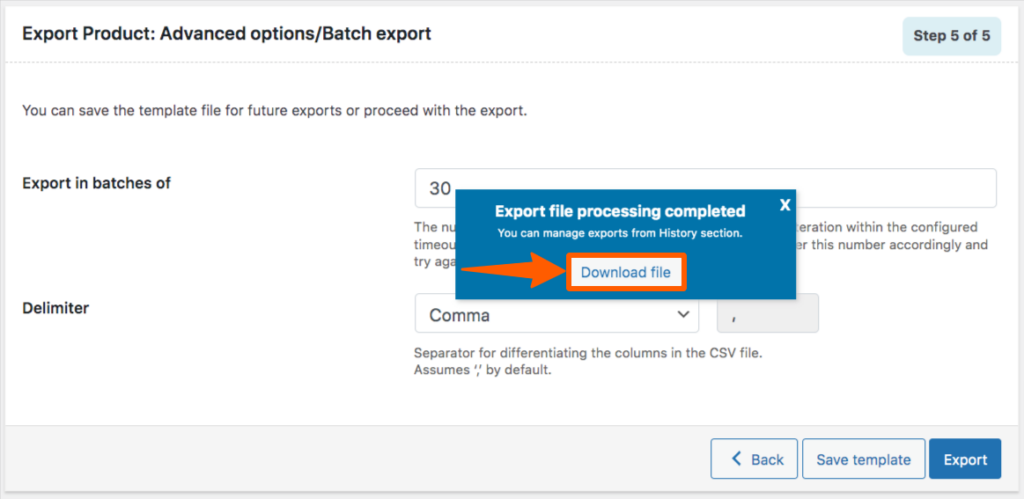
Step 8: Now, you can choose the number of batches and separator. After selecting those, click on Export to create the CSV file. You can also save the template by clicking on the Save Templates button at the bottom.
Step 9: After clicking that, the file will be generated and a pop-up will appear from where you can download the file by clicking Download File.
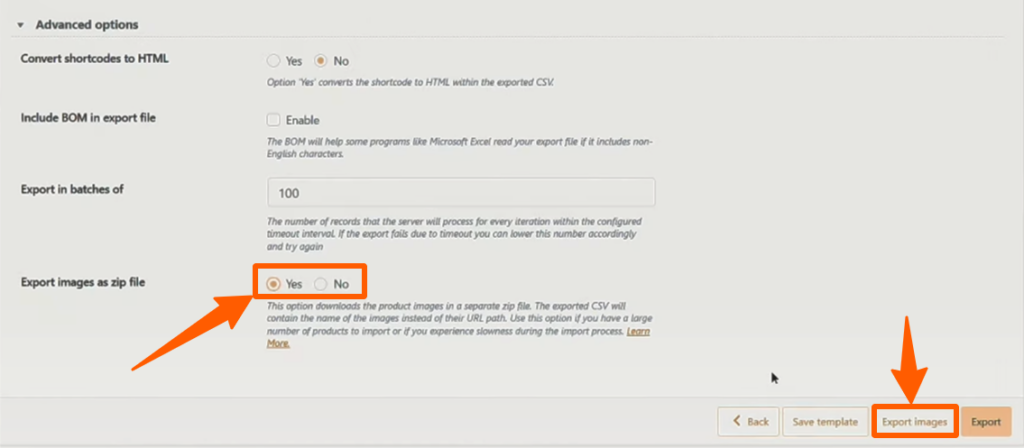
If you’ve got a pro version of the plugin, you’ll find the 5th step below. In the Advance options, you can find an option named ”Export images as zip file”. Select yes, then click on Export Images.
It’ll download the product images in a separate zipped file. There, in CSV, the URL of the image will be changed to the name of the image. We strongly recommend this if you’ve got too many products.
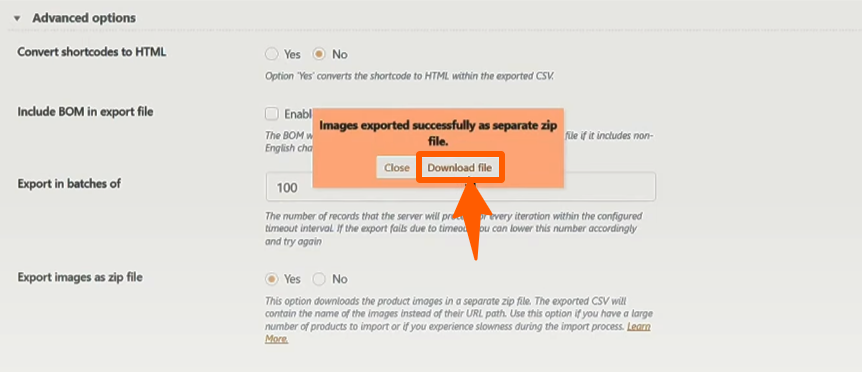
Then a pop-up will appear from where you can download the file by clicking on Download File.
In this way, you can export WooCommerce Products with images.
How to Export WooCommerce Products Without Plugin
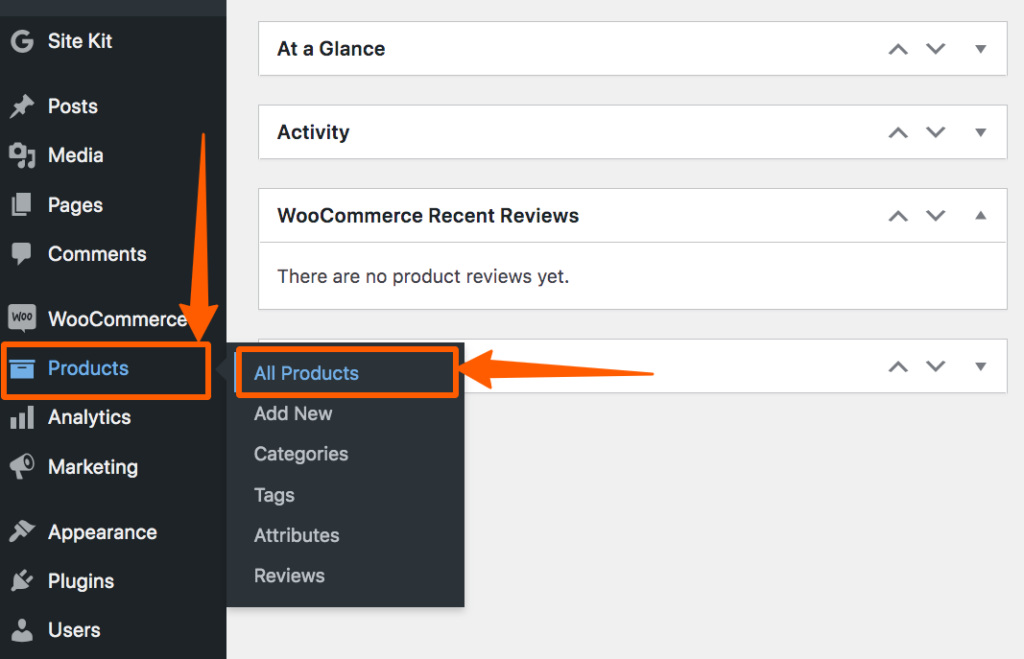
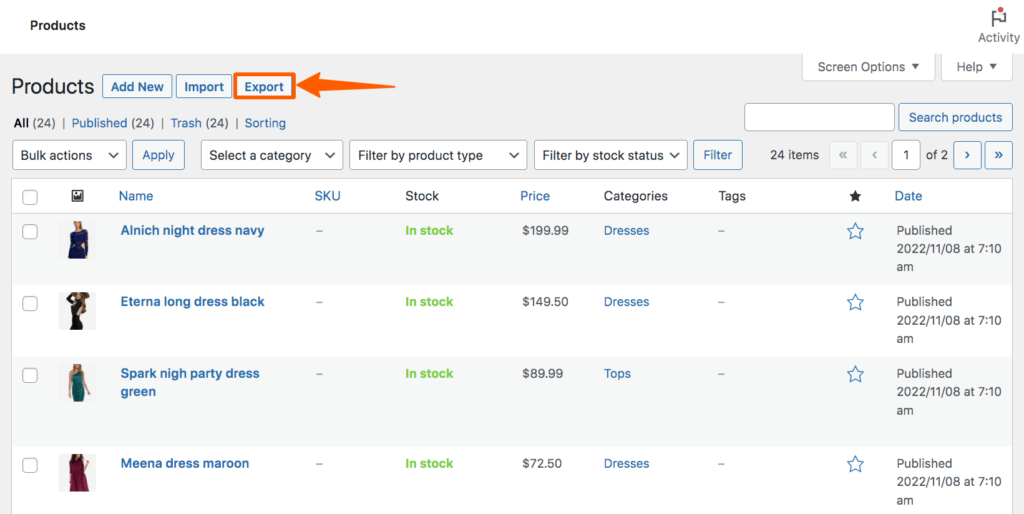
Step 1: Go to the WordPress Dashboard, then hover on the Products and click All Products.
Step 2: The list of products will appear. On that page, click on Export at the top of the page.
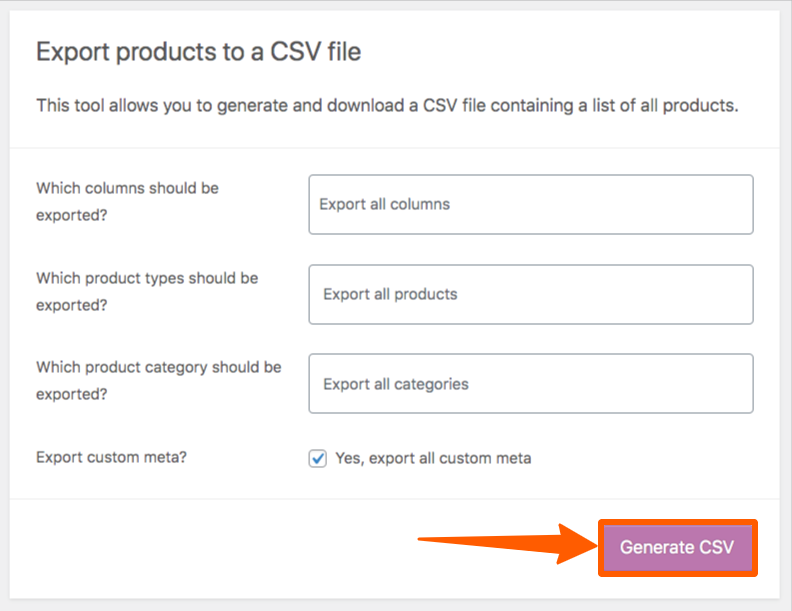
Step 3: Now, you’ll find some functions regarding the Export. Fill this up according to your need, then click Generate CSV.
How to Export WooCommerce Product Images
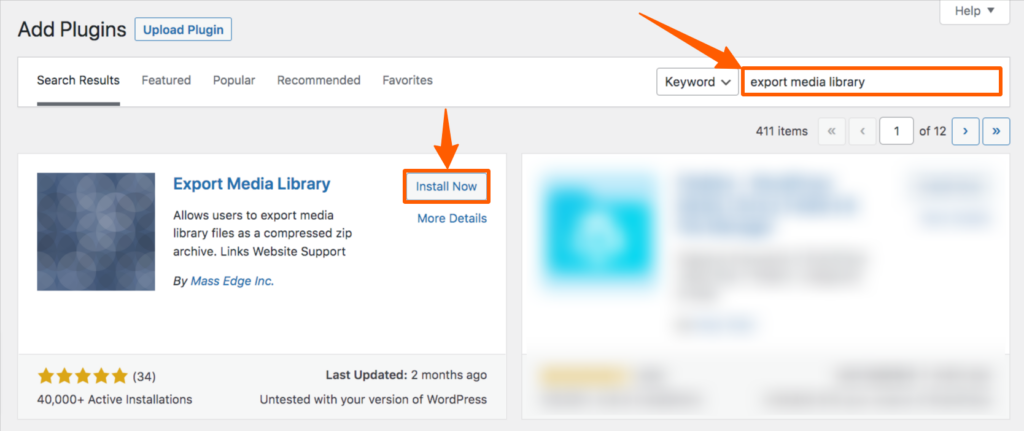
Step 1: Go to the Dashboard, hover on Plugins, then click on Add New to add a new plugin.
Step 2: Search for Export Media Library, then install & activate it.
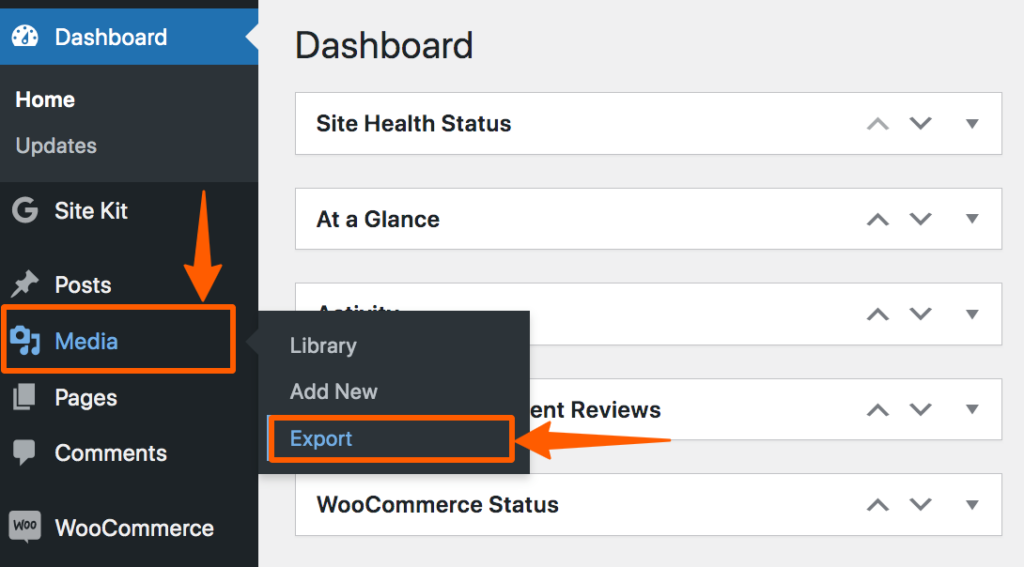
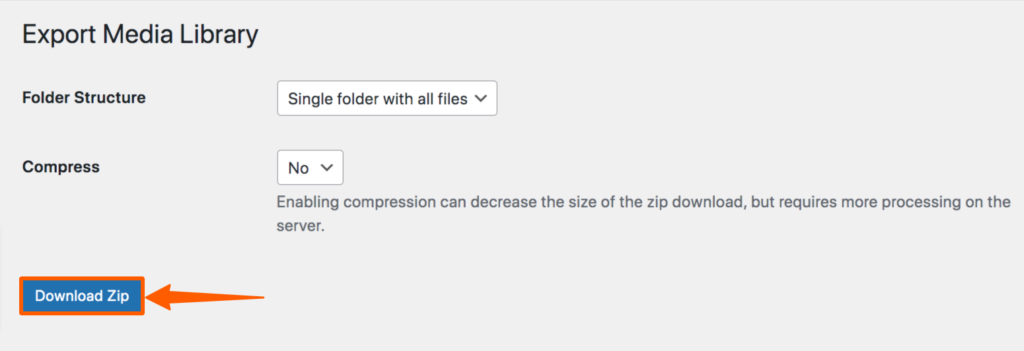
Step 3: After installing it, hove the pointer on Media, then click on Export.
Step 4: Now, the Export Media Library page will appear. Select the Folder Structure, and Compress the status as your need. Then click on Download Zip to download the zip file.
Conclusion
Exporting products is a must if you’re switching to a better hosting or changing domain. We’ve to demonstrate different methods for exporting your product data. You can follow any according to your preference.
For any kind of upgradation, besides exporting product data, consider staging your WordPress site first. It’ll save you from losing any data on your WooCommerce site. Also, you can create a child theme to save your customization.