
Building a landing page with WordPress is the priority and it’s the first thing a visitor sees when visiting a website. This page gives the visitors the first impression of the website, that’s why creating a good landing page is the utmost priority.
In this article, we’ll demonstrate two ways of creating a landing page for your website. The first one is using the block editor also known as the Gutenberg editor, and another one is using the Elementor.
You can try any of them according to your preference. Gutenberg is a free plugin, and Elementor comes with a free & premium version. So, if you’re not don’t want to purchase any further, we recommend you build your landing page using Gutenberg, otherwise, try Elementor.
How to Build a Landing Page with WordPress from Scratch Using Gutenberg
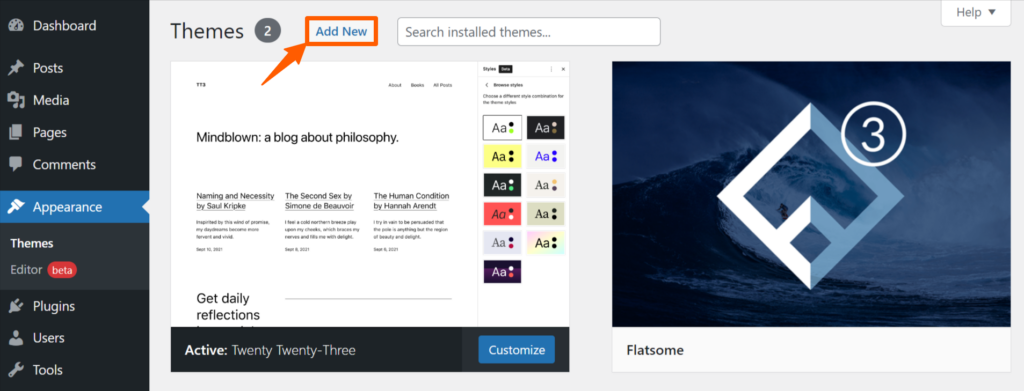
Step 1: Go to the WordPress Dashboard and the Themes under Appearance.
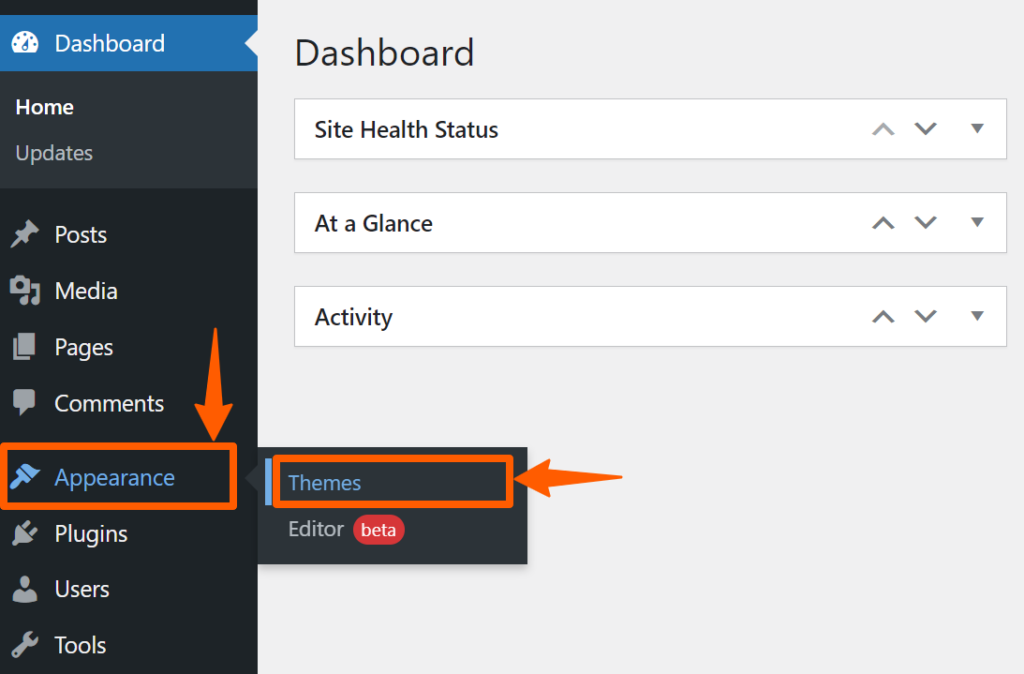
Then click Add New to add a new theme.
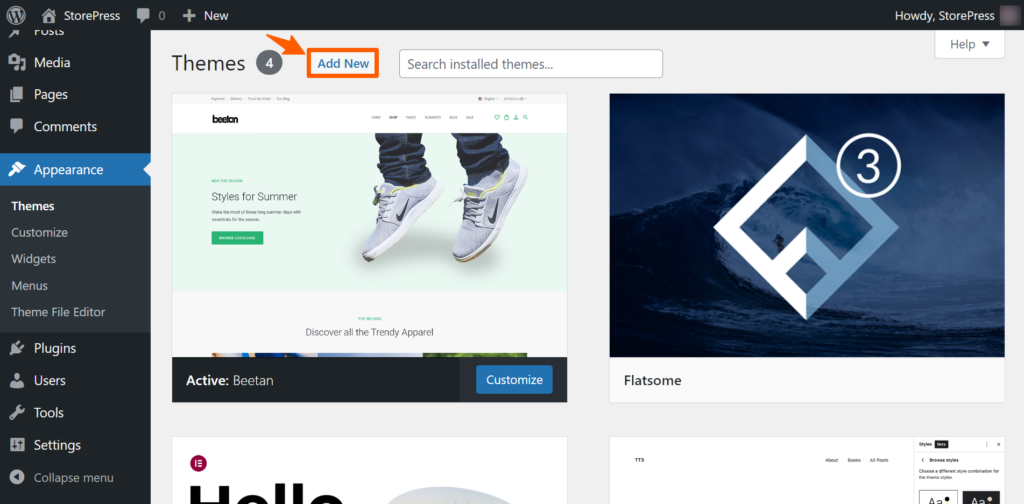
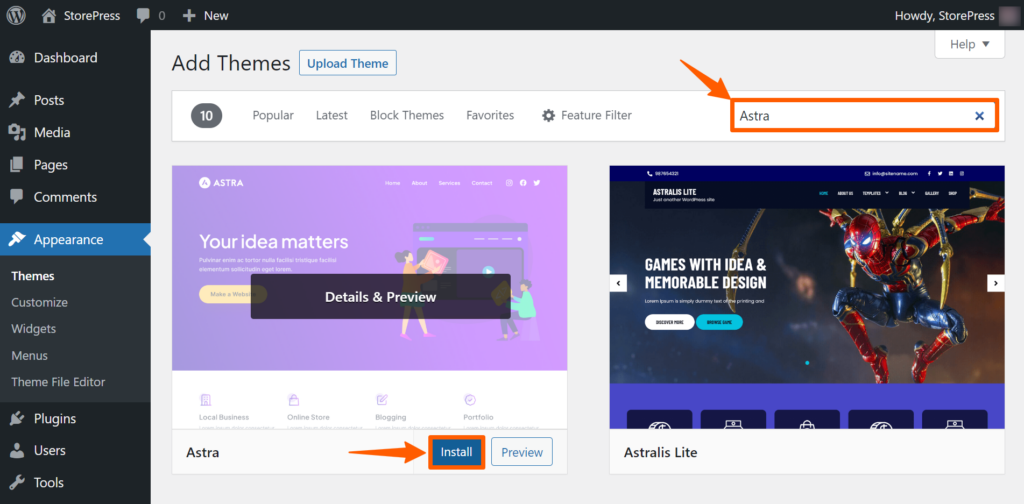
Step 2: Now, you’ll find the list of WordPress themes. Search for Astra, then install and activate the theme.
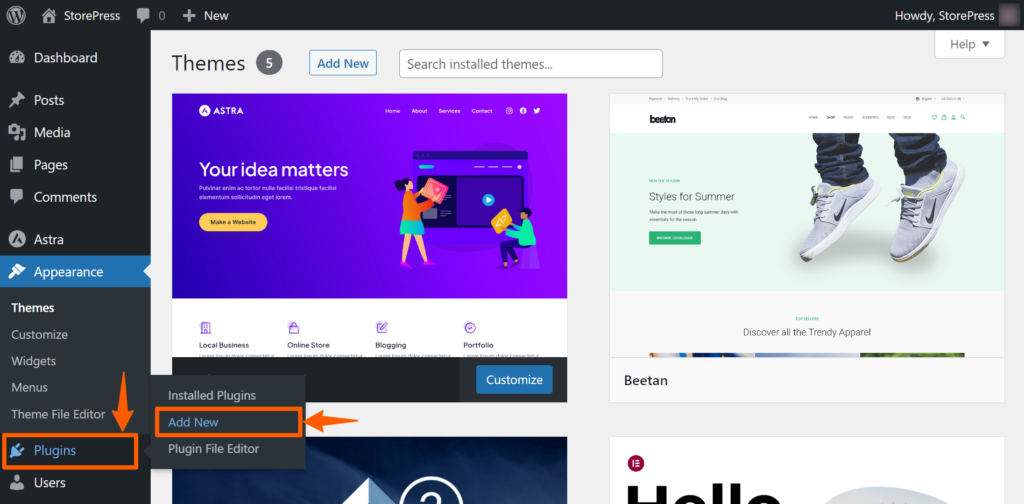
Step 3: After activation, hover on the Plugins on the left side of the Dashboard, then click on Add New.
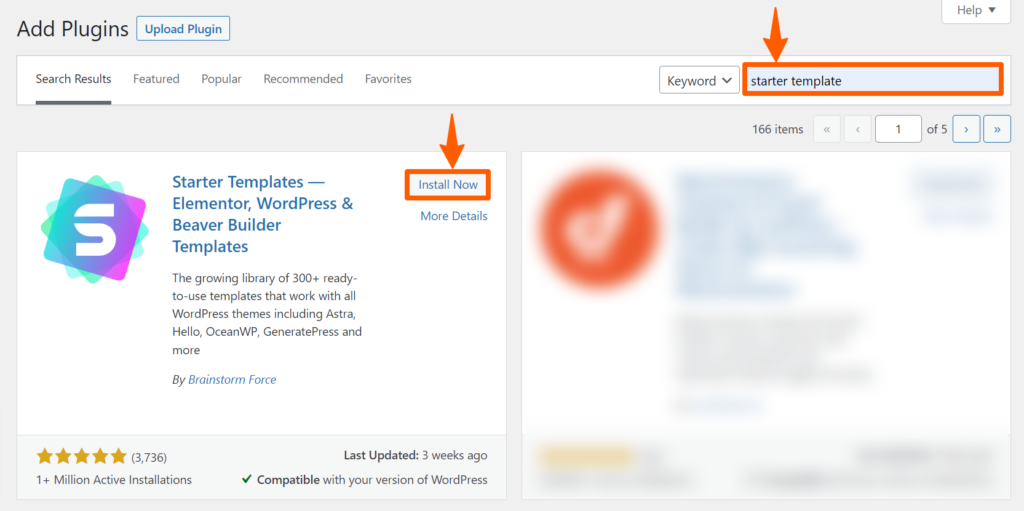
Step 4: On the top right, search for the starter template. Then install and activate that plugin.
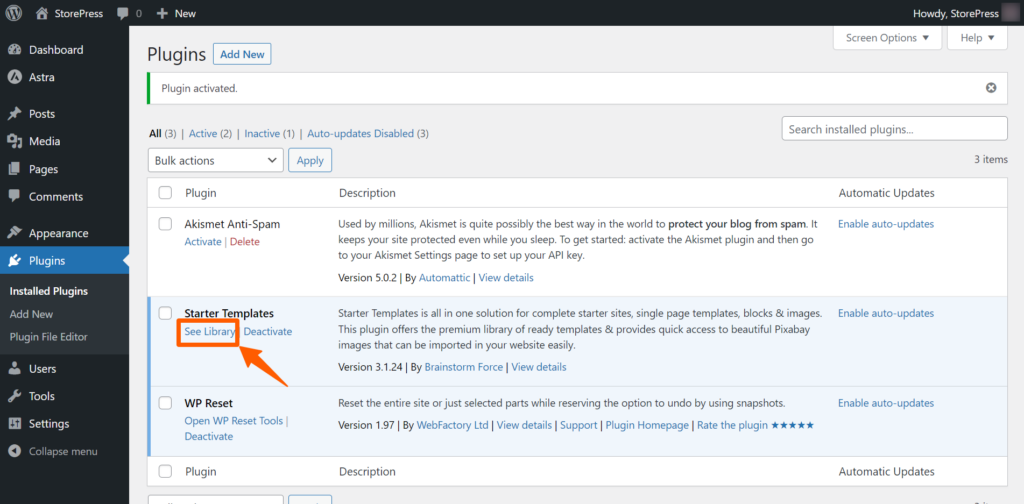
Step 5: You’ll be automatically redirected to the plugin page after activation. Find the starter template there, and click on See Library.
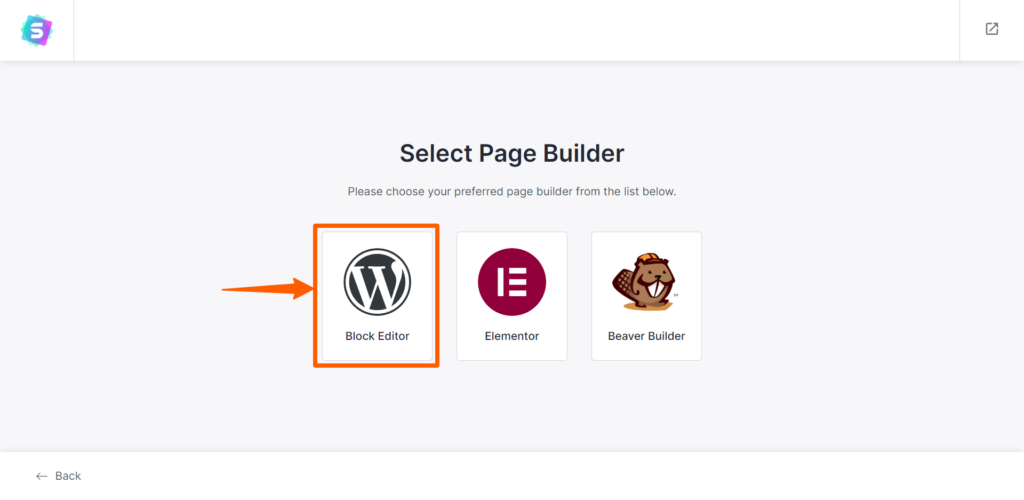
Step 6: Now, you’ll be given three options for editors. Select Block Editor.
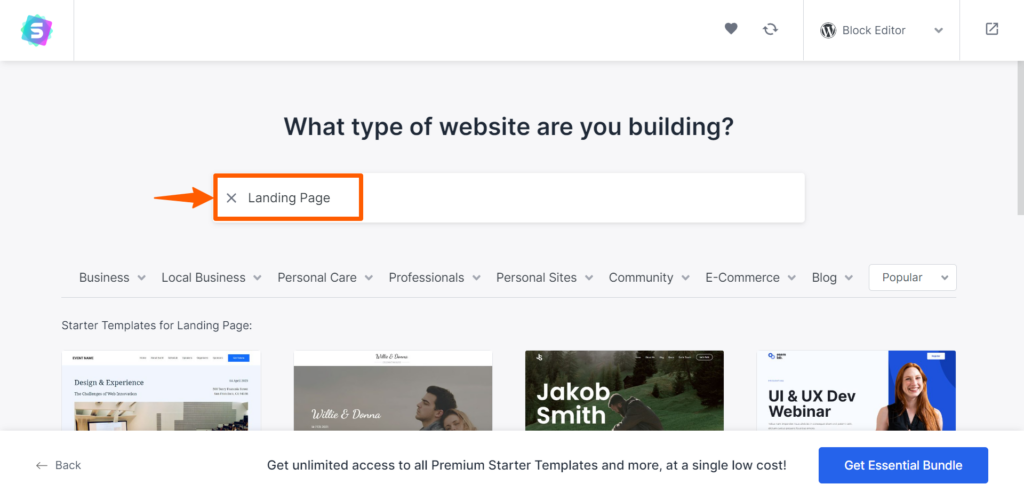
Step 7: You’ll find various templates there. Select any of them, or search for Landing Page.
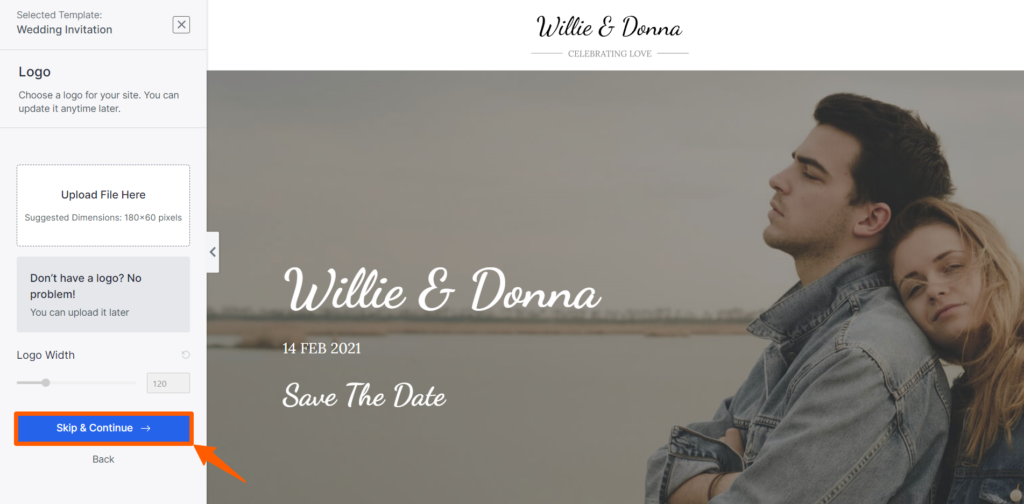
Step 8: After selecting a template, you’ll find the basic editing section. You can upload the logo and the width of the logo. If you don’t have a logo, don’t worry you can add it later. After that, click Skip & Continue.
Step 9: You can change that section’s font and color scheme. After changing, click on Continue.

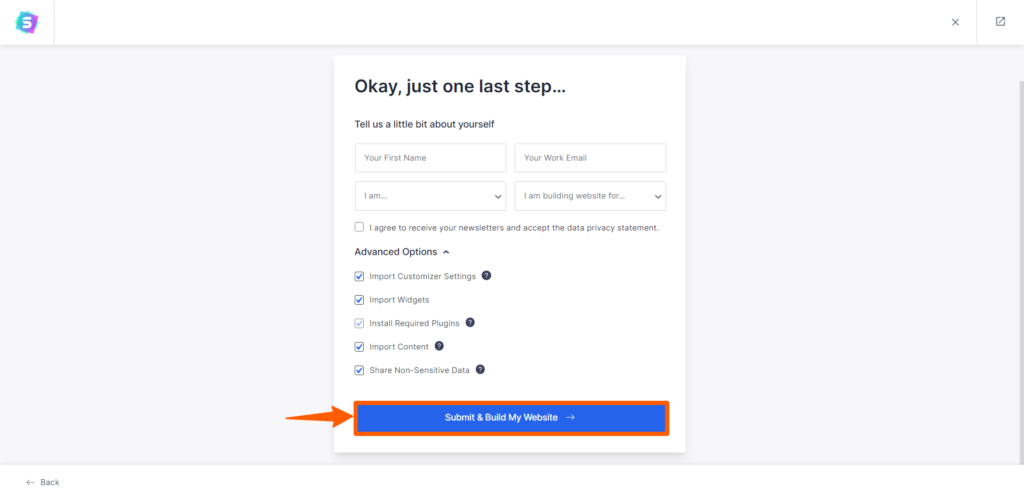
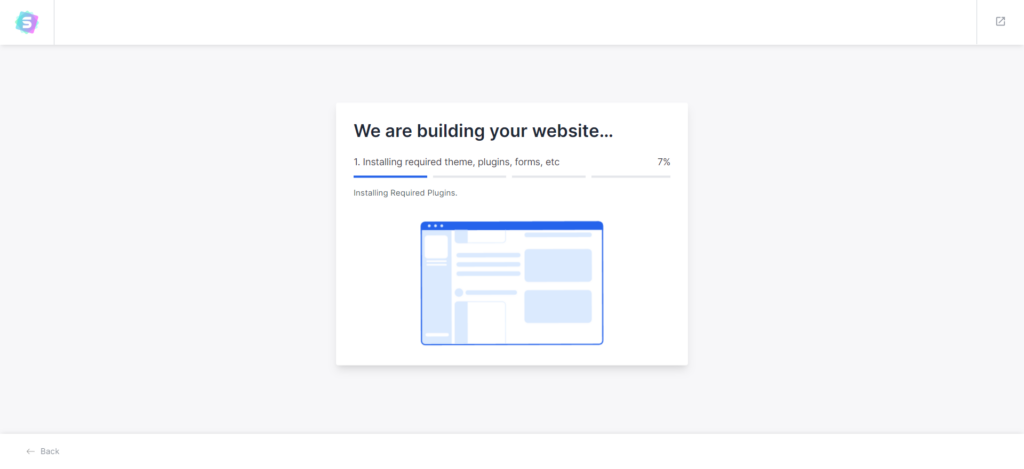
Step 10: Now, you need to let the plugin install the necessary plugins on your behalf, then click Submit & Build My Website.
Step 11: Now, go to your landing page, click Edit Page, and customize the page with your information.

How to Build a Landing Page with WordPress from Scratch Using Elementor
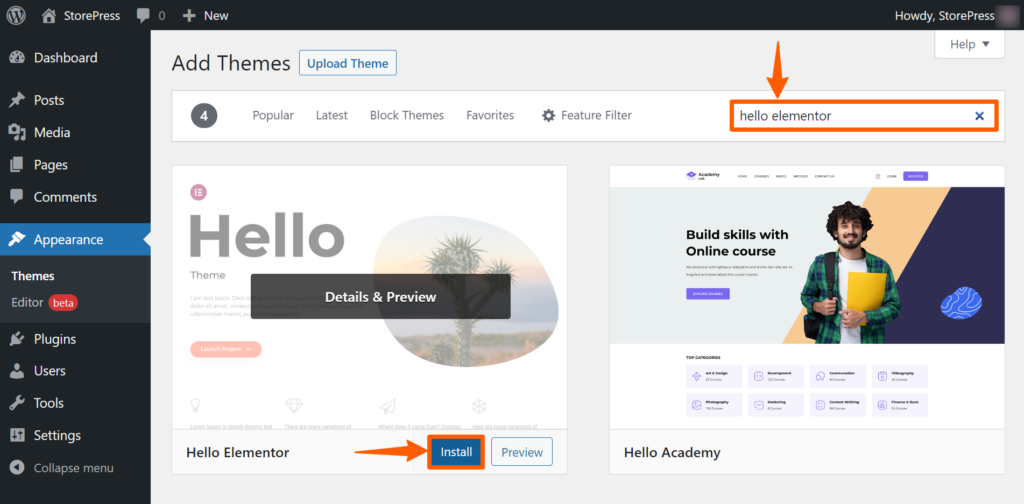
Step 1: Go to the Dashboard, hover on Appearance, and click on Themes.
Step 2: Then, click on Add New to add a new theme.
Step 3: Search for hello elementor, then install and activate it.
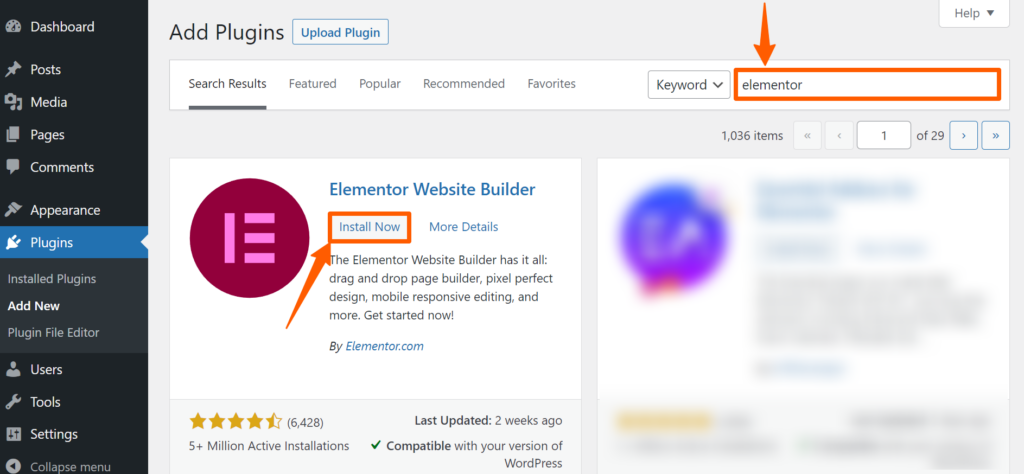
Step 4: Now, hover on the plugins, and click Add New.

Step 5: Search for the plugin Elementor, then install and activate it.
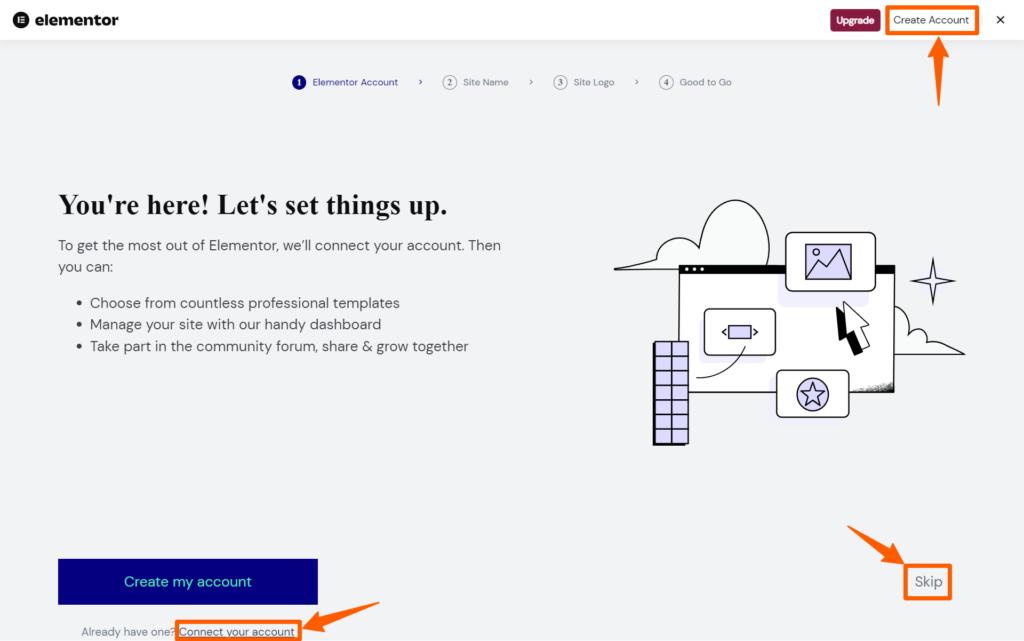
Step 6: Now, you’ll be redirected to the elementor’s page. If not, go to the plugin lists, and click on the Elementor settings. Now, click on Create Account to create a new account, click connect account if you already have an account, or click Skip to skip this section.
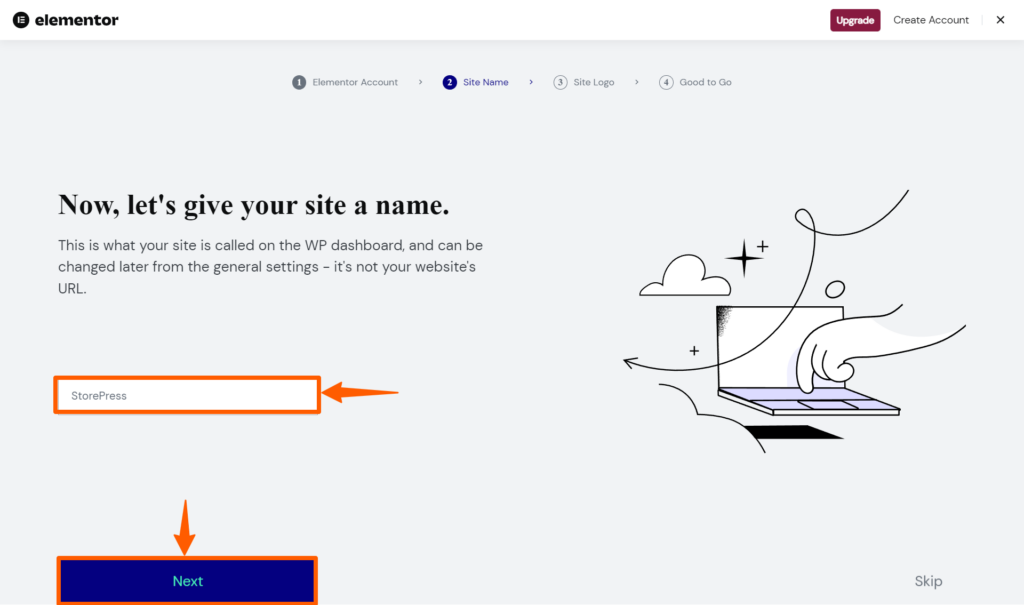
Step 7: Give a name to your site and click Next.
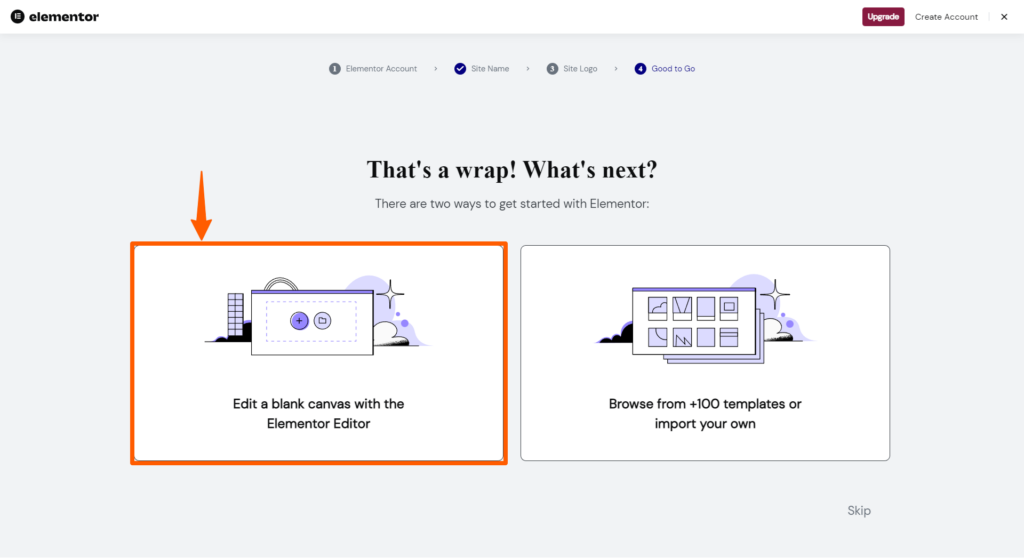
Step 8: Now, choose a blank canvas or browse from 100+ free templates. We’re selecting a blank canvas.
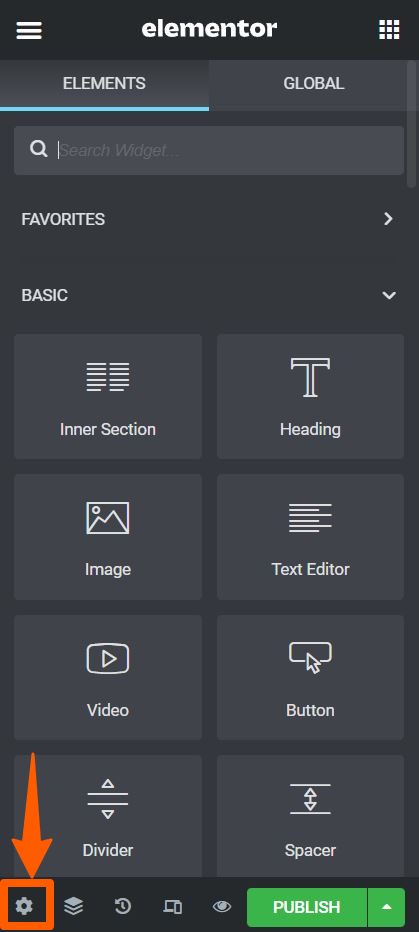
Step 9: On the left section, click on the setting icon.
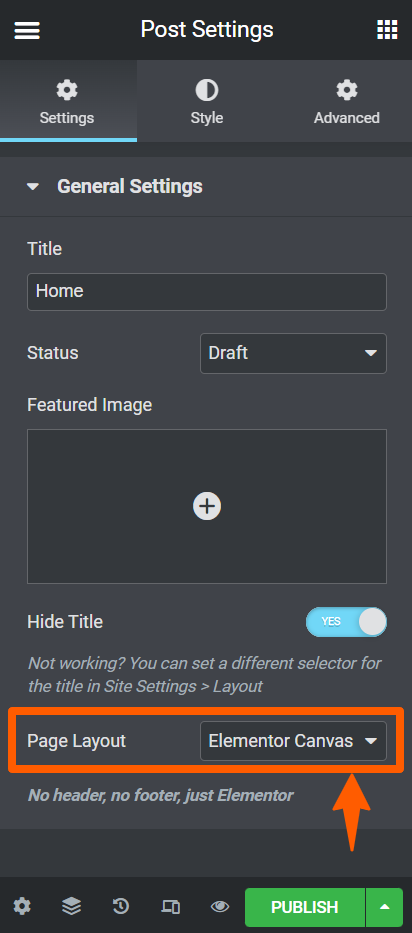
Step 10: Now, in this general setting section, you can choose the title of the page, its status of it, and the layout. Set the layout as Elementor Canvas.
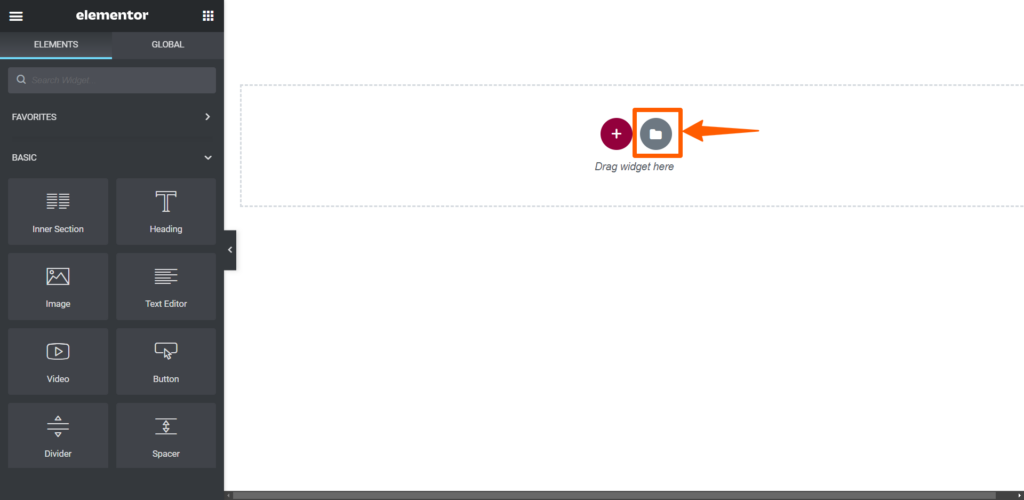
Step 11: Then you’ll find a blank canvas. Click on the folder icon there.
Step 12: You’ll find many templates there. Select any of them for your website.
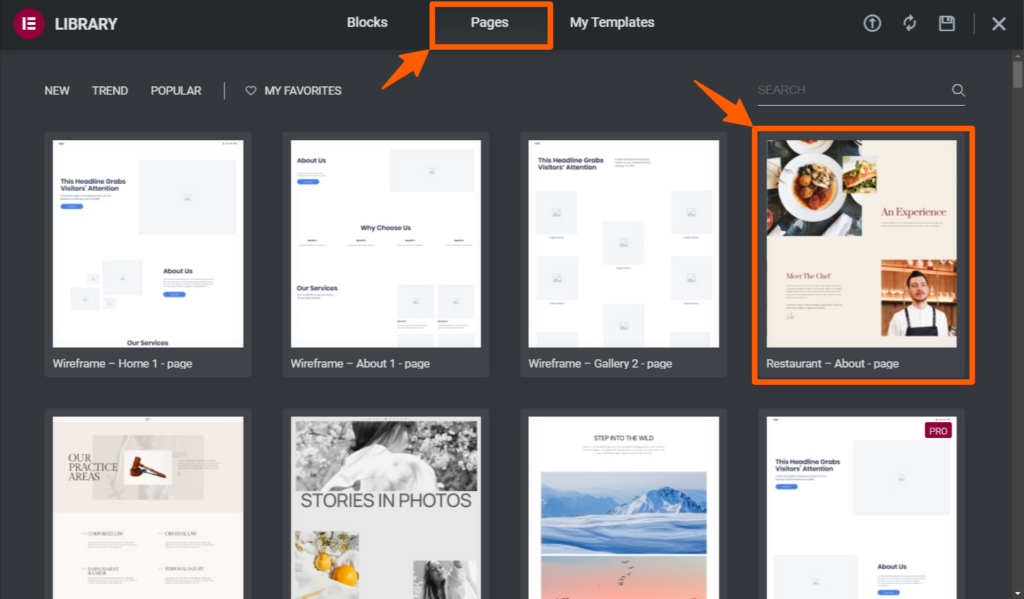
Step 13: After selecting, click on the insert button on the top right of it.

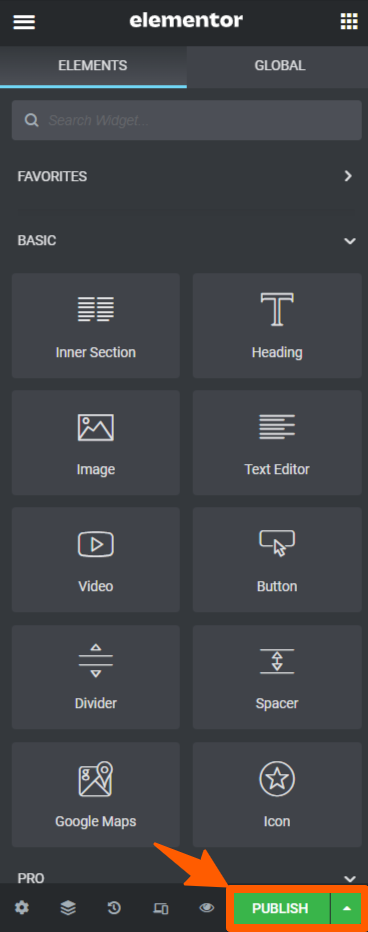
Step 14: You’ve successfully created a landing page using Elementor. Select the elements and customize them from the left section.

Step 15: After customizing all of them, click the publish button to make it effective.
Conclusion
By default, you’ll find the block editor(Gutenberg editor) on your site. To use a different editor, you’ve to install it first. But don’t install multiple builders on the same website.
We hope that you’ve successfully created your landing page using Gutenberg or Elementor. Things may seem slightly different due to the continuous design upgradation of the user interface but the process will remain the same. If you’re facing any issues regarding this, feel free to drop a comment about it, and we’ll try to help.