
Multicurrency WooCommerce labels are a must for an international WooCommerce website. While building such a website, you must add different currencies for your visitors. It will make it easy to understand the price of the product. You can add multiple currencies using a plugin.
For demonstration purposes, we’ll use WPML, but you can use any other plugin as your requirement. Though the user interface may seem a bit different, but the settings are more likely to be the same.
This tutorial will add multiple currency options so visitors can easily select the currency they want to view the product’s price. Visitors can select currencies from the currency we’ll offer and see the product’s price.
Benefits of Multicurrency WooCommerce Label
- Display the prices in multiple currencies
- Easy to understand the price for local customers
- A seamless experience for international users
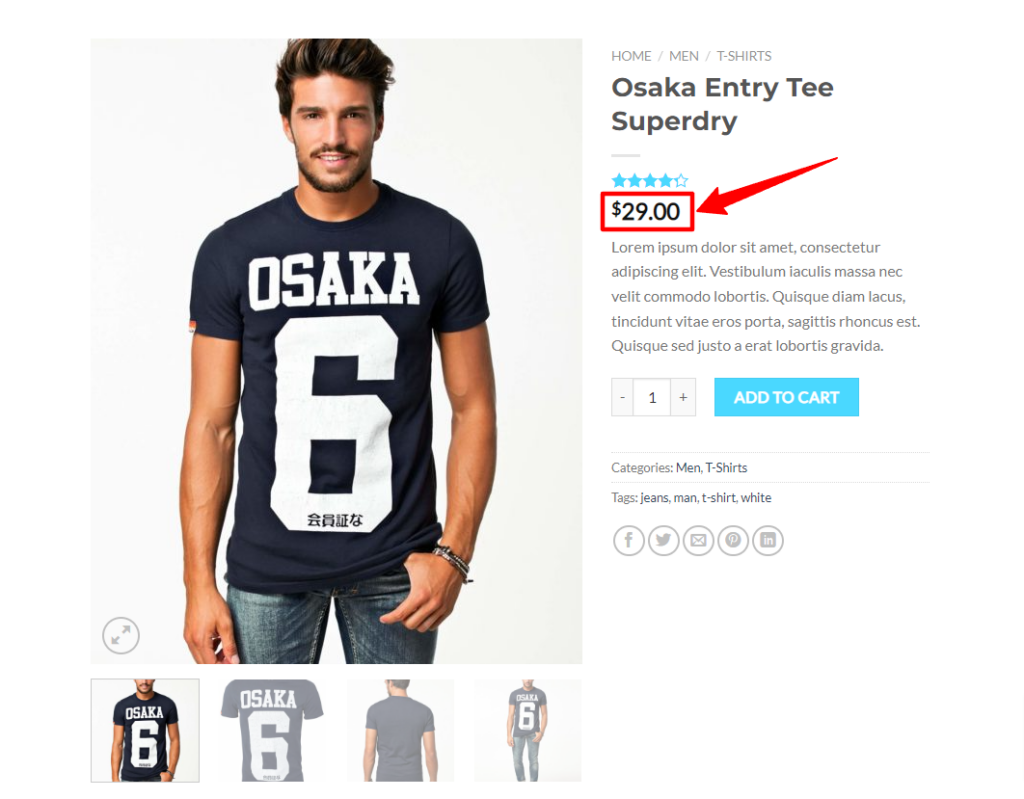
By default, you’ll see the price of a product like this. We’ll update it according to our currency needs. We’ll add Euro and Indian Rupee along with the USD.
How to Set Up Multicurrency WooCommerce Label
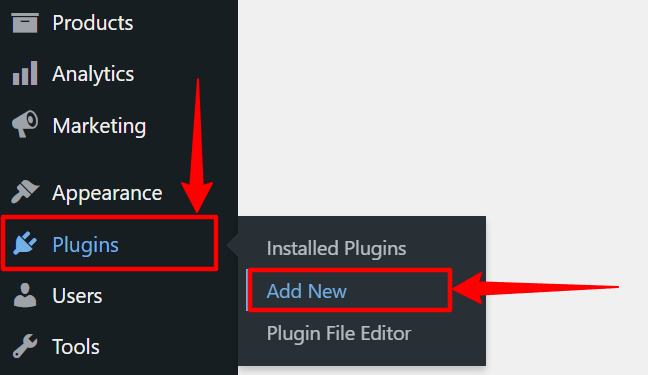
Step 1: Go to the WordPress Dashboard, hover the cursor on Plugins, then click on Add New.
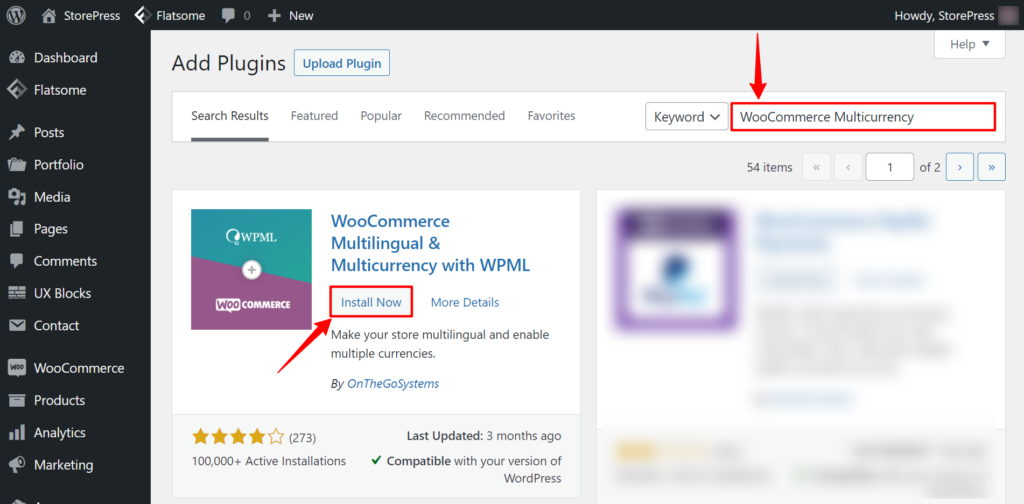
Step 2: A new page of the Plugin will appear. You’ll find a search box on the top right, then type WooCommerce Multicurrency. You’ll find the plugin, install and activate the plugin.
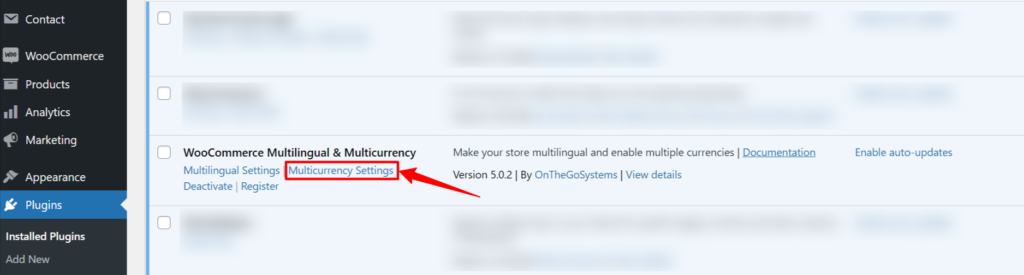
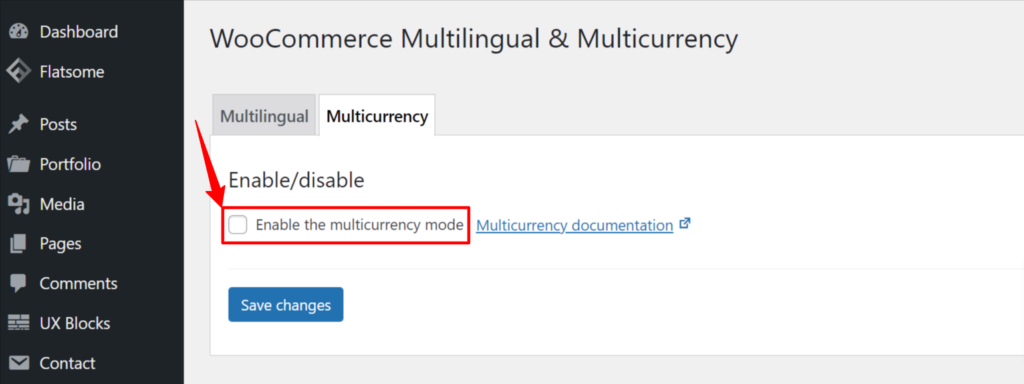
Step 3: After that, in the list of Plugins, find WooCommerce Multilingual & Multicurrency, and click on the Multicurrency Settings.
Step 4: You need to Enable the multicurrency mode first to add multicurrency to your site.
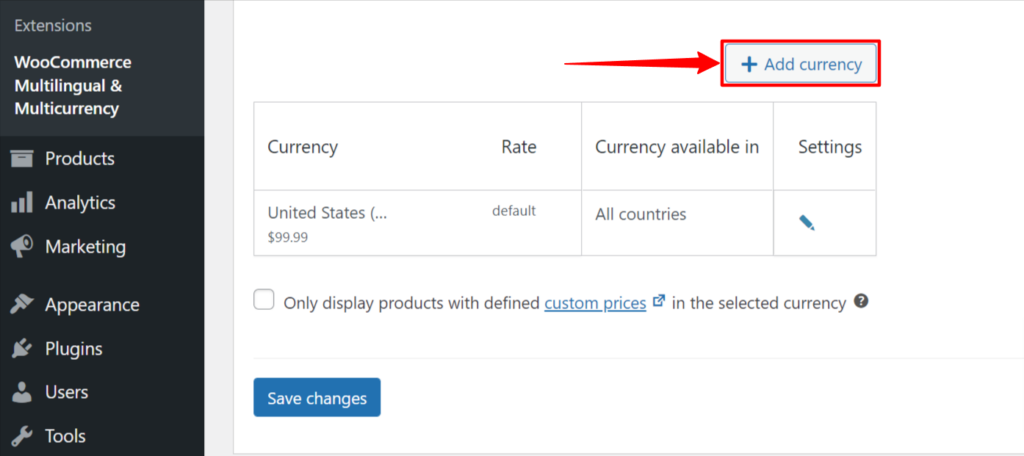
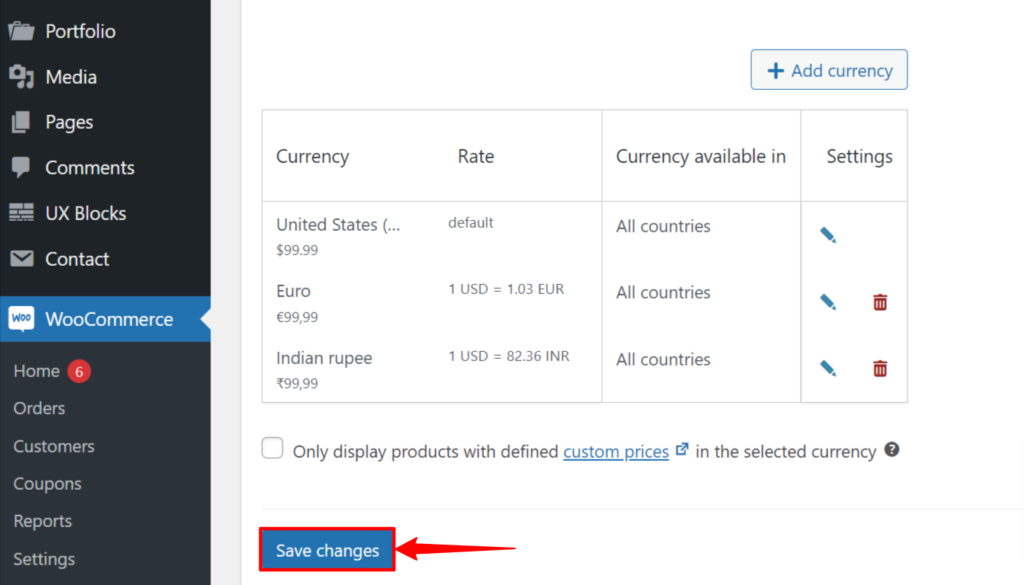
Step 5: By default, you’ll find USD as the primary currency. To add a new currency, click on the +Add currency.
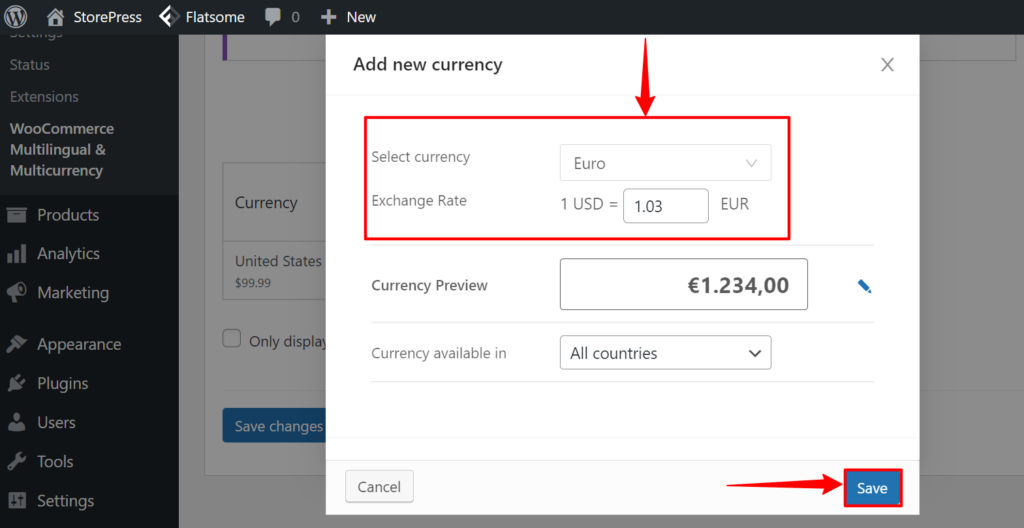
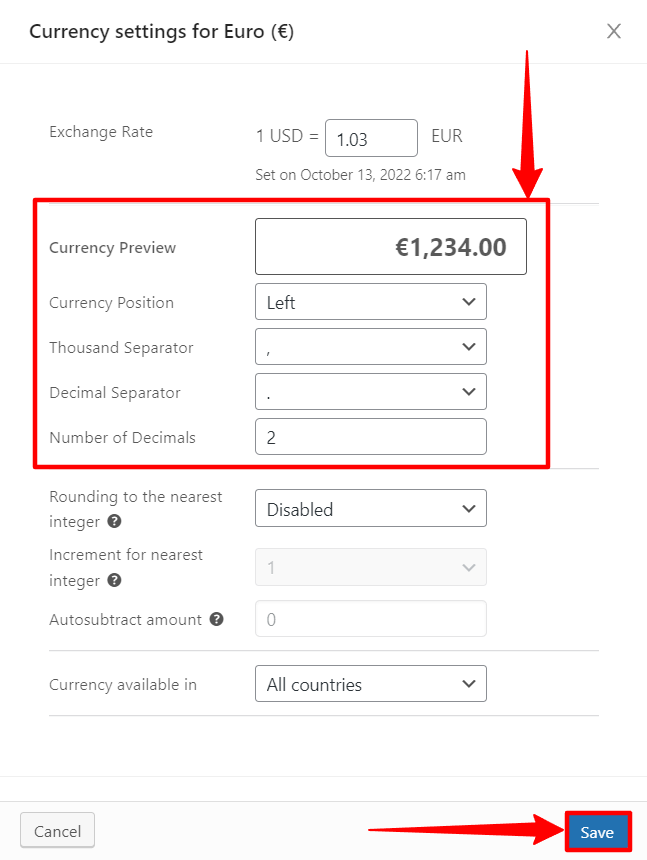
Step 6: Then set the currency, and exchange rate, set countries, then Save it.
Step 7: You can also set the styling by clicking on the edit symbol.
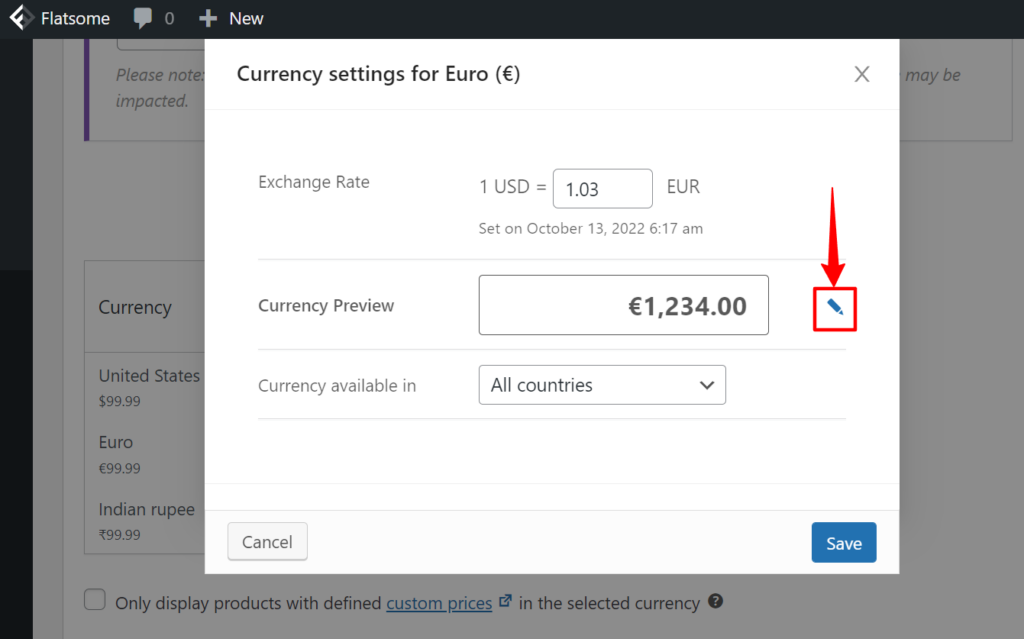
Step 8: Now, you can set some advanced settings for the new currency you’ve saved. Then click on the Save button.
For demonstration purposes, we’re adding two more currencies in a similar way
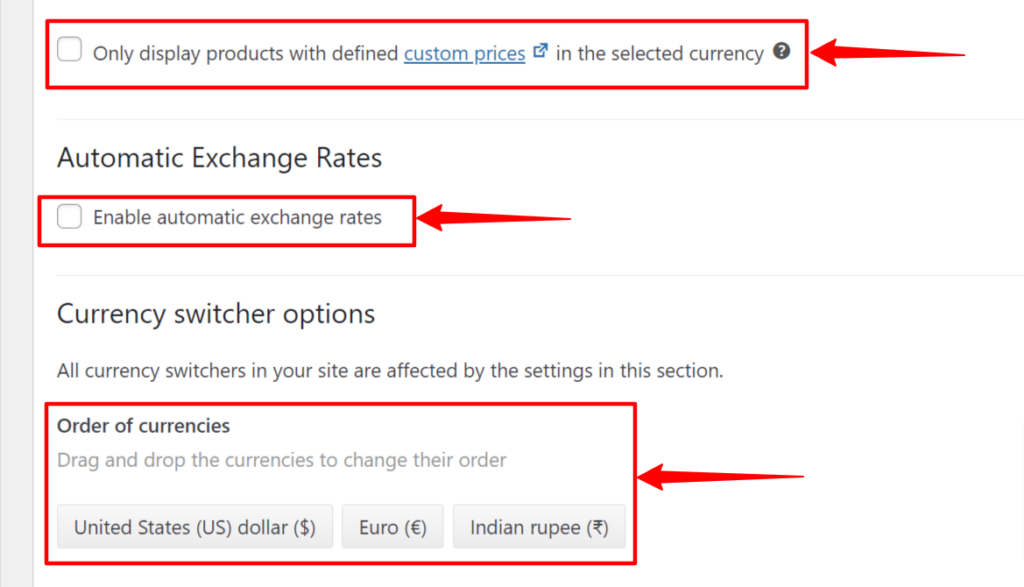
Step 9: Now, you can set custom product prices, enable automatic exchange, and also set orders of currencies.
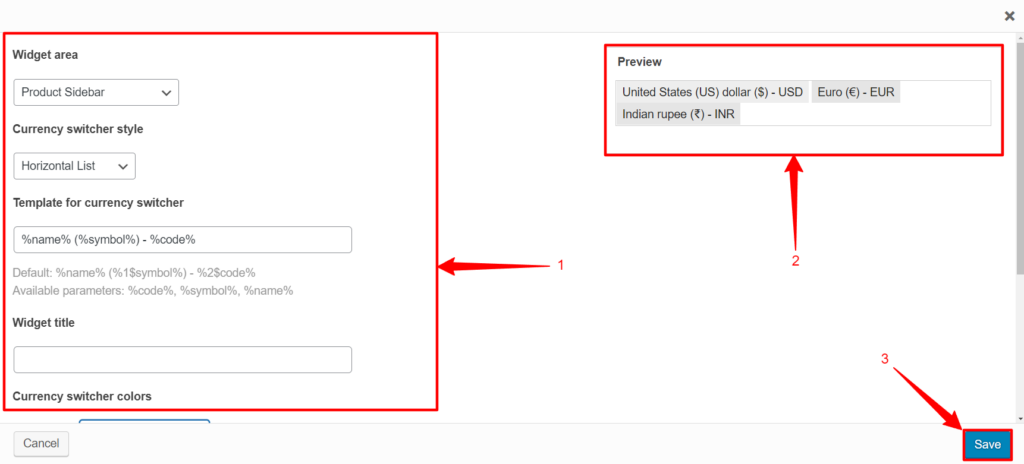
Step 10: After that, click on the Add a new currency switcher widget area to add a widget.

Step 11: Now, set the styling, and save it by clicking on the Save button.
Step 12: Scroll down, and you’ll see the Save Changes button at the bottom of the page. Click on that to make multicurrency effective.
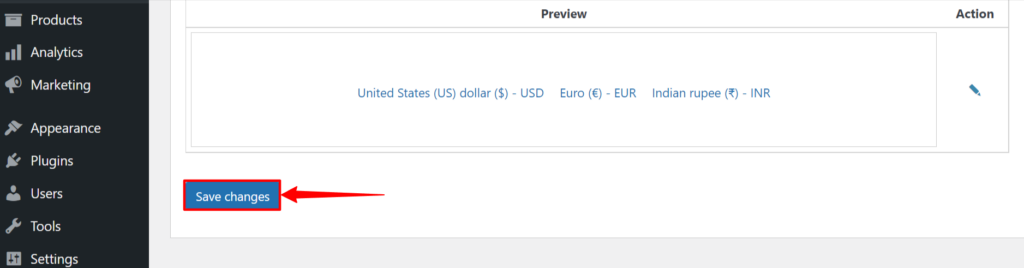
Final Preview

Conclusion
We hope you’ve successfully added the multicurrency WooCommerce label to your WooCommerce site. There are some pro features that you can’t access with the free version. Buy the pro version if you need the functionalities. If you’re facing difficulties setting multicurrency, feel free to let us know. We’ve other WordPress tutorials too.
To get the latest updates on WordPress, and WooCommerce, follow us on Facebook, LinkedIn, or Twitter.