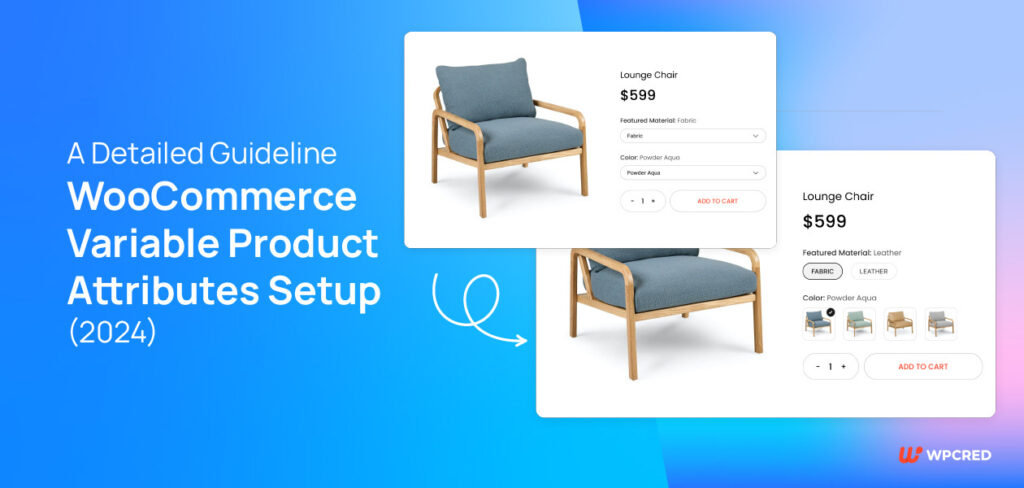
Are you worried about how to create Radio, Label, Color, and Image Variation Swatches for WooCommerce variable product attributes?
If your WooCommerce store sells a variety of products variation swatches may be very helpful in maintaining clients and increasing overall conversions. Variation swatches helps you out to set up your WooCommerce variable product attributes.
If you provide the product selections as swatches, customers who visit your site may quickly understand the potential uses for a product. As clients may select the precise variation they desire, this may substantially decrease conversion friction points.
What are WooCommerce Swatches?
WooCommerce swatches are a more effective approach to showing extra product selections on your online store. You may replace the standard WooCommerce dropdown fields with product variant swatches to make your product pages more interactive and user-friendly.
You may display product options more effectively on your online store without having to create variations, which enables buyers to make quick decisions about what to buy. Swatches for WooCommerce product variations can be used as attribute filters as well. This makes it simpler for your clients to locate the things they require promptly. Additionally, by effectively showing variations using picture or color swatches, WooCommerce swatches can completely refresh your product pages.
Why Add Variation Swatches?
A wonderful method to improve the shopping experience and increase conversions on your WooCommerce site is by adding variation swatches. Customers can easily visualize many iterations of the same product because of swatches.
For example, you can display an image or color swatch to help visually explain variation alternatives if a product has several color choices. You give your customers more clarity as a result. It helps people to better understand what they will receive if they choose a particular product option.
By including WooCommerce variation swatches, you can significantly improve the user experience on your website. Instead of scrolling through dropdown menus, customers can connect what they’re looking for visually with product variations. Customers may now determine quickly what they want to buy.
In this article, I’ll show you how to add radio, label, color, and images to your WooCommerce variable product attributes.
How to add WooCommerce Variable Product Attributes?
Navigate to the appearance button and click on the theme option. After reaching the theme option you should click on the Add New button. You should search the Hello Elementor theme. You have to install the Hello Elementor theme. After installing the theme click on the activate button and it should be activated

Navigate to the plugin option and click the add new button. Now, you should search the Variation Swatches for the WooCommerce plugin in the search field. Click on the install button Variation Swatches for the WooCommerce installed and then activate the plugin.

After activating the plugin, we now move to create radio, label, color, and image variation swatches for WooCommerce variable products.
Variation Swatches for WooCommerce Setup
After installing the Variation Swatches for WooCommerce and Photos plugin in your OceanWP theme. It’s time to configure this plugin for your variable products. There are two ways to install this plugin.
- Enable variation swatches for existing variable products
- Setup variation swatches for new variable products
Enable Variation Swatches for Existing Variable Products
Those who are already going for E-Commerce business with WooCommerce have created a store for products. If you want to add variations to your products like (radio, label, color, and image) you must try Variation Swatches for WooCommerce. In this article, we will give the proper guidelines for enabling the plugin. We will give some screenshots you have to follow this.
Before

After

Navigate to the product and then click on attributes.

All of your existing attributes are listed in this section. Variation Swatches for the WooCommerce plugin add a type field after installation.

Color attributes must have a type name. Click on edit and select the type from the type dropdown.

After adding a type section, you should click on configure terms. A list of attribute variations is displayed once Configure terms have been selected. Three possibilities for Color are listed here: Black, Red, and White. To add variation color, edit each variation one at a time.


For editing the color click on the edit button. And change the color to whatever you desire. When you change the color the color picker will be shown and you select the color for your product. And all the variations of colors are updated successfully.

It’s necessary to change the picture attribute after adding color. Select the image attribute type by clicking the edit button and choosing an image.


After changing the type you configure the image or add an image on your attribute.

Same as the color and configuration you should configure the label attributes. After adding the label you navigate to the existing product and click on the edit button.


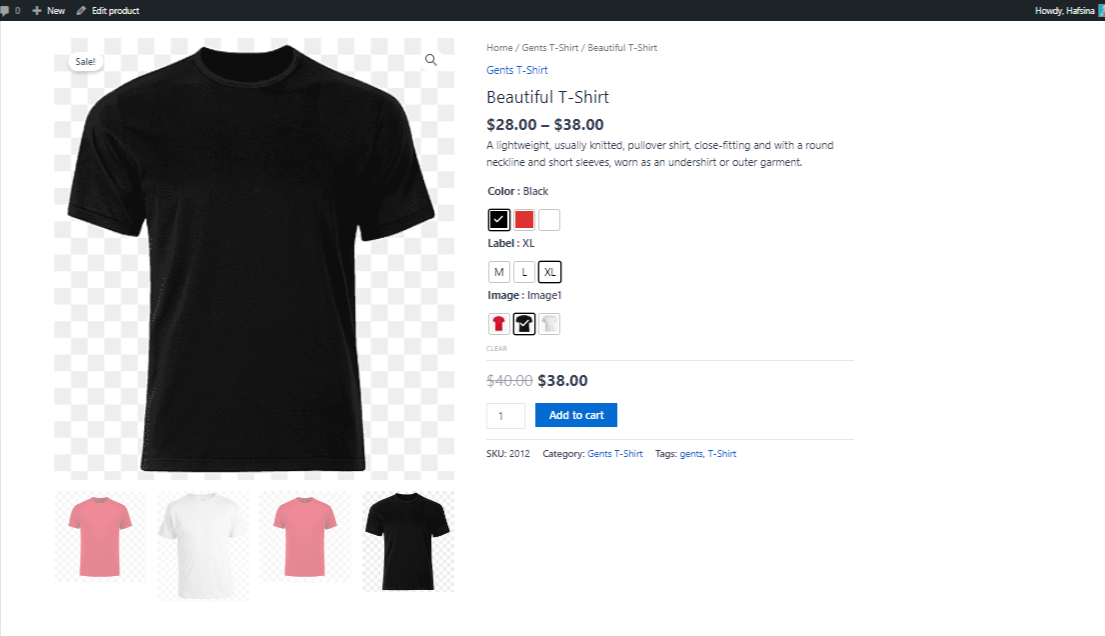
The label attribute type is the button. After selecting the button type, configure the label and successfully you have changed all the attributes. And the final look of this product is below.

Setup Variation Swatches For New Variable Products
Navigate to the product and then click on attributes.

You must create the new attribute Image, color, and label variation and enter the attribute title and corresponding attribute type from the Type dropdown.

The new attribute field.

Configure the term this field as before.

You must click the add new button and go to the new product page after customizing this field. The name and description of the new product must be entered.

Then navigate to the product data field and choose the variable product from the selection.

You should give a product short description from this field.

After adding the description scroll up and click on attributes again.

Set the existing attributes that you have created before.


After setting these attributes you have to hit the Save attributes button and navigate to the variations.

After clicking on variations and then clicking on the Generate variations button the auto-generation variation is created.

Then you have to add the image, SKU, product price, sales price, weight, etc.

After creating this field add the product gallery images, product images, product tags, and product categories.


After adding all these stuff the final look of this product is shown below.

Conclusion
Finally, WooCommerce variation swatches make it simple for online store owners to raise the visibility of variable products on their websites.
Additionally, you can also use additional variation images gallery for your WooCommerce business. It will definitely boost up your sales by converting your visitors into customers.
Making it easier for customers to peruse the many product options will increase your chances of making a purchase. You can boost conversions and raise your bottom line as a result. Not to mention, it’s an excellent approach to improve the usability of your website and provide a superior overall online purchasing experience.
