WordPress post is an essential and inseparable part of the WordPress CMS. WordPress post is a format to write and publish your content on your website. A few default post types come with WordPress installation, but you may need additional post types when you have many posts with several distinct specifications. This article will demonstrate the easiest and safest way to create a custom WordPress post type for your website’s content.
What Is a WordPress Custom Post Type?
WordPress comes with a few distinct post types by default:
- Post
- Page
- Attachment
- Revision
- Nav Menu
These will showcase your content just fine, but they may need to be more efficient when your content has more diversity. That is where the necessity of creating a WordPress custom post type lies. WordPress custom post type is an additional post created to suit your specific requirement. You can organize your content more accurately and specifically using WordPress custom post type. Generally, the WordPress custom post type does more than just organize your content. You can manage your article properly using the default post type, but all the articles will be placed under the Post section. This might make it difficult for the users to keep track of content when you have many articles. On the other hand, you can create a new section for articles or content of a particular category using the custom post type. This will not only allow you to categorize content efficiently but also makes it comfortable to browse through the content and not get lost in it.
How to Create a WordPress Custom Post Type?
You can follow two ways to create a WordPress custom post type on your website. The first involves making changes to your WordPress core files, and the second method requires an additional plugin installed on your website. Note that making changes to your WordPress core file is not safe for beginners because even the slightest mistake can break your website. Since this article is for users of all levels, we will use an essential plugin to insert custom codes into your website.
Create WordPress Custom Post Type By Customizing Core Files
Step 1:
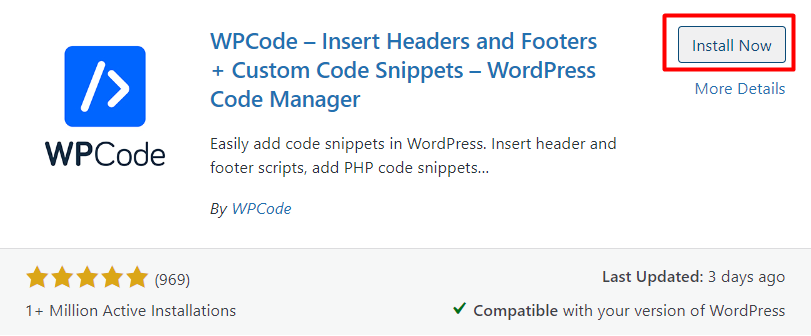 From the WordPress dashboard plugin list, go to Plugins>Add New. Inside the WordPress plugin directory, search for the WPCode plugin. Click to install and activate it. You can integrate this plugin into any top lightweight WordPress themes to make a faster. website. We will use this plugin to insert code snippets into the WordPress core files, which discards the chance of breaking the website if something goes wrong.
Step 2:
From the WordPress dashboard, hover on ‘Code Snippets’ and click ‘Add Snippet.’ 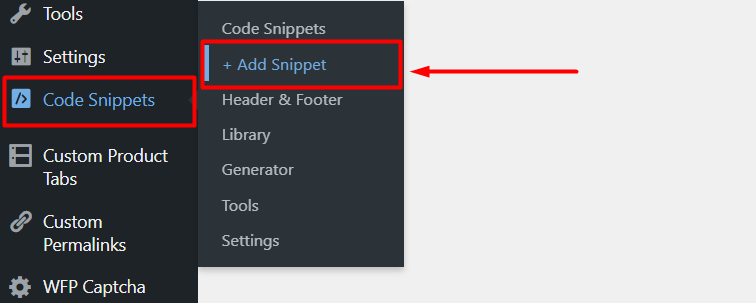
Step 3:
You will be redirected to the WPCode snippet library. Click to choose ‘Add Your Custom Shortcode’ to create a new snippet. 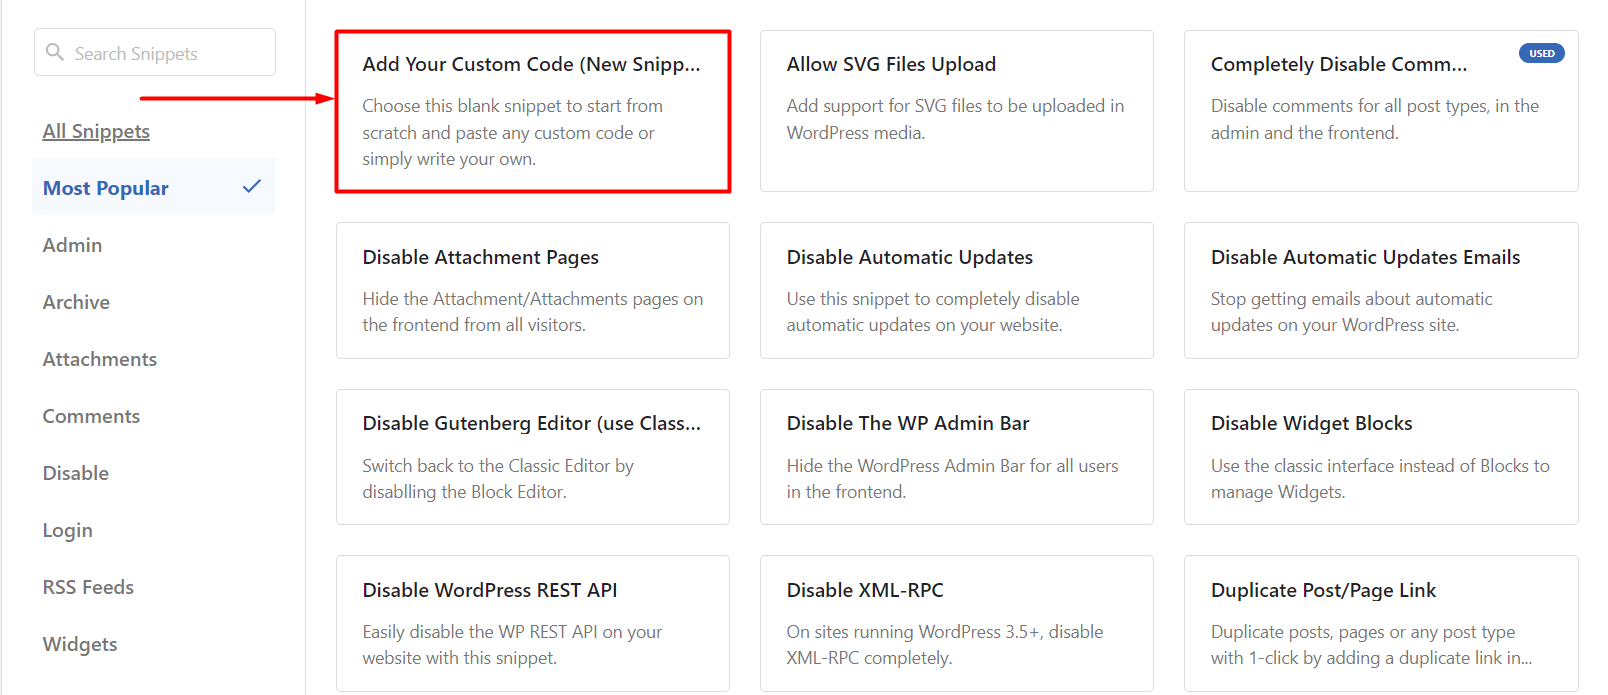
Step 4:
Now paste the given code below into the Code Preview area and click ‘Save Changes’ to save the custom code snippet. This process is similar to any top free Elementor WordPress WooCommerce theme. 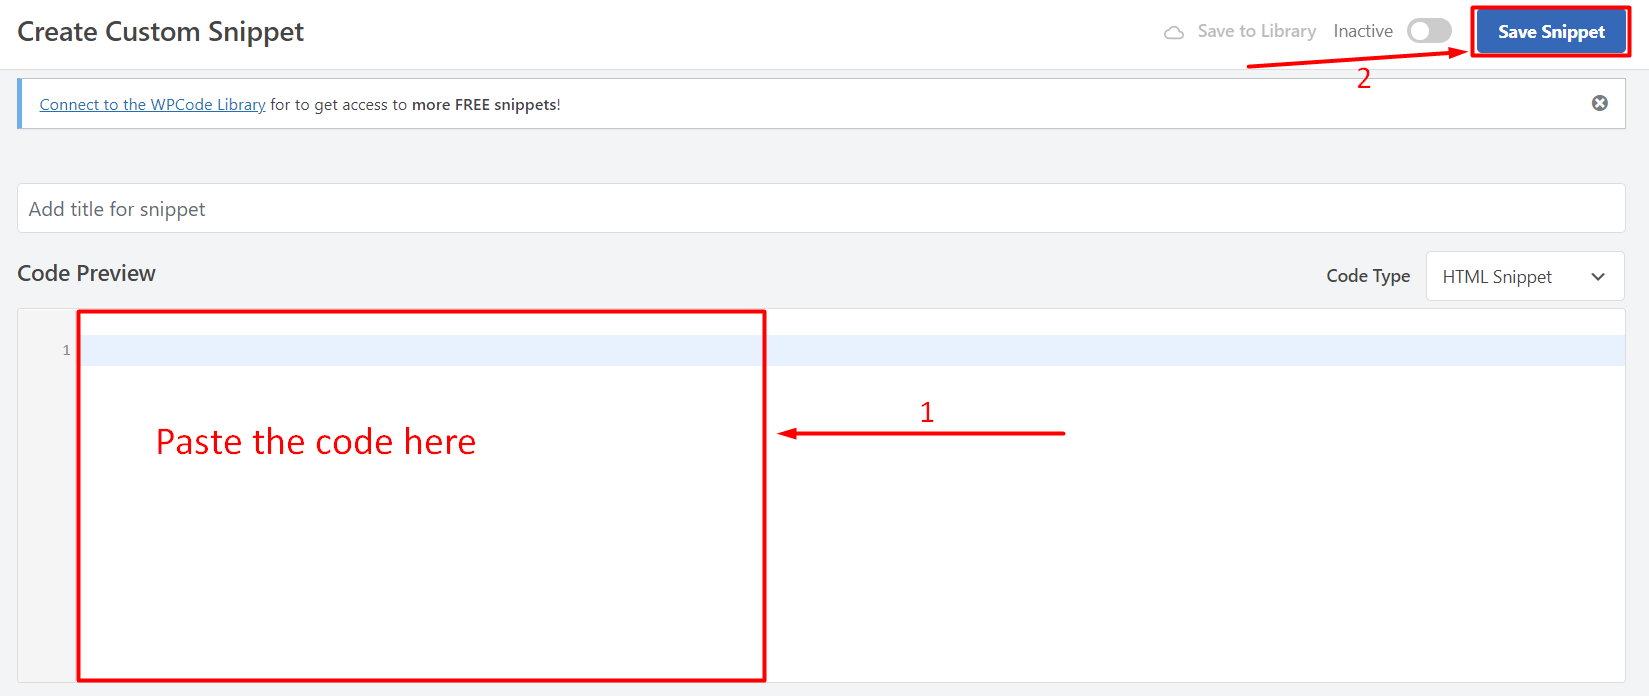 https://gist.github.com/WPCred1/0e37cff5a251cfa68d07d338d2d2f5f5 If you intend to create a basic WordPress custom post type, then simply replace the ‘movies’ and ‘Movies’ in the code with your own slug and click ‘Update.’ It is possible that you may need even more options for your WordPress custom post type. In that case, use the code snippet below instead of the first one. Note that you can not use both code snippets given here as they contain the same post type and will result in an error on your website. Simply use any one of these two that suits your need most. https://gist.github.com/WPCred1/f7c73a06b84fc556b4c3cb96dfcb3abb You might notice that particular code section where we set the hierarchical value to ‘False.’ If you want your custom post type works like Page instead of Post, you need to set the value to ‘True.’ Once you are satisfied with your required changes, click ‘Update’, and your custom post types will be set accordingly.
Create a WordPress Custom Post Type Using Plugin
Another method we will be showing you to create a WordPress custom post type requires a plugin that will do everything from creating custom post types to editing them and managing other post settings.
Step 1:
Visit the WordPress dashboard and navigate to Plugins>Add New. Search for the plugin Custom Post Type UI inside the WordPress plugin directory. Click to install and activate the plugin. This plugin works well with all top free SEO-friendly WordPress WooCommerce themes. 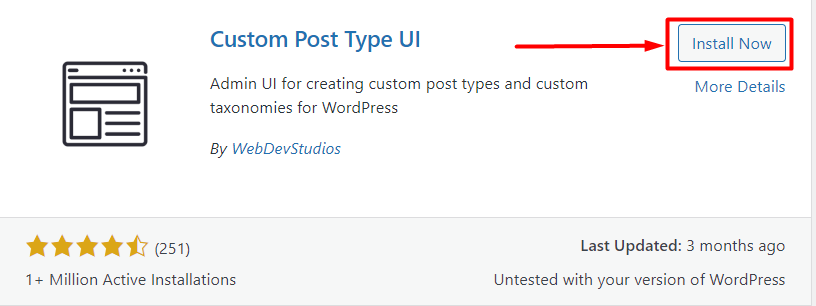
Step 2:
From the WordPress dashboard, hover on CPT UI and click ‘Add/Edit Post Types.’ 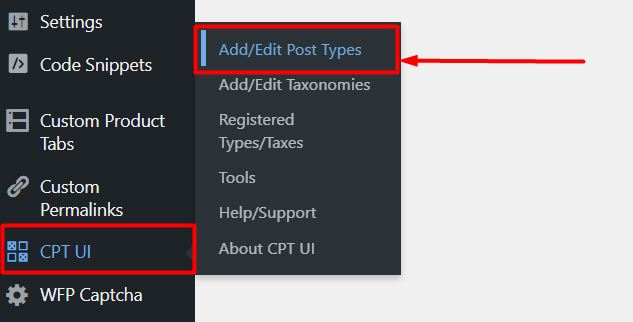
Step 3:
You will be redirected to the Add/Edit Post Types page. The first section you will find there is for the basic settings. All you have to do is simply enter the custom post type’s name, a plural label, and a singular label. These labels are used to display your custom post types in particular areas. After that, click ‘Add Post Type,’ and you are done creating your first custom post type! 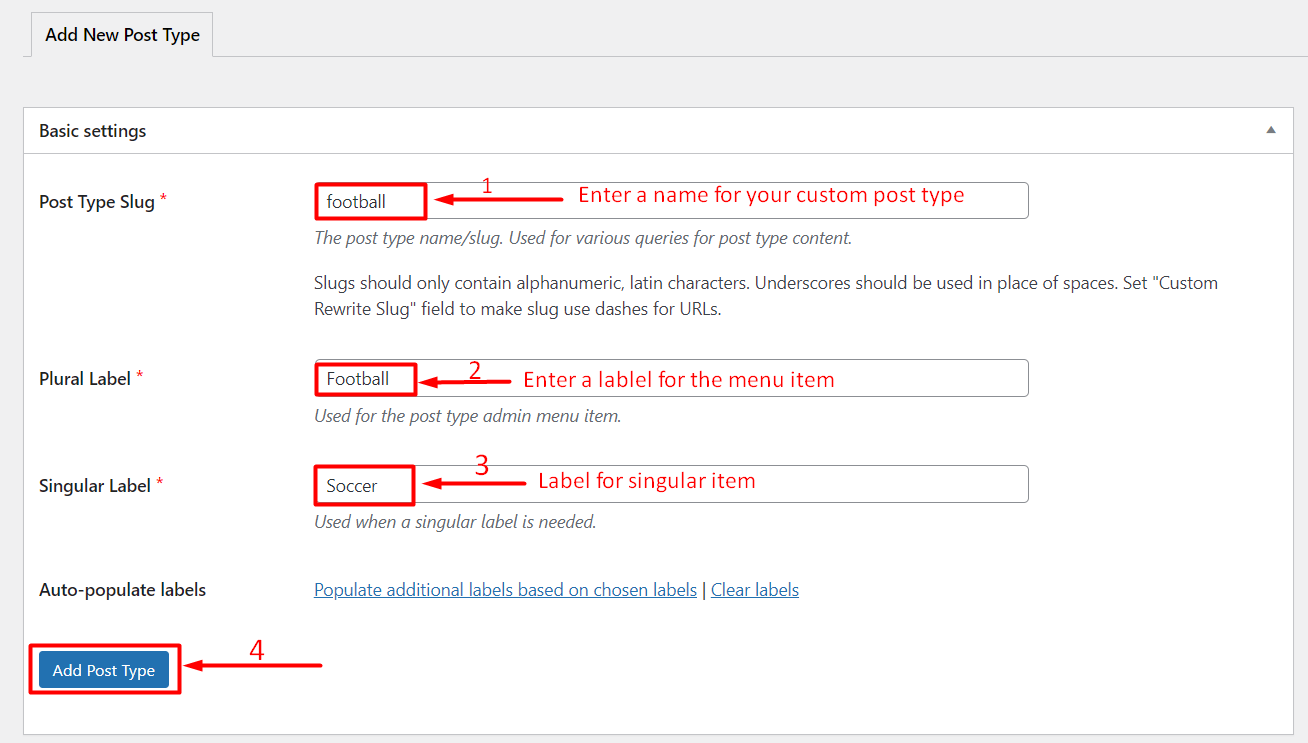
Step 4:
Scroll down a little and see the additional label section. Here you can add and customize many stuff like description, menu name, new item, view item, etc. These additional settings are for posts with more diversity. If you prefer a basic custom post type, the first section will be enough for you. 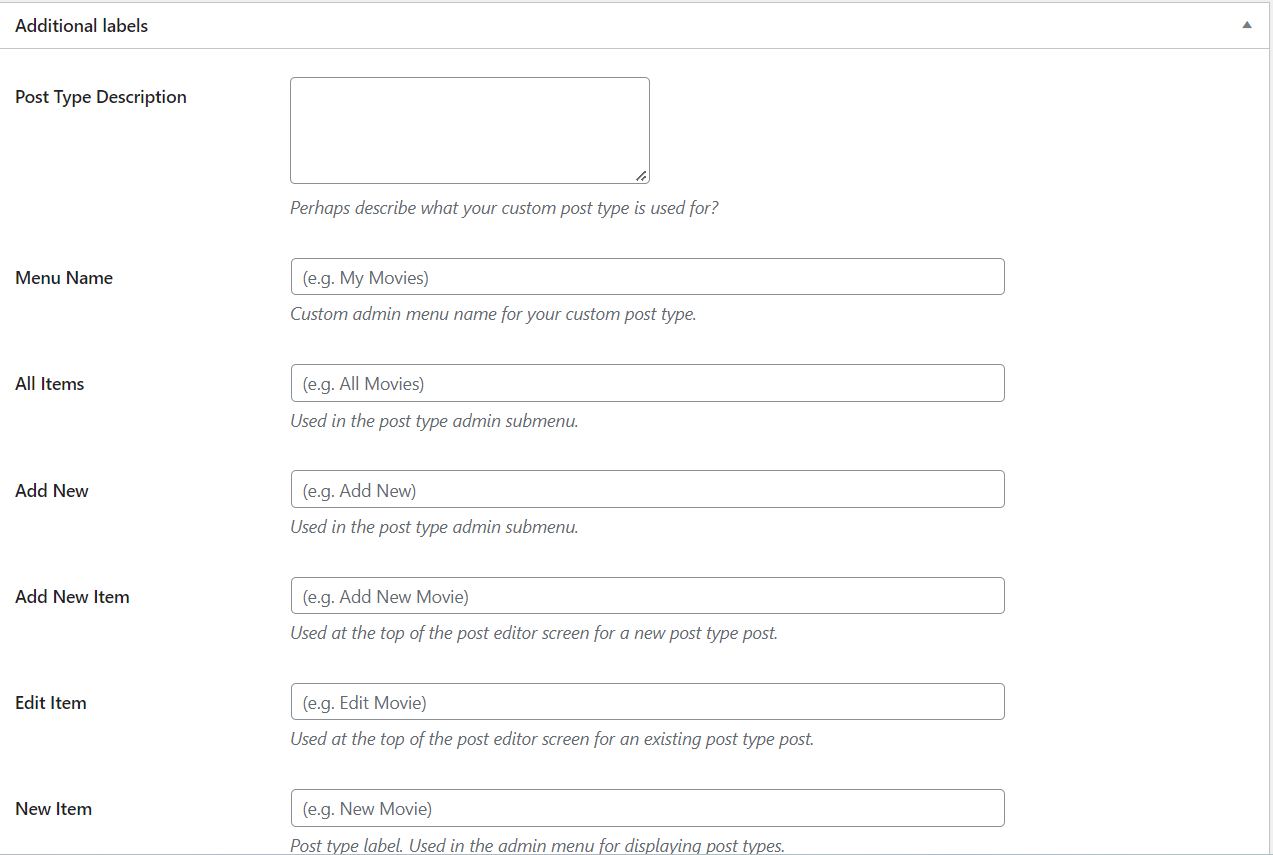
Step 5:
After the additional label section comes the Settings section. Here you will have all the features you need to control your WordPress custom post type. You can simply set these features to True or False according to your needs. 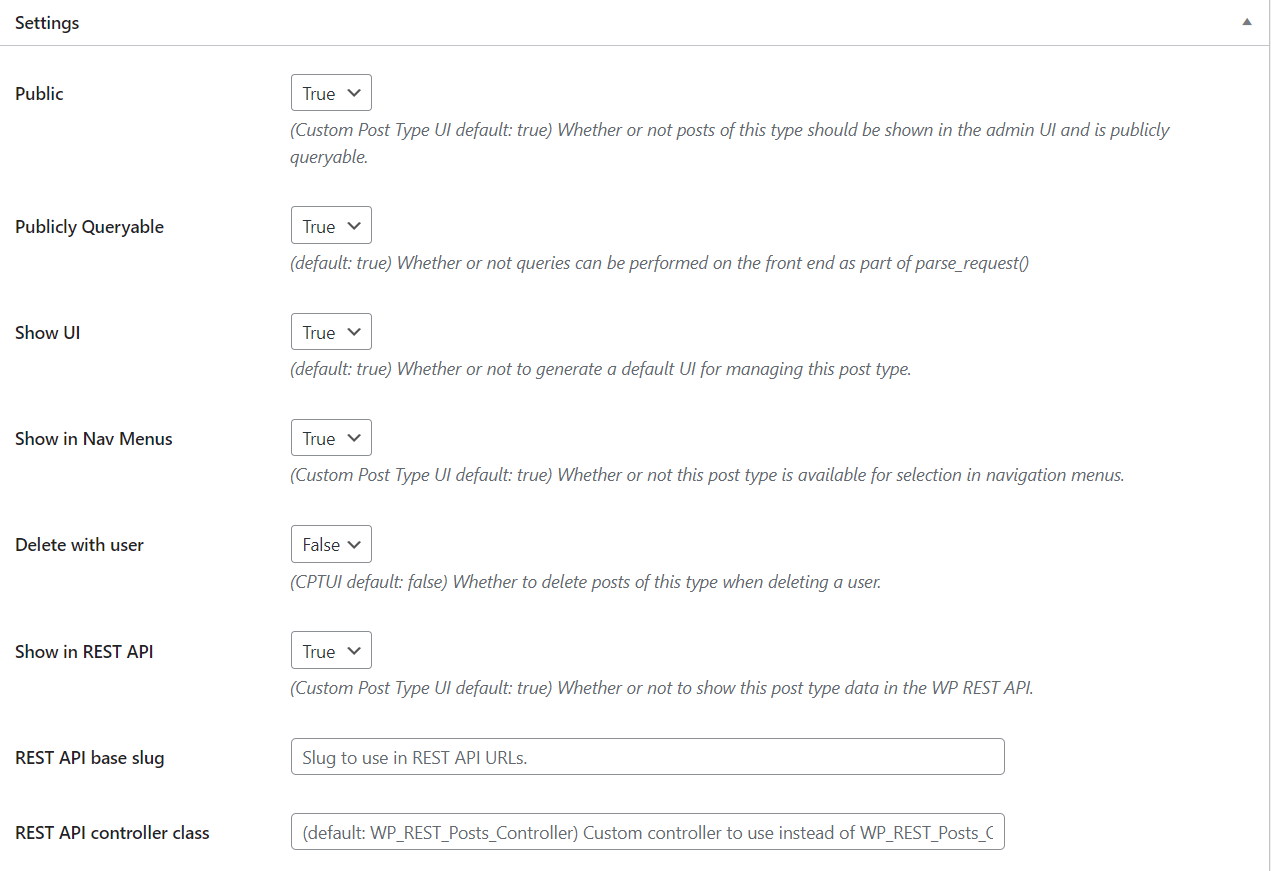
Step 6:
The next is the Supports section, where you can add support for various available features on the right. Choose the variables that suit your need best. You can simply click ‘None’ if you want to exclude support for your custom post type completely. 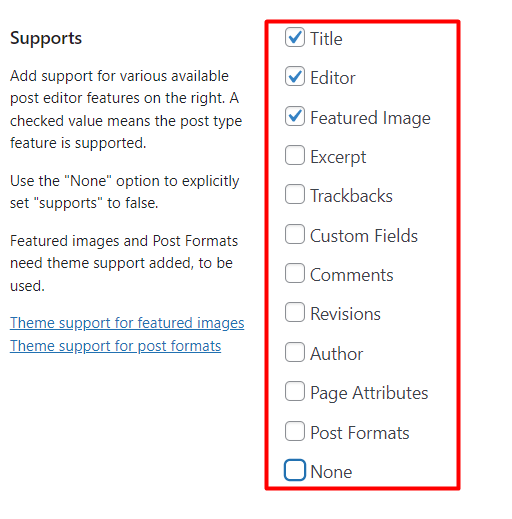
Step 7:
The last section is for adding taxonomies to your custom post types. You can add various taxonomies of your choice like Categories, Tags, Product Tags, Portfolio Tags, etc. After completing all the customization you need, click ‘Add Post Types’ to complete the process. 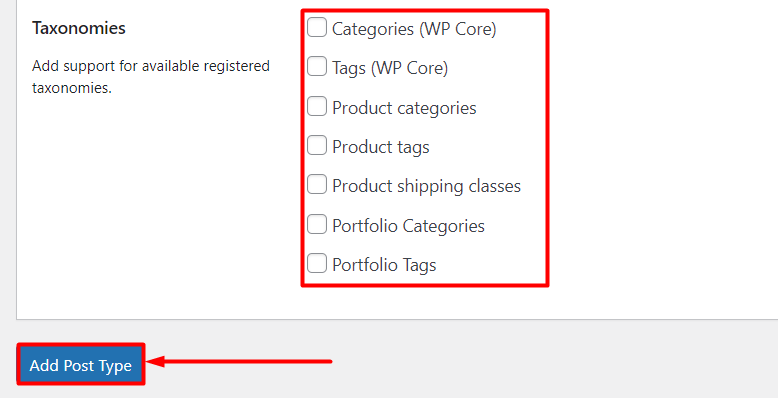
Displaying WordPress Custom Post Types on Your Website
WordPress CMS is integrated with built-in features to display custom post types on your website. After you have completed adding some custom post types, it is time to showcase them on your WordPress website.
Step 1:
Visit the WordPress dashboard. Go to Appearance>Menus. 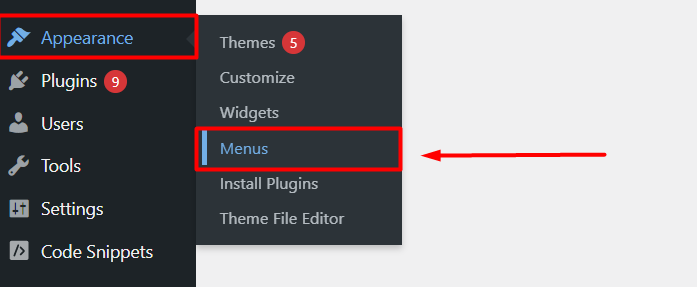
Step 2:
If you use an SEO-friendly permalink, simply add the name of your custom post at the end of the URL. That will be the link to your custom post type. For example, if your custom post type name is ‘themes,’ then the link of your custom post type will be https://example.com/themes. If the permalink is not SEO-friendly, the link will be https://example.com/post_type=themes. After that, click ‘Add to Menu,’ and the custom post type will be added to your navigation menu and you will get SEO friendly permalink 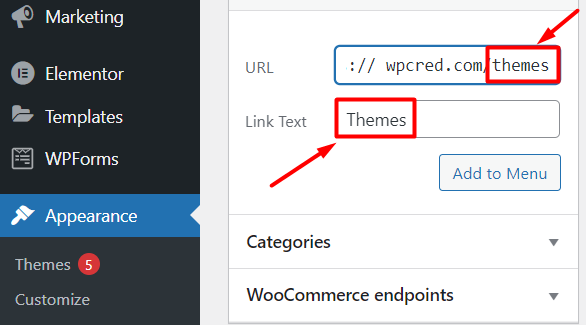
Conclusion
In this article, we have discussed two efficient ways to create custom WordPress post types for your website. Both of these methods are safe and flexible for beginners to create as many custom post types as they need and make efficient use of them. Creating WordPress custom post types allows you to organize and showcase your content properly and makes it easier for the users to keep track of the content as they browse. This article will be helpful for you to make your website more organized and eye-catching to your audience. Feel free to go through our article on Avada vs Flatsome theme comparison to get insight into the most powerful WordPress WooCommerce themes.
