Making a WordPress clone site means making an exact copy of your existing website. It is essential to clone a WordPress site when you want to move or migrate your WordPress website to a new hosting. When we clone a website, the copy contains everything from the source website, top to bottom. This way, you can move your website to your desired location without anything having changed in it. You can also duplicate pages in WordPress if you want at the time of importing some type of layout of a page only for some customization. This tutorial will demonstrate how easily and quickly you can make a clone of your existing website and migrate it to a new location or server.
How to Make a WordPress clone Site in Easy Steps
Step 1:
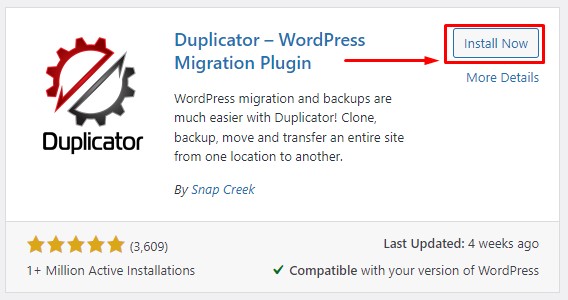
From the WordPress dashboard, hover on ‘Plugins’ and click ‘Add New.’
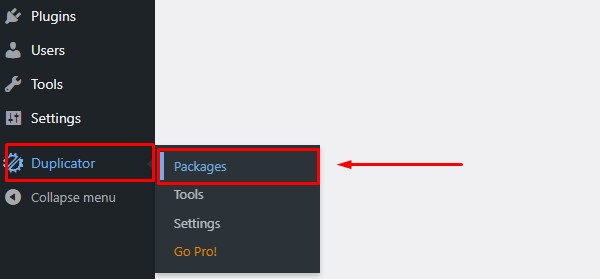
From the WordPress dashboard, hover on the ‘Duplicator’ option and click on ‘Add New.’
Step 4:
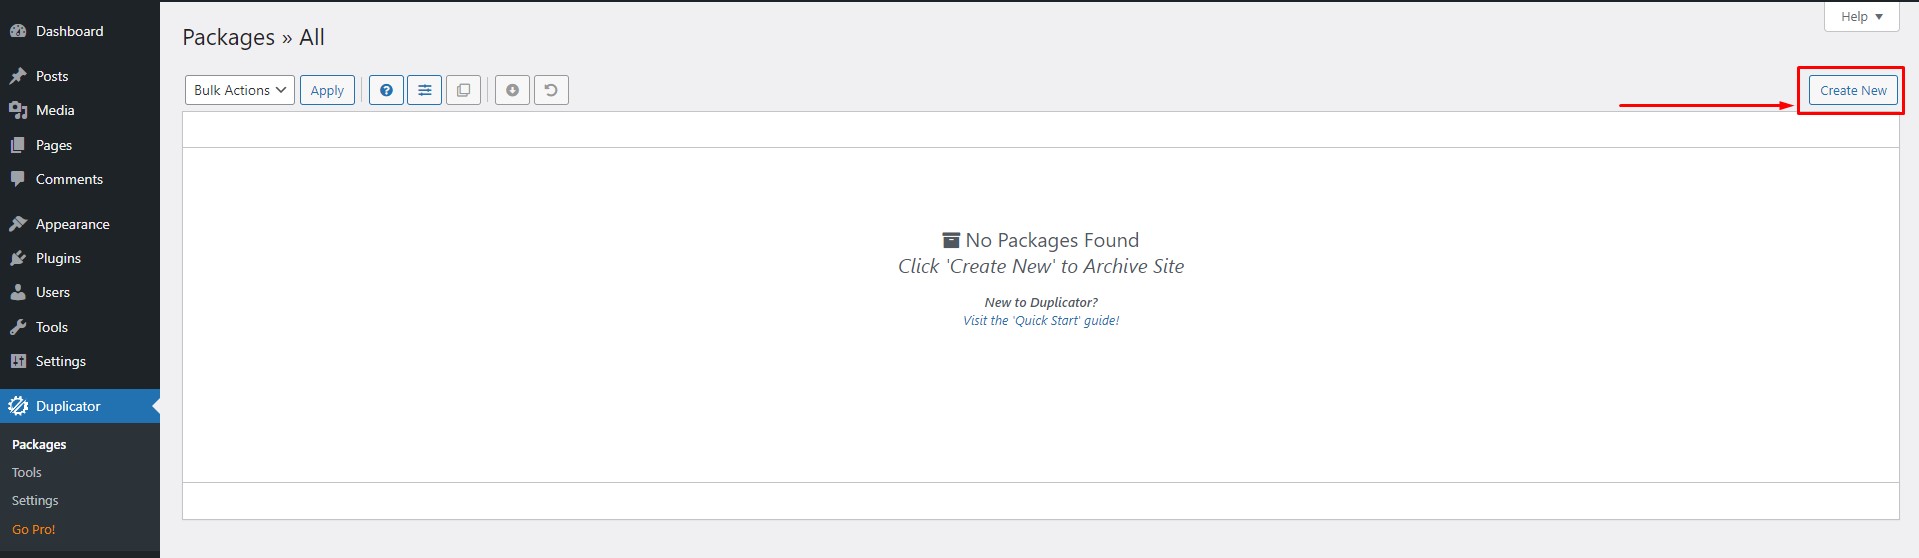
Click on ‘Add New’ on the Packages page to start cloning a WordPress site.
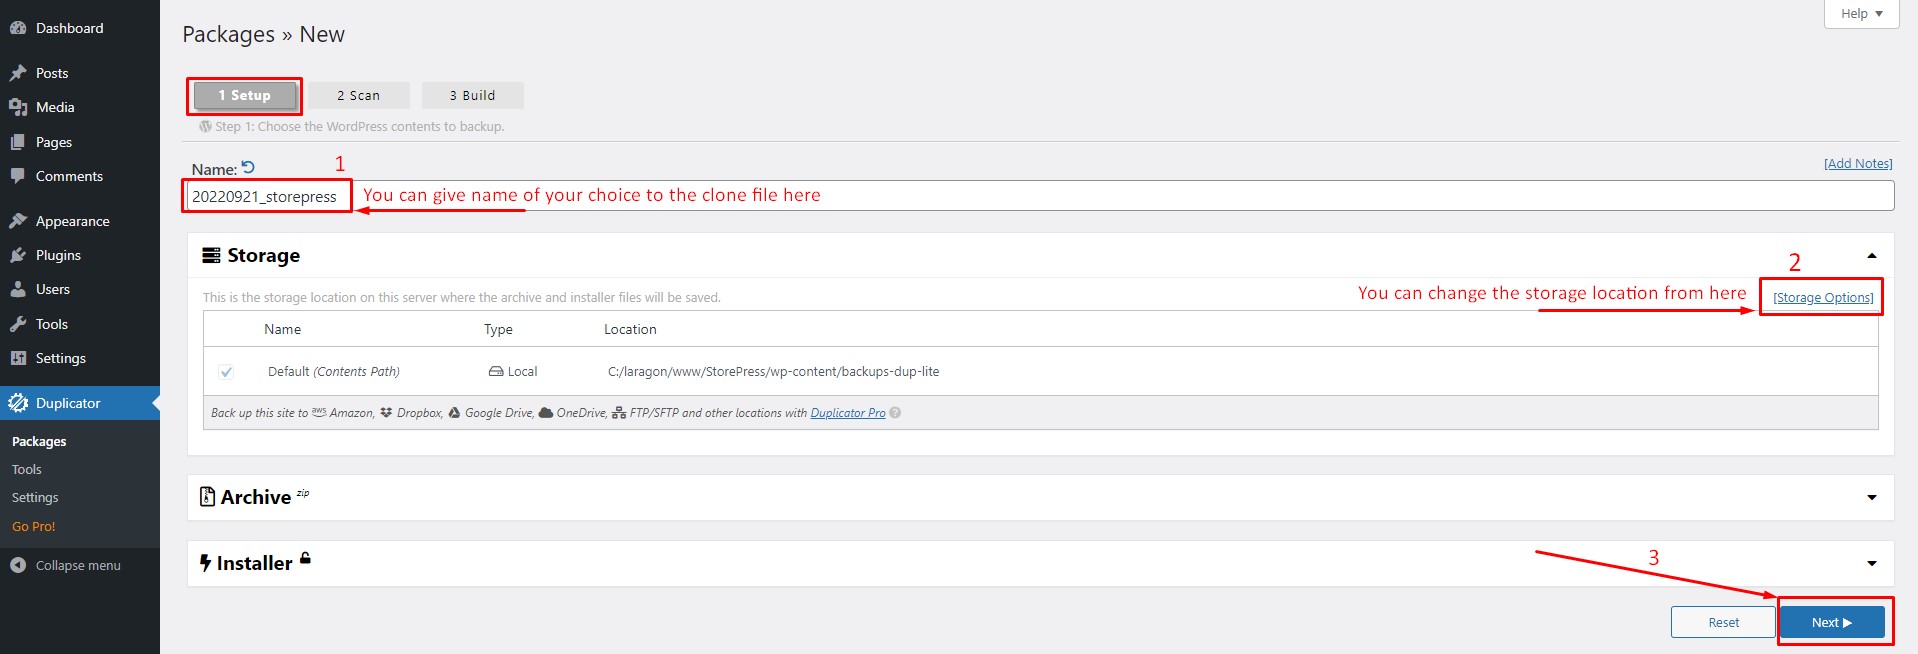
Step 5:
The first step to cloning a WordPress site is ‘Setup.’ You can give the clone file a name of your choice or use the default one. You can also change the storage location where the new clone file will be saved. There are two additional options, Archive, and Installer. You can modify the clone using several features ofthe default options. For this tutorial, we will proceed with all the default settings of the plugin.
Step 6:
The second step to making a WordPress clone site is ‘Scan,’ where the plugin scans the statuses of WordPress files, migrations, etc. Simply click on the ‘Build’ option at the bottom to proceed to build the clone file.
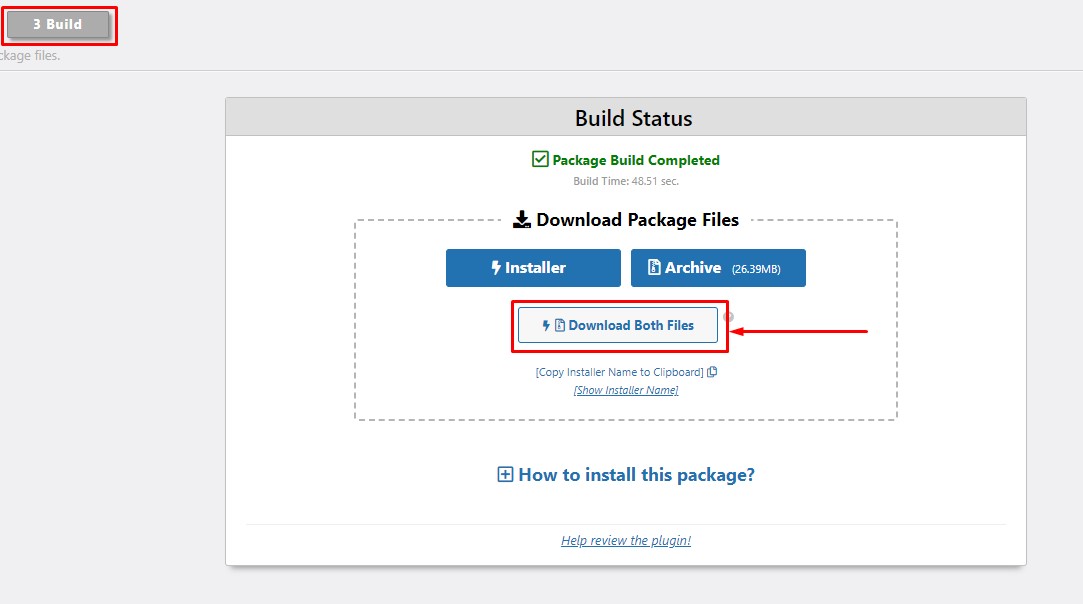
Step 7:
In the final step, the package will start building, and you will see the download options in a few minutes. You can download only the installer file, the archive files, or both of them. Click on ‘Download Both Files,’ and the files will be downloaded to your server storage immediately. This procedure is the same in all free WordPress ecommerce themes.
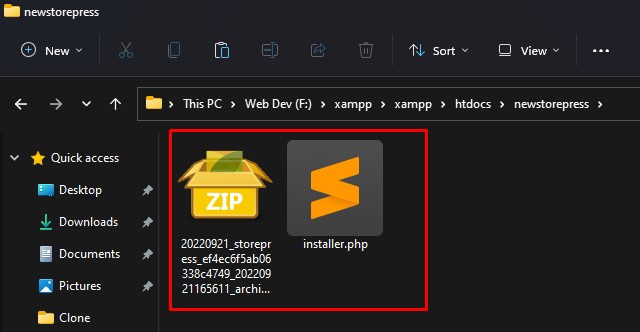
Step 8:
It’s time to upload the WordPress archive files and the installer file to a new location. It can be a live server or a local server. If you are using the XAMPP local server, you need to create a folder in the server’s root folder where all the websites are stored. For XAMPP, it will be ‘C:\xampp\htdocs\’ where you will create a new directory for your clone website. Now in the newly created folder for the clone website, copy and paste the installer file and the archive zipped file we downloaded earlier. You need to ensure this folder contains only these two specific files and nothing else.
Step 9:
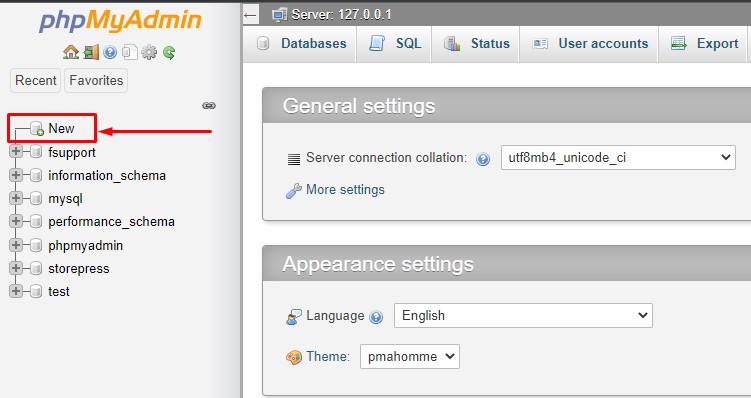
At this step, we will create a new database in the PHP server. For this tutorial, we are using the PHP server by XAMPP. Go to ‘http://localhost/phpmyadmin/’ in your browser and click on ‘New’ inside the database list section at the left.
Step 10:
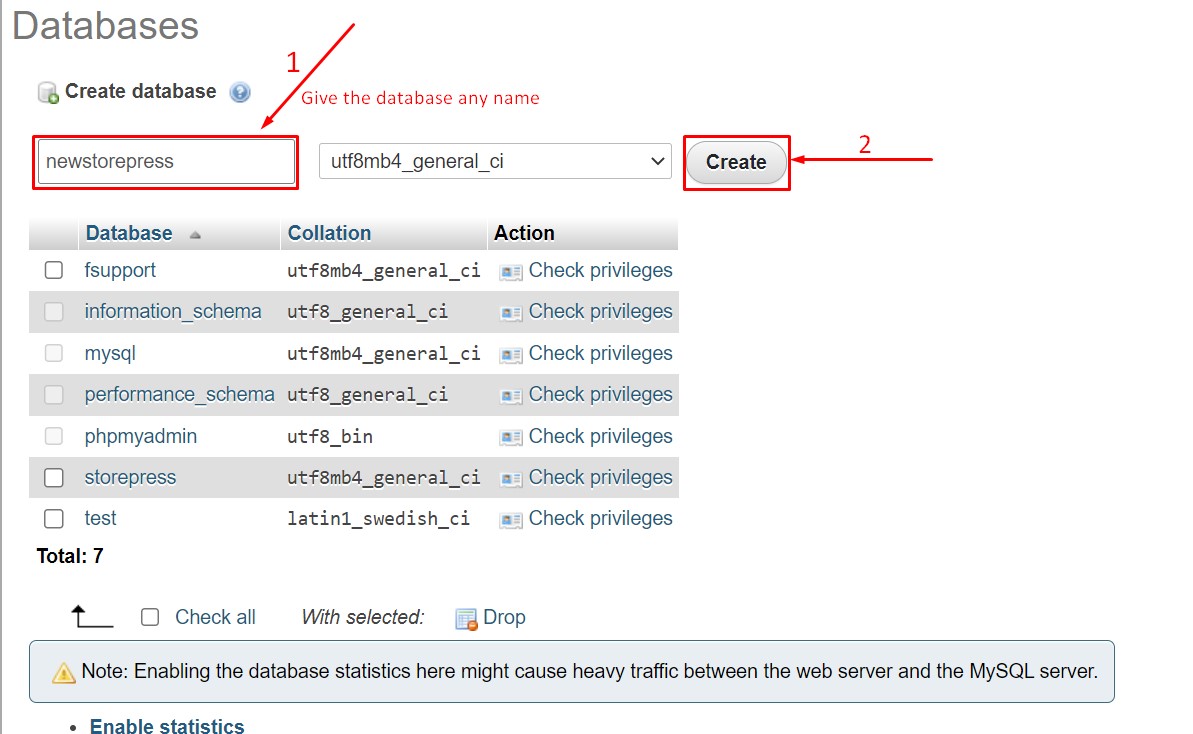
You will see the options for creating a new database. Give the database a meaningful name, and then click on ‘Create’ to proceed. You can use ‘root’ as the username for the database if you are using the XAMPP localhost server.
Step 11:
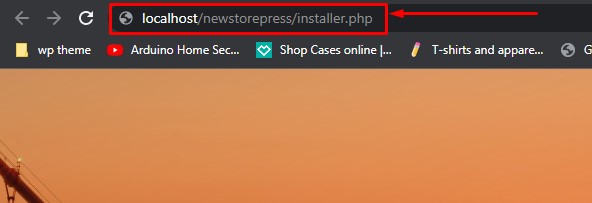
In this step, we will run the installer script we downloaded earlier. This script will unpack the zipped archive file in a few clicks. As we are working on XAMPP local server, write our new website URL and add ‘installer.php’ at the end and launch the URL. It will look like this: ‘http://localhost/newstorepress/installer.php’
Step 12:
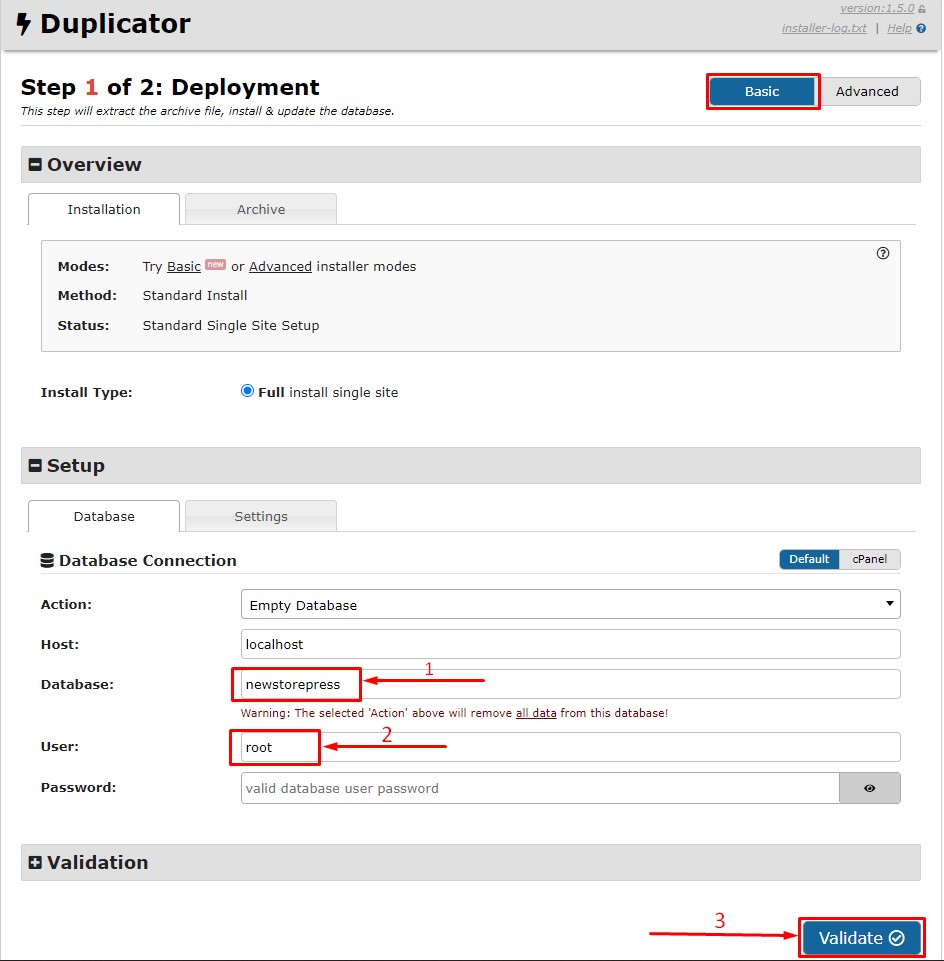
Upon launching our new website using the installer script. Here, we will provide a few necessary pieces of information to start the deployment. In the Setup section, type the new database name correctly and use ‘root’ in the username field. You don’t need a password if you use ‘root’ as the username became. Then click on ‘Validate’ to proceed. You can clone a WordPress site made with the best SEO themes for WordPress using this process.
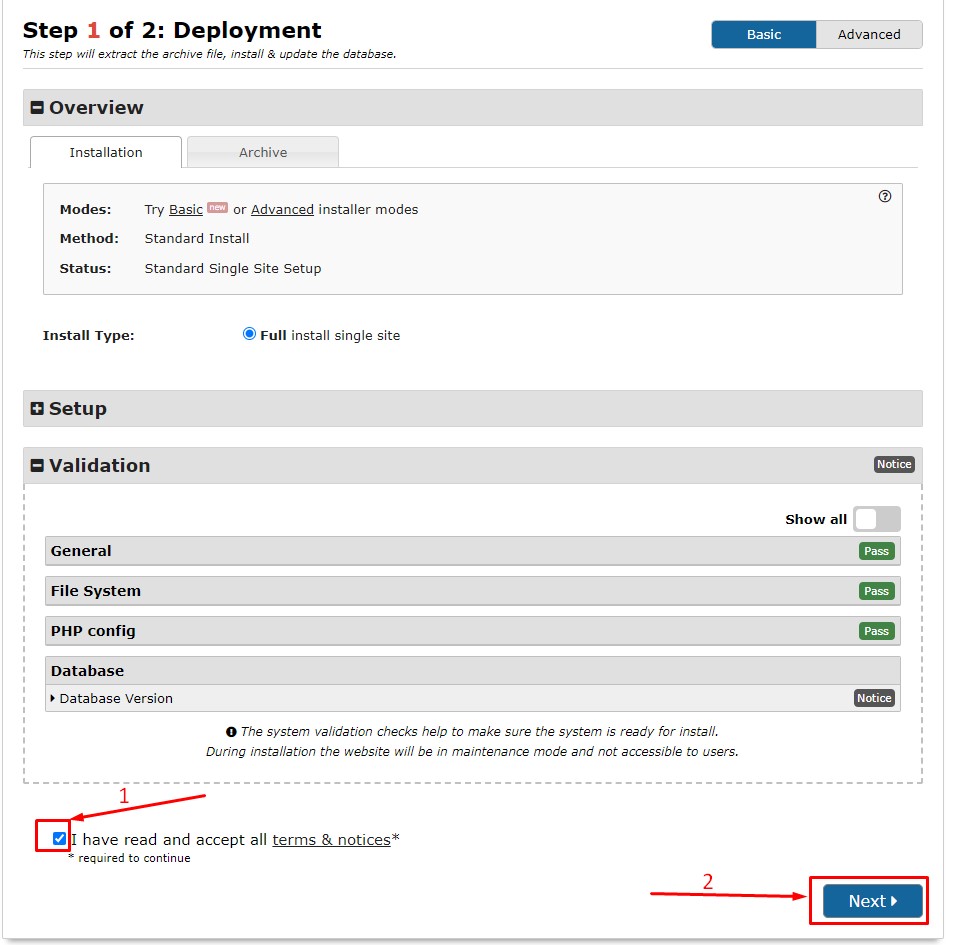
Step 13:
Accept the terms and conditions by checking the tick box at the beginning and then clicking on ‘Next.’
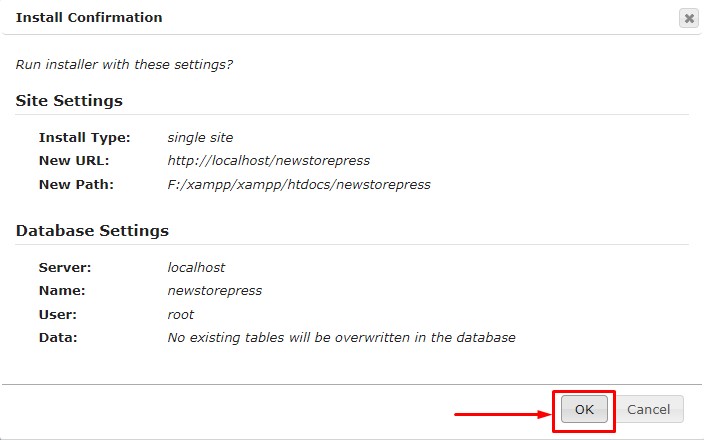
Step 14:
Upon clicking ‘Next,’ a dialogue box will pop up, prompting you to confirm the operation. Click ‘Ok’ to proceed.
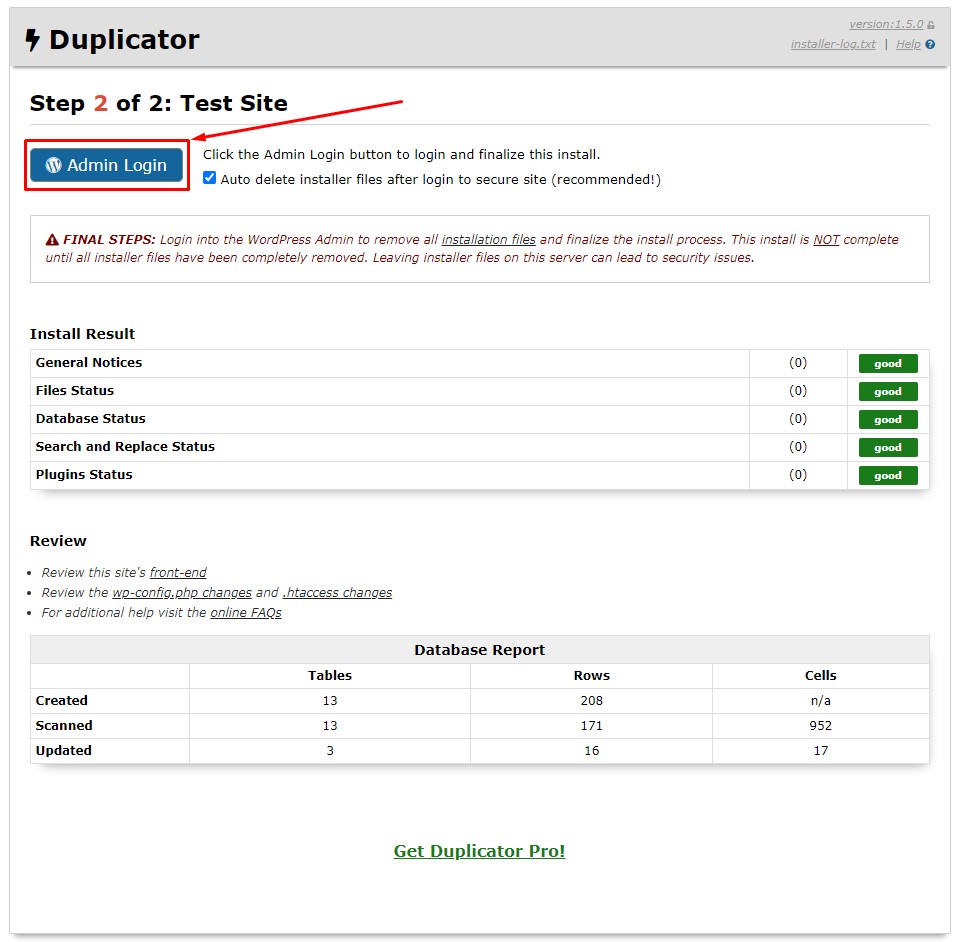
Step 15:
On the final deployment step, you will be asked to log in as an admin to your website. Upon admin login, all the existing data inside the database you selected for the clone website will be erased, and the deployment will be complete!
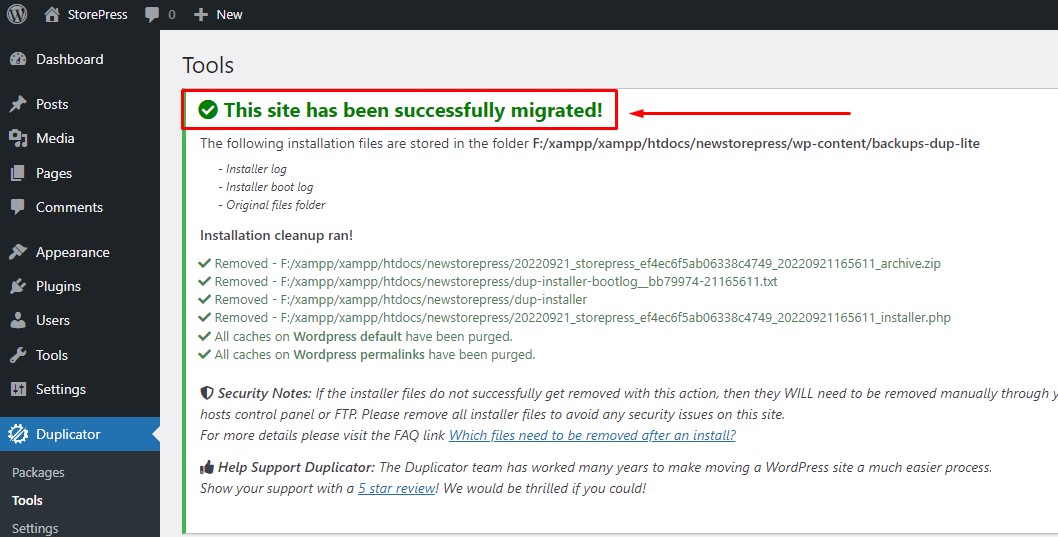
Step 16:
After you log in to your cloned website, you will see the migration status and successful migration message. We have successfully cloned our WordPress website and migrated it into a new location.
Conclusion
Following the steps mentioned above make cloning and migrating a WordPress website easy. The plugin we used in this tutorial also comes in the premium version. The premium version provides more professional features to perform modified cloning and migrate your WordPress website directly to the popular hosting services. We hope this tutorial will be helpful for you to learn the essential functions of cloning a WordPress website. Feel free to check our article on WooCommerce Flatsome tutorials to get insight into the best WooCommerce themes.

 There are two additional options, Archive, and Installer. You can modify the clone using several features of the default options. For this tutorial, we will proceed with all the default settings of the plugin.
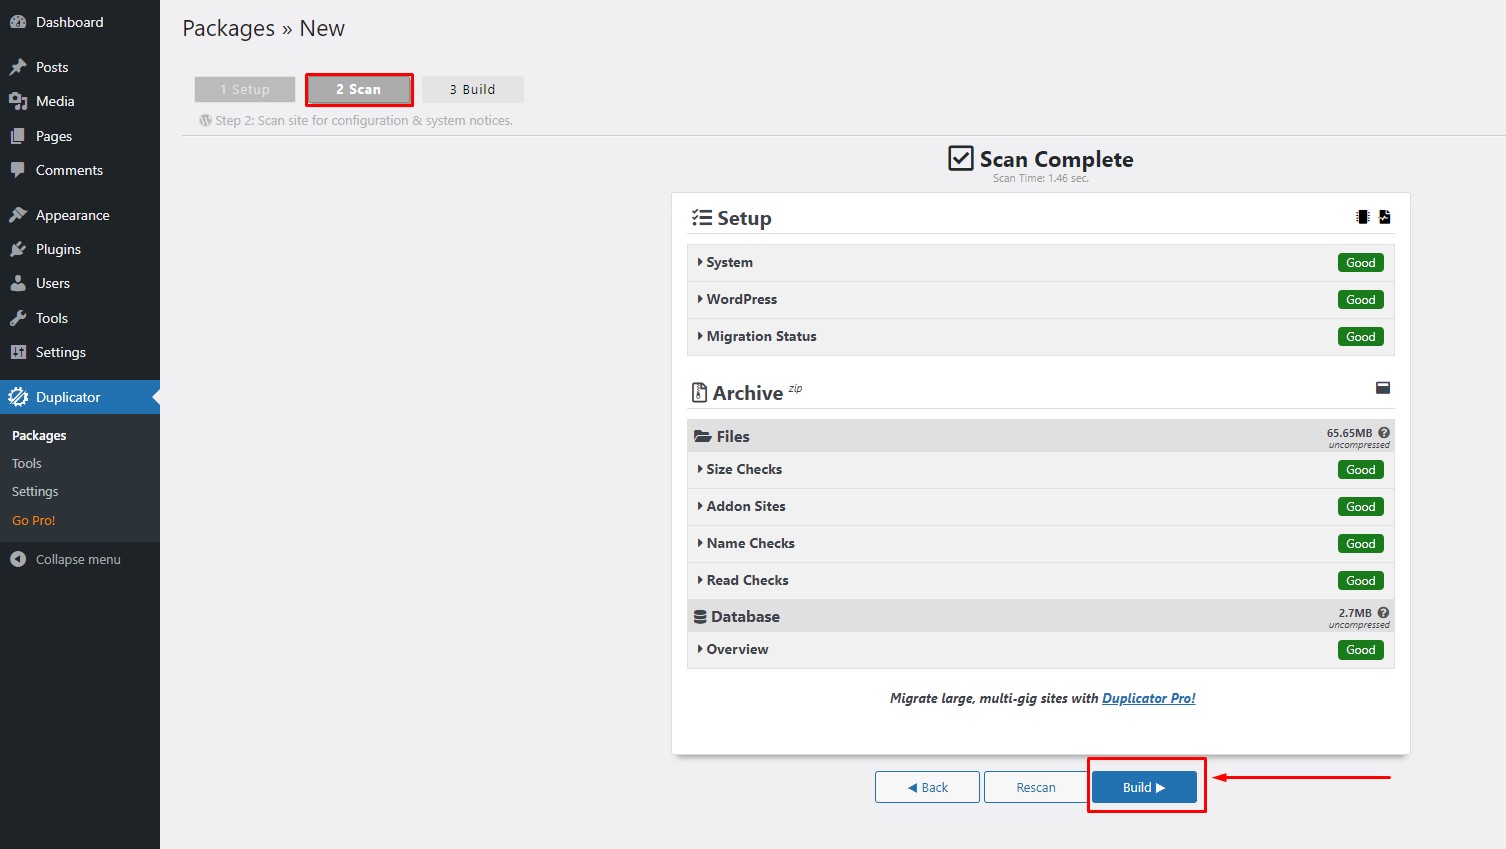
 For XAMPP, it will be ‘C:\xampp\htdocs\’ where you will create a new directory for your clone website. Now in the newly created folder for the clone website, copy and paste the installer file and the archive zipped file we downloaded earlier. You need to ensure this folder contains only these two specific files and nothing else.