Do you want to convert dropdown to radio buttons on your Flatsome-powered site?
When a product has selectable attributes or variations, the only option available is to select from a dropdown list.
But, as an online store owner, you should allow your customers to sell all available options without having to scroll through a dropdown menu.
In standard WooCommerce, radio buttons aren’t available for products. It comes with a dropdown list and hides all possible options until you click on them.
In this Flatsome tutorial, we will show you how to change the dropdown to radio buttons on Flatsome.
The below videos show how to create radio variation swatches from scratch.
How to Convert Dropdown to Radio Buttons on Flatsome
WooCommerce Variation Swatches
In general, you need the WooCommerce variation swatches plugin to make the default dropdown to the radio button.
Variation Swatches for the WooCommerce plugin made it simple to improve the way your attributes are displayed with radio buttons.
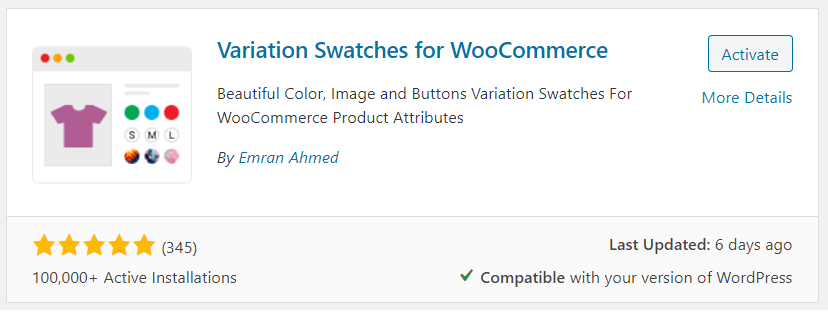
Moreover, it allows you to covert dropdown into the image, label/button, and WooCommerce color swatches.
If you check the default WooCommerce, you’ll see there is no option to enable image, color, and radio buttons.
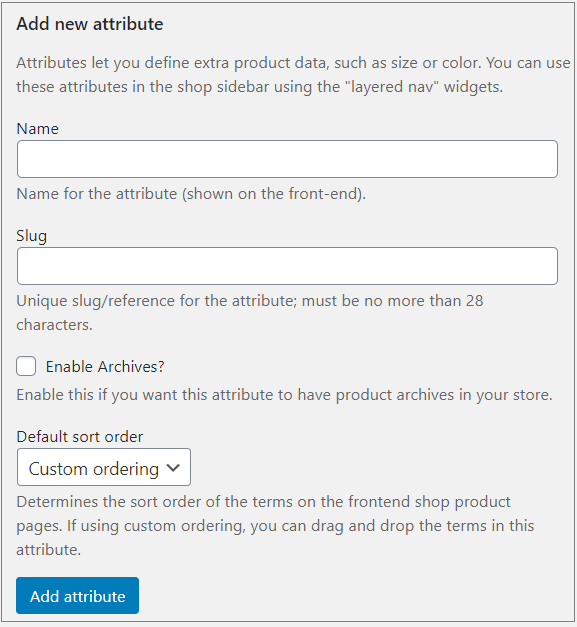
Once you install the Variation Swatches plugin for WooCommerce, you will notice different options under Type such as Color, Image, and Button.
You can download the free version from the WordPress repository or upload/install it directly from the WordPress dashboard.
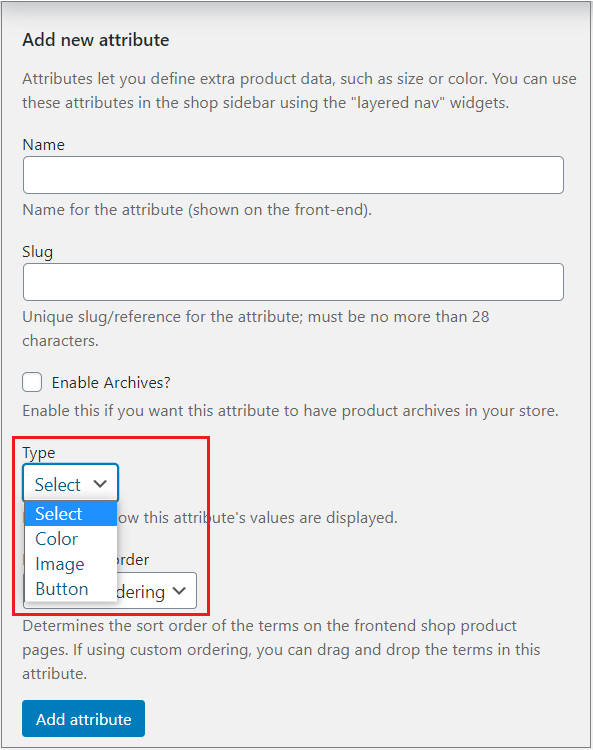
But, for Radio, you need to buy the premium version to enable the radio button feature.
The radio swatches feature is the pro version of the WooCommerce Variation Swatches plugin.
Configuration:
You need to install the free version of the WooCommerce Variation Swatches plugin. The pro version is the extension of WooCommerce Variation Swatches.
Once you are done with installation and activation, it’s time to create attributes like image swatches for your product variations. There’s an option to edit existing variations as well.
Just follow the bellows steps:
- Head to Attributes from the Products section.
- Fill in the ‘Name’ field, and the slug is optional. (For demonstration purposes, I have termed attribute name: Size).
- Select your attribute type as ‘Radio‘ from the ‘Type‘ drop-down menu.
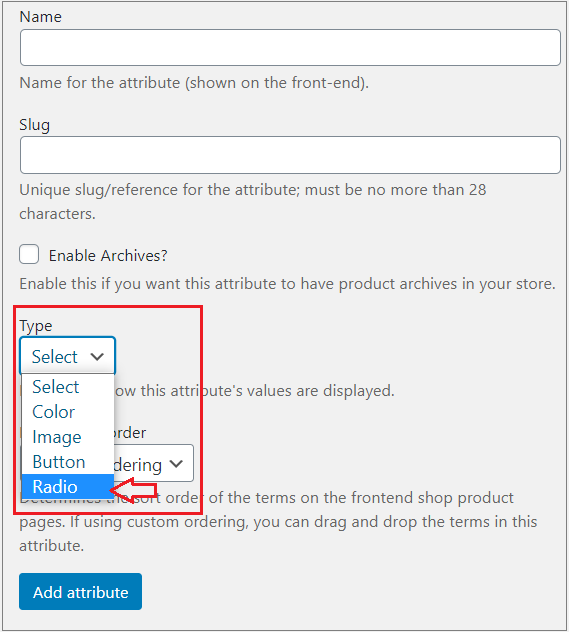
When you add attributes, click on the ‘Configure terms’ from the attribute list to create product variations.

Now, create variations inside the radio type attribute. Fill the name with your desired variation name. Keep adding new attributes by clicking the Add new Size button.
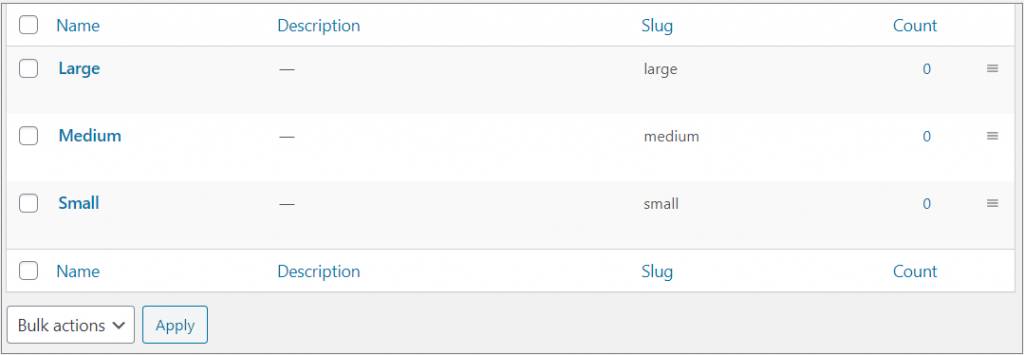
Now, you need to add variation-specific details and customize the rest of the settings.
Once you complete all the required steps, check the view of your product frontend.
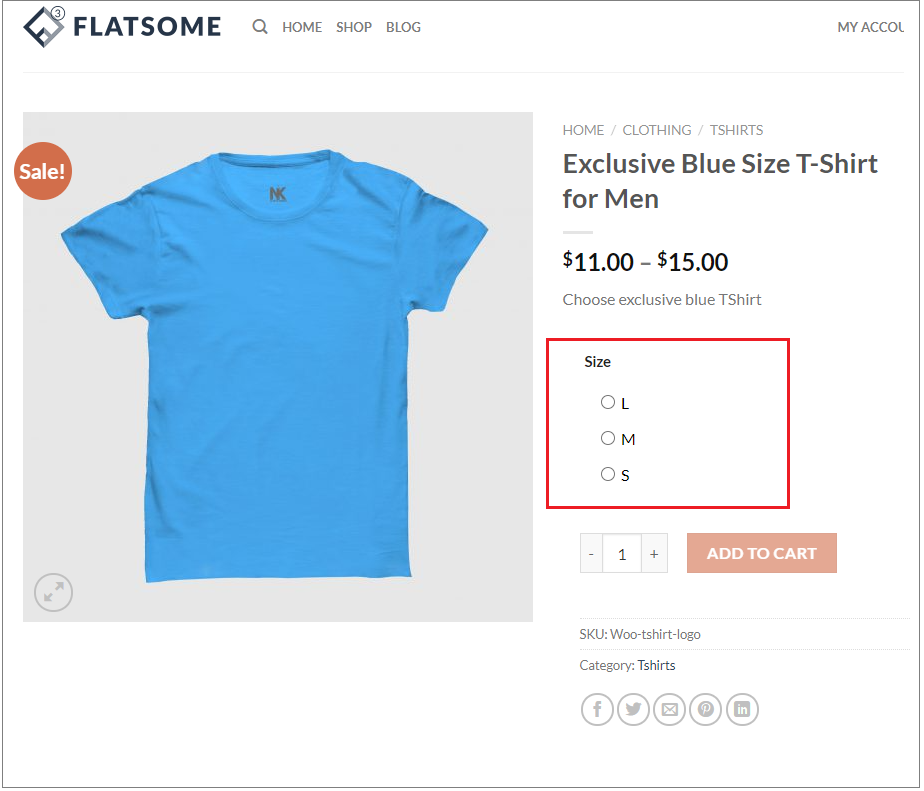
That’s it. You have enabled radio buttons on your Flatsome-powered WooCommerce store.
Your variable products option will be much more clickable and user-friendly way. Additionally, the radio button option is a better choice for selecting variation options. It will help you to get more sales.

